UiPath RPA Training Course
- 35k Enrolled Learners
- Weekend/Weekday
- Live Class
UiPath is one of the most popular RPA tools, used by startups to multinational companies to automate different kinds of tasks. This article is going to be a brief guide on UiPath Installation, where I am going to show you the steps to set up and install the following:
So, if you follow the below steps, you should be able to download and install UiPath on Windows, completely hassle-free. Lets, get started.
Before, I tell you how to go forward with UiPath Installation, let me mention the pre-requisites for the installation.

Make sure your laptop is connected to a power source.
You have to have at least 8 GB of RAM
In case your system runs Windows OS in a language other than English, then install the corresponding language pack for .NET framework
Web Browsers for browser automation [Supported browsers are Internet Explorers, Google Chrome, Mozilla Firefox, Microsoft Edge]
The next fact, you must know, before installing UiPath is that there are various versions/editions of UiPath you can install. Next, in this article on UiPath Installation, let us understand the same.
The following are the various editions provided by UiPath.
Community Cloud – This version is generally used by small teams or individuals to practice automating tasks on UiPath.
Studio – The Studio version is for individuals who want to use UiPath on an enterprise level.
Enterprise Cloud – As the name suggests, this version/edition of UiPath is a cloud-based version of the entire RPA platform which consists of Studio, Robots, and Orchestrator.
Enterprise Server – This edition provided by UiPath is an on-premise version of the entire enterprise automation platform consisting of Studio, Robots, and Orchestrator.
Refer to the following table for the various features and functionalities of the above editions.
Features | UiPath Community Cloud | UiPath Studio | UiPath Enterprise Cloud | UiPath Enterprise Server |
Free trial period | Always free | 60 Days | 60 Days | 60 Days |
Insights | – | – | – | 1 License |
Orchestrator | 1 License | – | 1 License | 1 License |
Availability | 99.5%+ | – | 99.5% + Additional UiPath support | High availability architectures |
Studio | 2 Licenses | 1 License | 2 Licenses | 10 Licenses |
StudioX | 2 Licenses | 1 License | 2 Licenses | 10 Licenses |
Robots Available | 2 Attended + 1 Unattended | 1 Attended | 2 Attended + 1 Unattended | 10 Attended + 10 Unattended |
Additional Robots | – | – | Unlimited[Take license according to your requirement] | Unlimited[Take license according to your requirement] |
3 robots | – | Scale from UiPath Enterprise Cloud | Scale with your infrastructure | |
User Management | – | – | Centralized enterprise user management | Centralized enterprise user management |
AI Computer Vision | 30 megapixels/min | – | 240 megapixels/min | Infrastructure Dependent |
Activation | Online | Online and Offline | Online | Online and Offline |
In this article on UiPath Installation, I am going to download the Community Cloud version. Now, to install UiPath, follow the below steps:
Step 1: Go to the start-trial link of UiPath and choose which edition you wish to install. Here, I wish to install the Community Cloud version. So, I will click on the Try It option as follows:

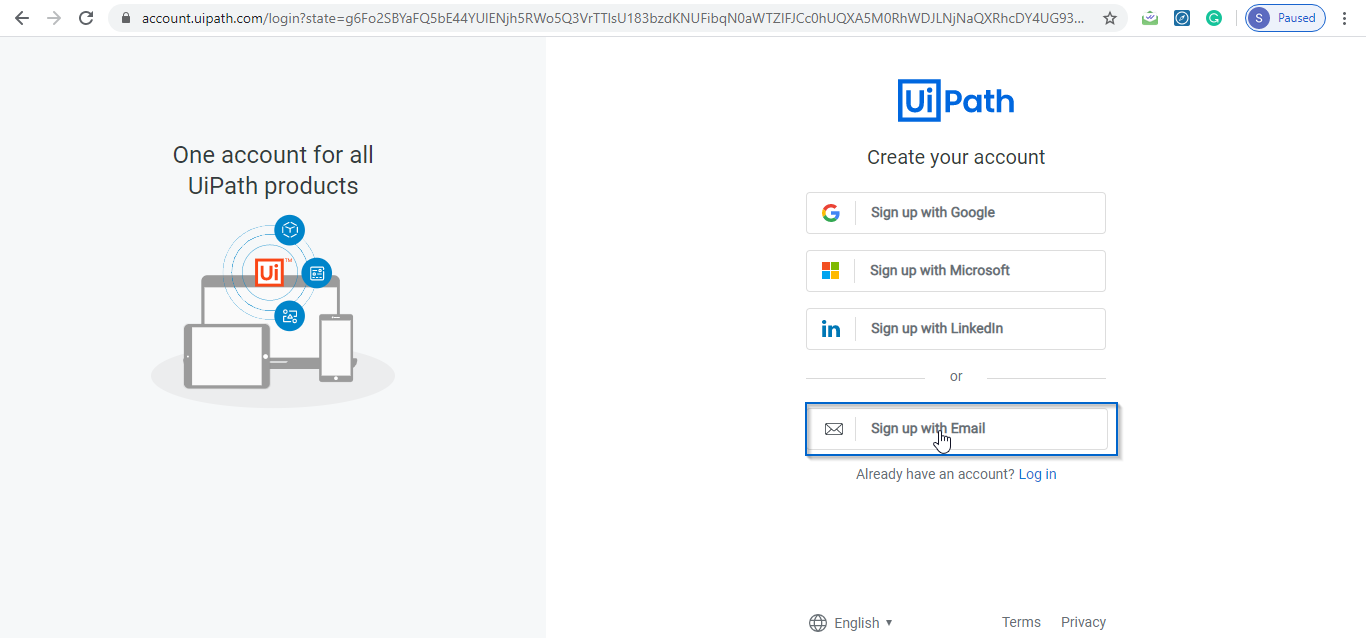
Step 2: Then you will be redirected to the following page, wherein you have to log in to the UiPath. Here, you can choose to login by email, Google account, Microsoft account or Linkedln.

Step 3: I will choose by email and then mention the details as follows and click on Sign up.

Step 4: Once, you click on Sign up, you have to verify the email by clicking on the button on as follows:

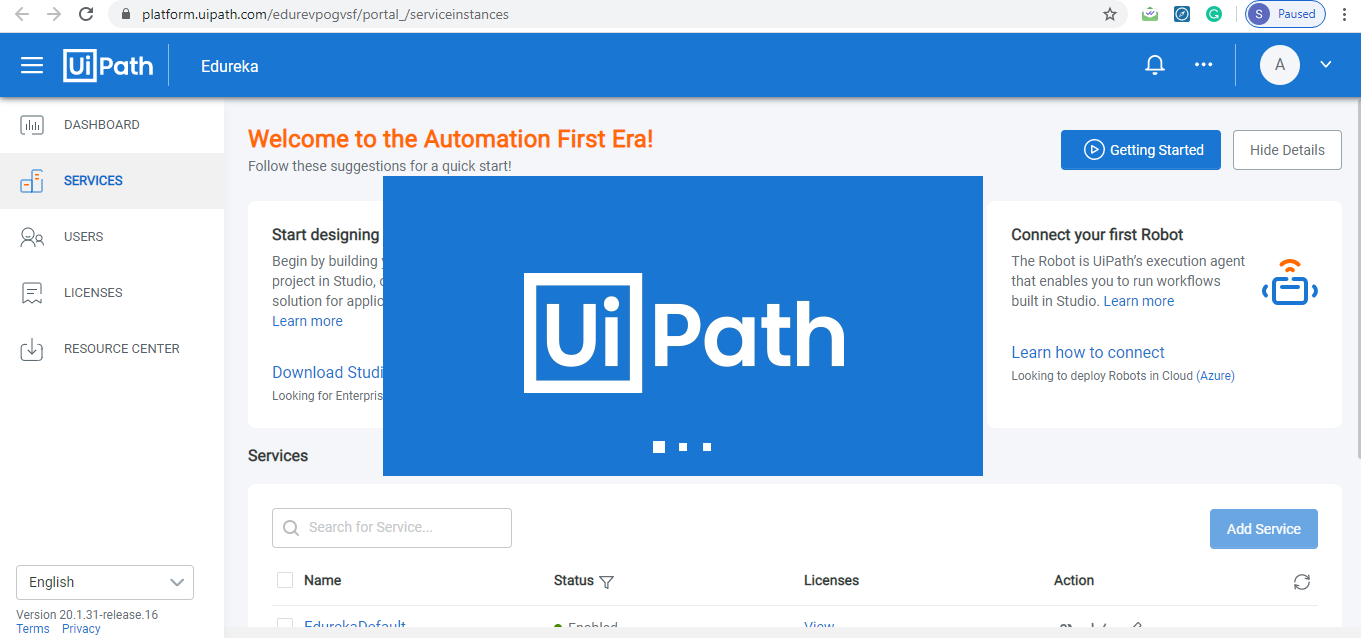
Step 5: After you click on verify email, then you will be re-directed to the following page. Here click on Download Studio, to download the setup.

Step 6: After the setup has been installed, double-click on it to open.

Step 7: Once, UiPath opens, choose which license you wish to activate. Here, I will activate the Community License.

Step 8: Now, choose which profile you want to choose. Either you can choose UiPath Studio or the UiPath StudioX Preview. Here, I will choose the UiPath Studio version.

Step 9: Finally choose the update channel. Here, you have two options; either you can choose the Preview or the Stable channel. I will choose the Stable version.

Step 10: Once, you choose the update channel, the following is the screen you will see:

With this, we come to an end to the installation and setup of UiPath. Now if you wish to practice a few use-cases on how to automate tasks using UiPath, you can refer to my article on UiPath Automation Examples.
For details, You can even check RPA earning the key concepts to design RPA solutions using UiPath Community Edition with the RPA developer foundation.
Check out the RPA online training by Edureka, a trusted online learning company with a network of more than 250,000 satisfied learners spread across the globe. Both, these certifications will help you get in-depth knowledge in UiPath.
Got a question for us? Please mention it in the comments section of “UiPath Installation” and we will get back to you.
 Thank you for registering Join Edureka Meetup community for 100+ Free Webinars each month JOIN MEETUP GROUP
edureka.co