Data Science with Python Certification Course
- 132k Enrolled Learners
- Weekend
- Live Class
(49300)


 Copy Link!
It is always necessary to have interactive environments to create software applications and this fact becomes very important when you work in the fields of Data Science, engineering, and scientific research. The Python Spyder IDE has been created for the same purpose. In this article, you will be learning how to install and make use of Spyder or the Scientific Python and Development IDE.
Before moving on, let’s take a look at all the topics that are discussed over here:
Let’s begin.
Spyder is an open-source cross-platform IDE. The Python Spyder IDE is written completely in Python. It is designed by scientists and is exclusively for scientists, data analysts, and engineers. It is also known as the Scientific Python Development IDE and has a huge set of remarkable features which are discussed below.
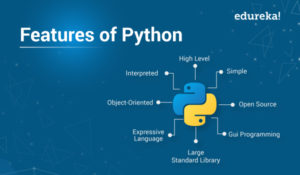
Some of the remarkable features of Spyder are:
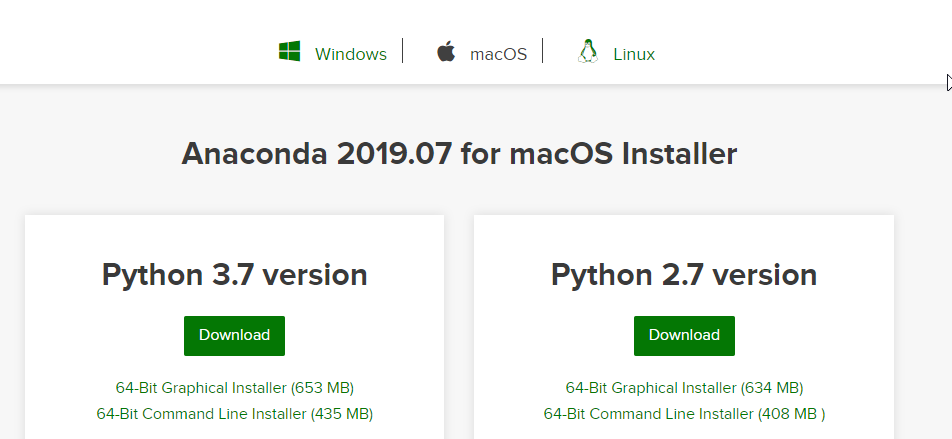
The Python Spyder IDE comes as a default implementation along with Anaconda Python distribution. This is not just the recommended method but also the easiest one. Follow the steps given below to install the Python Spyder IDE:

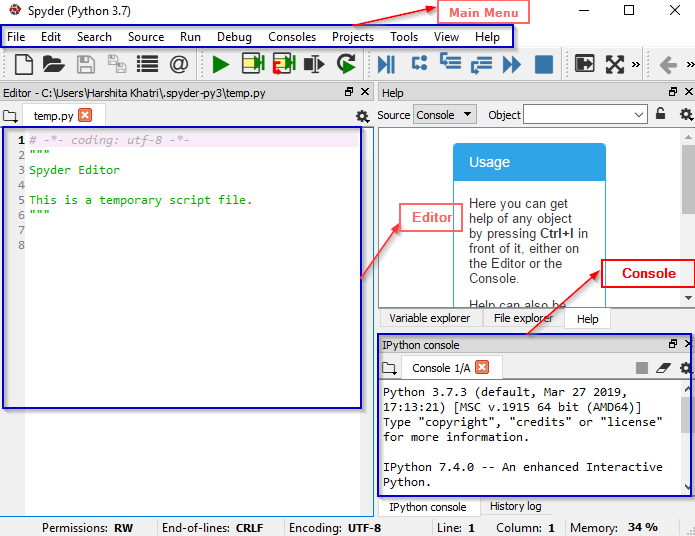
File–>New File
Projects–>New Project
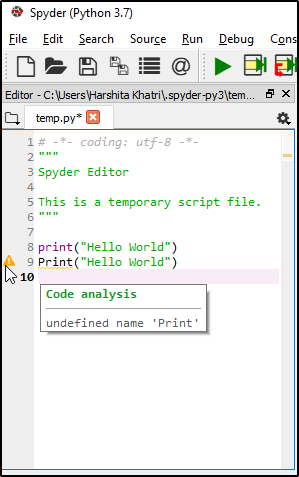
Writing code in Spyder becomes very easy with its multi-language code editor and a number of powerful tools. As mentioned earlier, the editor has features such as syntax highlighting, real-time analysis of code, style analysis, on-demand completion, etc. When you write your code, you will also notice that it gives a clear call stack for methods suggesting all the arguments that can be used along with that method.
Take a look at the example below:
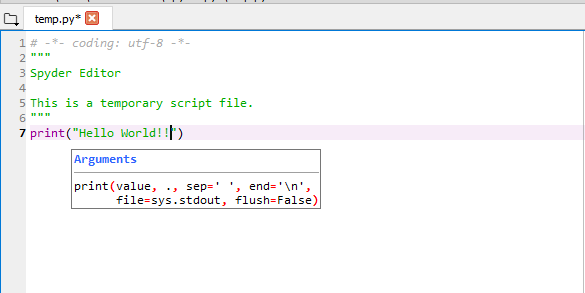
In the above example, you can notice that the editor is showing the complete syntax of the print function. Not just this, in case you have made an error in any line, you will be notified about it before the line number with a message describing what the issue is. Take a look at the image below:
 To run any file, you can select the Run option and click on run. Once executed, the output will be visible on the Console as shown in the image below:

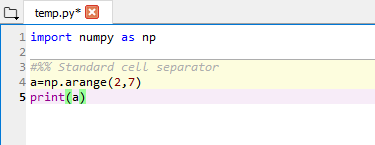
You can define code cells easily using the following:
| Type | Description |
#%% | Standard cell separator |
# %% | Standard cell separator, when the file has been edited with Eclipse |
# <codecell> | IPython notebook cell separator |
For example, when you use the Standard cell separator, you will see that the code has been separated as follows:
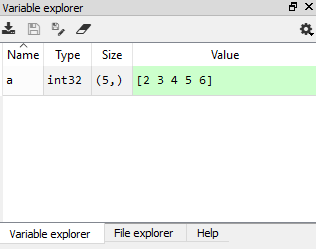
The Variable Explorer shows all the global objects references such as modules, variables, methods, etc of the current IPython Console. Not just this, you can also interact with these using various GUI based editors.
The File Explorer is basically a filesystem and directory browser that allows you to browse, open, and perform other management tasks on the files and folders. You can make use of the context menus functions for operating with them.

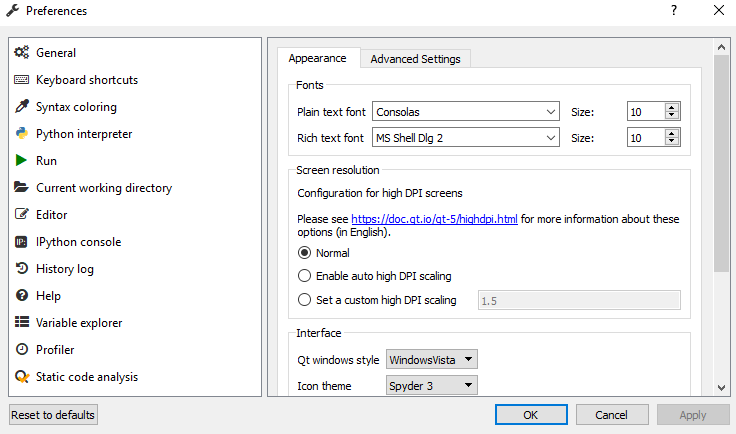
Python Spyder IDE can be configured conveniently using the options present in the preferences menu. You can change anything such as themes, syntax colors, font size, etc. To do this, navigate to Tools menu and then select the Preferences option. You will see the following window which will allow you to configure Spyder according to your choice:
The help pane allows you to find and display documentation of any object you desire. When you choose the help option, you will be able to see the following options:
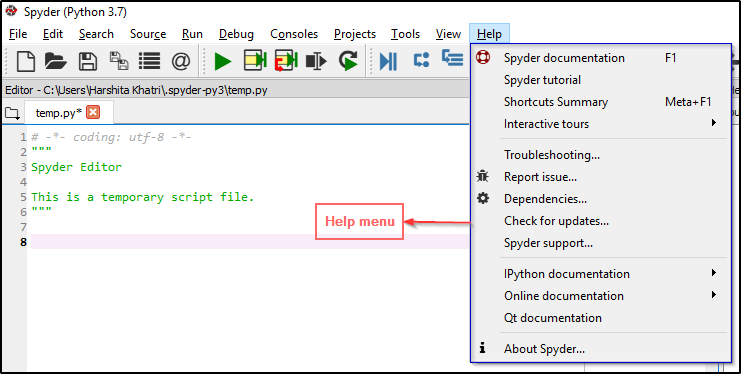 As you can see, it has many options that will help you solve any issue you encounter while using the Python Spyder IDE.
Got a question for us? Please mention it in the comments section of this “Python Spyder IDE” blog and we will get back to you as soon as possible.
To get in-depth knowledge on Python along with its various applications, you can enroll for live Python online training with 24/7 support and lifetime access.


 Thank you for registering Join Edureka Meetup community for 100+ Free Webinars each month JOIN MEETUP GROUP