
Python Scripting Certification Training
- 15k Enrolled Learners
- Weekend
- Self Paced
(5900)


 Copy Link!
_(1)_(1)_(1)_1648290397.jpg)
Below is the list of topics that I will be covering in this Servlet and JSP tutorial
You may also go through this recording of Servlet and JSP Tutorial where you can understand the topics in a detailed manner with examples.
This Edureka tutorial on “Servlet and JSP tutorial” will talk the fundamental concepts of servlets and JSP, its life cycle and various steps to create Servlet and Java Server Pages.
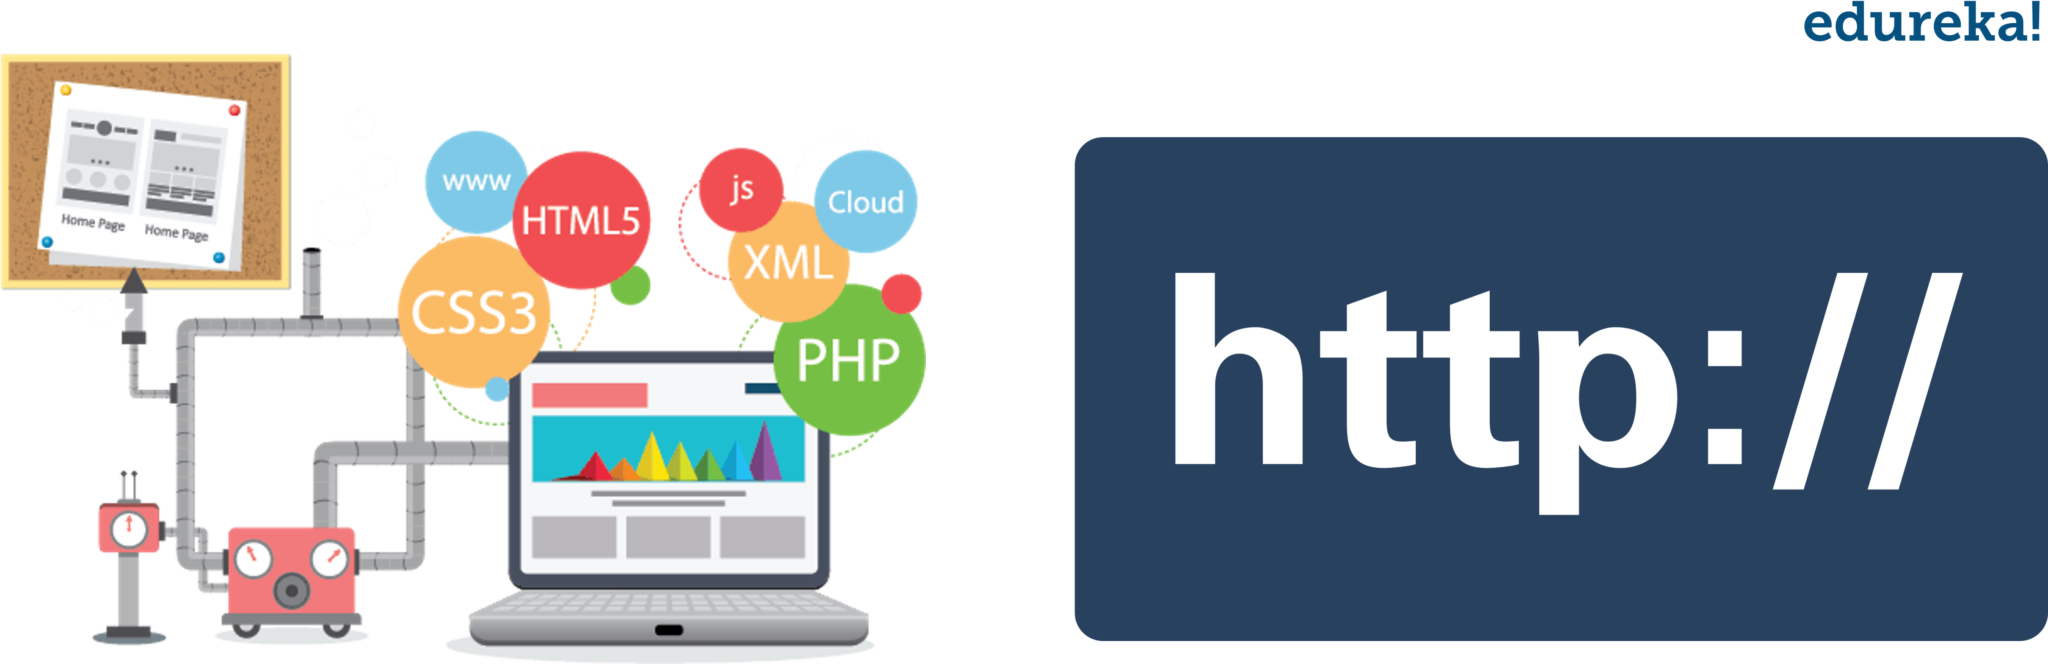
Web is a system of Internet servers that supports formatted documents. The documents are formatted using a markup language called HTML (HyperText Markup Language) that supports links to other documents like graphics, audio, and video files etc.
 Now that we know what is web, let’s move further and understand what is a website. So, a website is a collection of static files i.e. web pages like HTML pages, images, graphics etc. And, the Web application is a website with dynamic functionality on the server. Google, Facebook, Twitter are examples of web applications.
So, what is the link between the Web and HTTP? Let’s now find out.
HTTP is used by clients and servers to communicate on the web. It is considered as a stateless protocol because it supports only one request per connection. With HTTP the clients connect to the server to send one request and then disconnect. And this mechanism allows more users to connect to a given server over a period of time. Here, the client sends an HTTP request and the server answers with an HTML page to the client, using HTTP.
That was all about HTTP and Web. Now let’s dive deep into Servlets and understand its working mechanism.
Servlet is a server-side Java program module that handles client requests and implements the servlet interface. Servlets can respond to any type of request, and they are commonly used to extend the applications hosted by web servers.
 In this figure you can see, a client sends a request to the server and the server generates the response, analyses it and sends the response back to the client.
Now, let’s jump into the next concept and understand Servlet Life Cycle.
The entire life cycle of a servlet is managed by the Servlet container which uses the javax.servlet.Servlet interface to understand the Servlet object and manage it.
Servlet Life Cycle: The Servlet life cycle mainly goes through four stages:

When a server starts up, the servlet container deploy and loads all the servlets.
Next, a servlet is initialized by calling the init() method. Servlet.init() method is called by the Servlet container to notify that this Servlet instance is instantiated successfully and is about to put into service.
Then, servlet calls service() method to process a client’s request and is invoked to inform the Servlet about the client requests.
Finally, a servlet is terminated by calling the destroy(). The destroy() method runs only once during the lifetime of a Servlet and signals the end of the Servlet instance.
init() and destroy() methods are called only once. Finally, a servlet is garbage collected by the garbage collector of the JVM. So this concludes the life cycle of a servlet. Now, let me guide you through the steps of creating Java servlets.
In order to create a servlet, we need to follow a few steps in order. They are as follows:
Now, based on the above steps, let’s create a program to understand better, how a servlet works.
To run a servlet program, we should have Apache Tomcat Server installed and configured. Eclipse for Java EE provides in-built Apache Tomcat. Once the server is configured, you can start with your program. One important point to note – for any servlet program, you need 3 files – index.html file, Java class file, and web.xml file. The very first step is to create a Dynamic Web Project and then proceed further.
Now, let’s take an example where I will be creating a simple login servlet and display the output in the browser.
First, I will create index.html file
<!DOCTYPE html>
<html>
<body>

<form action="Login" method="post">

<table>

<tr>

<td>Name:</td>


<td><input type="text" name="userName"></td>

</tr>


<tr>

<td>Password:</td>


<td><input type="password" name="userPassword"></td>

</tr>

</table>

<input type="submit" value="Login">
</form>

</body>
</html>
Next, let’s code the Java Class file.
package Edureka;
import java.io.IOException;
import java.io.PrintWriter;
import javax.servlet.ServletException;
import javax.servlet.http.HttpServlet;
import javax.servlet.http.HttpServletRequest
import javax.servlet.http.HttpServletResponse;
public class Login extends HttpServlet
{
protected void doPost(HttpServletRequest req,HttpServletResponse res)throws ServletException,IOException
PrintWriter pw=res.getWriter();
res.setContentType("text/html");
String user=req.getParameter("userName");
String pass=req.getParameter("userPassword");
pw.println("Login Success...!")
if(user.equals("edureka") && pass.equals("edureka"))
pw.println("Login Success...!");
else
pw.println("Login Failed...!");
pw.close();
}
}
In the above code, I have set a condition – if username and password are equal to edureka, only then it will display successfully logged in, else login will be denied. After writing the Java class file, the last step is to add mappings to the web.xml file. Let’s see how to do that.
The web.xml file will be present in the WEB-INF folder of your web content. If it is not present, then you can click on Deployment Descriptor and click on Generate Deployment Descriptor Stub. Once you get your web.xml file ready, you need to add the mappings to it. Let’s see how mapping is done using the below example:
<?xml version="1.0"encoding="UTF-8"?>
<web-app xmlns:xsi="<a href="http://www.w3.org/2001/XMLSchema-instance">http://www.w3.org/2001/XMLSchema-instance</a>" xmlns="<a href="http://xmlns.jcp.org/xml/ns/javaee">http://xmlns.jcp.org/xml/ns/javaee</a>"xsi:schemaLocation="<a href="http://xmlns.jcp.org/xml/ns/javaee">http://xmlns.jcp.org/xml/ns/javaee</a> <a href="http://xmlns.jcp.org/xml/ns/javaee/web-app_3_1.xsd">http://xmlns.jcp.org/xml/ns/javaee/web-app_3_1.xsd</a>"version="3.1">
<display-name>LoginServlet</display-name>
<servlet>
<servlet-name>Login</servlet-name>
<servlet-class>Edureka.Login</servlet-class>
</servlet>
<servlet-mapping>
<servlet-name>Login</servlet-name>
<url-pattern>/Login</url-pattern>
</servlet-mapping>
<welcome-file-list>
<welcome-file>index.html</welcome-file>
</welcome-file-list>
</web-app>
So, this is how a servlet is created and configured. Let’s now see what a Generic servlet is and how is it created.
It is a protocol-independent servlet that should override the service() method to handle the client request. The service() method accepts two arguments, ServletRequest object, and ServletResponse object. Work of request object is to inform the servlet about the request made by the client while the response object returns a response back to the client. GenericServlet is an abstract class and it has only one abstract method, which is service(). That’s the whole concept when we create a Generic Servlet by extending the GenericServlet class, we must override the service() method.
Now, let’s see how to create and invoke a Generic servlet. Again I will code 3 files as shown below:
HTML file
We are creating an HTML file that will call the servlet once we click on the link on the web page. Create this file in the WebContent folder. The path of this file should look like this: WebContent/index.html
<html>
<title>Generic Servlet Demo</title>
</head>
<body>
<a href="welcome">Click here to call Generic Servlet</a>
</body>
</html>
Java Class file
Here we will be creating a Generic Servlet by extending GenericServlet class. When creating a GenericServlet, you must override the service() method. Right click on the src folder and create a new class file and name the file as generic. The file path should look like this: Java Resouces/src/default package/generic.java
package EdurekaGeneric;
import java.io.*;
importjavax.servlet.*;
public class generic extends GenericServlet{
public void service(ServletRequest req,ServletResponse res) throws IOException,ServletException{
res.setContentType("text/html");
PrintWriter pwriter=res.getWriter();
pwriter.print("<html>");
pwriter.print("<body>");
pwriter.print("
<h2>Generic Servlet Example</h2>

");
pwriter.print("Welcome to Edureka YouTube Channel");
pwriter.print("</body>");
pwriter.print("</html>");
}
}
web.xml
This file can be found at this path WebContent/WEB-INF/web.xml. In this file, we will map the Servlet with the specific URL. Since we are calling the welcome page upon clicking the link on index.html, it will map the welcome page to the Servlet class that we have already created above.
<servlet>
<servlet-name>MyGenericServlet</servlet-name>
<servlet-class>EdurekaGeneric.generic</servlet-class>
</servlet>
<servlet-mapping>
<servlet-name>MyGenericServlet</servlet-name>
<url-pattern>/welcome</url-pattern>
</servlet-mapping>
After this, start your Tomcat Server and run the servlet. You will get the desired output. So this was all about Generic Servlets. Now let’s move further and understand the concept of session tracking.
Session simply means a particular interval of time. Session tracking is a technique to maintain state (data) of a user also known as session management in servlet. So, each time user requests to the server, the server treats the request as the new request.
Below figure depicts how each request from the client is considered as a new request.![]()
In order to recognize the particular user, we need session tracking. Now let’s move further and see one of the techniques of session tracking i.e. Cookies.
A cookie is a small piece of information that is persisted between the multiple client requests. A cookie has a name, a single value, and optional attributes such as a comment, path and domain qualifiers, a maximum age, and a version number.
As it is a technique of Session tracking, by default, each request is considered as a new request.
 In this, we add a cookie with the response from the servlet. So the cookie is stored in the cache of the browser. After that, if a request is sent by the user, a cookie is added with the request by default.
Now as you have understood how cookie works, let see a small example illustrating the use of cookies.
Let’s see an example of creating a cookie, adding the response and retrieving the results. Here I will be writing 2 java class files i.e MyServlet1 and MyServlet2.
File: MyServlet1
package Edureka;
import java.io.*;
import javax.servlet.*;
import javax.servlet.annotation.WebServlet;
import javax.servlet.http.*;
@WebServlet("/login")
public class MyServlet1 extends HttpServlet{
public void doGet(HttpServletRequest request,  HttpServletResponse response) {
try{
response.setContentType("text/html");
PrintWriter pwriter = response.getWriter();
String name = request.getParameter("userName");
String password = request.getParameter("userPassword");
pwriter.print("Hello here:"+name);
pwriter.print(" Your Password is: "+password);
//Creating two cookies
Cookie c1=new Cookie("userName",name);
Cookie c2=new Cookie("userPassword",password);
//Adding the cookies to response header
response.addCookie(c1);
response.addCookie(c2);
pwriter.print("
<a href='welcomehere'>View Details</a>");
pwriter.close();
}catch(Exception exp){
System.out.println(exp);
}
}
}
File: MyServlet2
package Edureka;
import java.io.*;
import javax.servlet.*;
import javax.servlet.annotation.WebServlet;
import javax.servlet.http.*;
@WebServlet("/welcomehere")
public class MyServlet2 extends HttpServlet {
public void doGet(HttpServletRequest request, HttpServletResponse response){
try{
response.setContentType("text/html");
PrintWriter pwriter = response.getWriter();
//Reading cookies
Cookie[] c=request.getCookies();
//Displaying User name value from cookie
pwriter.print("Name here: "+c[0].getValue());
pwriter.print("Password: "+c[1].getValue());
//pwriter.print("
<a href='welcome'>View Details</a>");
pwriter.close();
}catch(Exception exp){
System.out.println(exp);
}
}
}
Now, let’s create a simple HTML form for cookies.
<!DOCTYPE html>
<html>
<body>
<body>

<form action="login">
User Name:<input type="text" name="userName"/>
Password:<input type="password" name="userPassword"/>
<input type="submit" value="submit"/>
</form>

</body>
</html>
Now, the last step is to create XML file and add all the mappings to it.
<servlet>
<servlet-name>Servlet1</servlet-name>
<servlet-class>Edureka.MyServlet1</servlet-class>
</servlet>
<servlet-mapping>
<servlet-name>Servlet1</servlet-name>
<url-pattern>/login</url-pattern>
</servlet-mapping>
<servlet>
<servlet-name>Servlet2</servlet-name>
<servlet-class>Edureka.MyServlet2</servlet-class>
</servlet>
<servlet-mapping>
<servlet-name>Servlet2</servlet-name>
<url-pattern>/welcomehere</url-pattern>
</servlet-mapping>
Now you are all set for execution. You can run the code and get the desired output. This is how a cookie works. So that was all about Servlets. If you ish to learn Advance Java in depth, you can refer to this Advanced Java Tutorial. Now that you have gained some insights on Servlets, let’s move ahead and understand what is Java Server Pages.
JSP or Java Server Pages is a technology that is used to create web application just like Servlet technology. It is an extension to Servlet – as it provides more functionality than a servlet such as expression language, JSTL, etc. A JSP page consists of HTML tags and JSP tags. The JSP pages are easier to maintain than Servlet because we can separate designing and development.
Now, as we know what JSP is, let’s compare JSP with Servlets and understand which is best suitable for the web.
I hope you understood the difference between JSP and Servlets. Now, let’s move further and understand Scripting elements.
The scripting elements provide the ability to insert java code inside the JSP. There are three types of scripting elements:
Syntax : <% java source code %>In this example, we have created two files index.html and welcome.jsp. The index.html file gets the username from the user and the welcome.jsp file prints the username with the welcome message. Now, let’s look at the code.
File: index.html
<html> <body> <form action="welcome.jsp"> <input type="text" name="uname"> <input type="submit" value="go"> </form> </body> </html>
File: welcome.jsp
<html>
<body>
<% String name=request.getParameter("uname"); print("welcome "+name); %>
</form>
</body>
</html>
Syntax : <%= statement %>Now let’s take a small example of displaying the current time. To display the current time, we have used the getTime() method of Calendar class. The getTime() is an instance method of Calendar class, so we have called it after getting the instance of Calendar class by the getInstance() method.
File: index.jsp
<html> <body> Current Time: <%= java.util.Calendar.getInstance().getTime() %> </body> </html>
Syntax: <%! field or method declaration %>In the below example of JSP declaration tag, we are defining the method which returns the cube of a given number and calling this method from the JSP expression tag. But we can also use JSP scriptlet tag to call the declared method. Let’s see how.
File: index.jsp
<html>
<body>
<%! int cube(int n){ return n*n*n*; } %>
<%= "Cube of 3 is:"+cube(3) %>
</body>
</html>
So, this is all about JSP Scripting Elements. Now let’s move ahead and see request and response objects of JSP.
JSP request is an implicit object of type HttpServletRequest that is created for each JSP request by the web container. It can be used to get request information such as a parameter, header information, remote address, server name, server port, content type, character encoding etc. It can also be used to set, get and remove attributes from the JSP request scope.
Let’s see the simple example of request implicit object where we are printing the name of the user with a welcome message. Let’s see how.
Example of JSP request implicit object
File: index.html
<form action="welcome.jsp"> <input type="text" name="uname"> <input type="submit" value="go"> </form>
File: welcome.jsp
<% String name=request.getParameter("uname"); print("welcome "+name); %>
In JSP, the response is an implicit object of type HttpServletResponse. The instance of HttpServletResponse is created by the web container for each JSP request. It can be used to add or manipulate responses such as redirect response to another resource, send error etc.
Let’s see the example of response implicit object where we are redirecting the response to Google.
Example of response implicit object
File: index.html
<form action="welcome.jsp"> <input type="text" name="uname"> <input type="submit" value="go"> </form>
File: welcome.jsp
<% sendRedirect("http://www.google.com"); %>
So, this is how request and response objects work. This brings to the end of Servlet and JSP tutorial article. I hope this blog was informative and added value to your knowledge.
Check out the Java Certification Training by Edureka, a trusted online learning company with a network of more than 250,000 satisfied learners spread across the globe. Edureka’s Java J2EE and SOA training and certification course is designed for students and professionals who want to be a Java Developer. The course is designed to give you a head start into Java programming and train you for both core and advanced Java concepts along with various Java frameworks like Hibernate & Spring.
If you want to start a career in the Node JS Field then check out the Node JS Training Course by Edureka, a trusted online learning company with a network of more than 250,000 satisfied learners spread across the globe.
Got a question for us? Please mention it in the comments section of this “Java Servlet” blog and we will get back to you as soon as possible.


 Thank you for registering Join Edureka Meetup community for 100+ Free Webinars each month JOIN MEETUP GROUP
Hey, I appreciate your quality stuff and I would love to read more blog posts like this.