


This blog post will help you understand how to install and set up sbteclipse plugin for running Scala application in Eclipse IDE. First, let’s understand what is SBT. Wikipedia defines it as the “the de facto build tool for the Scala community, used by the Lift web framework and Play Framework.” It is essentially an an open source build tool for Scala and Java projects, similar to Java’s Maven or Ant.
Its main features are:
• Native support for compiling Scala code and integrating with many Scala test frameworks
• Build descriptions written in Scala using a DSL
• Dependency management using Ivy (which supports Maven-format repositories)
• Continuous compilation, testing, and deployment
• Integration with the Scala interpreter for rapid iteration and debugging
• Support for mixed Java/Scala projects
Sbteclipse however, is a plugin for sbt 0.13. In order to setup this plugin, one should have sbt installed first on their system.
Let us download sbt first.
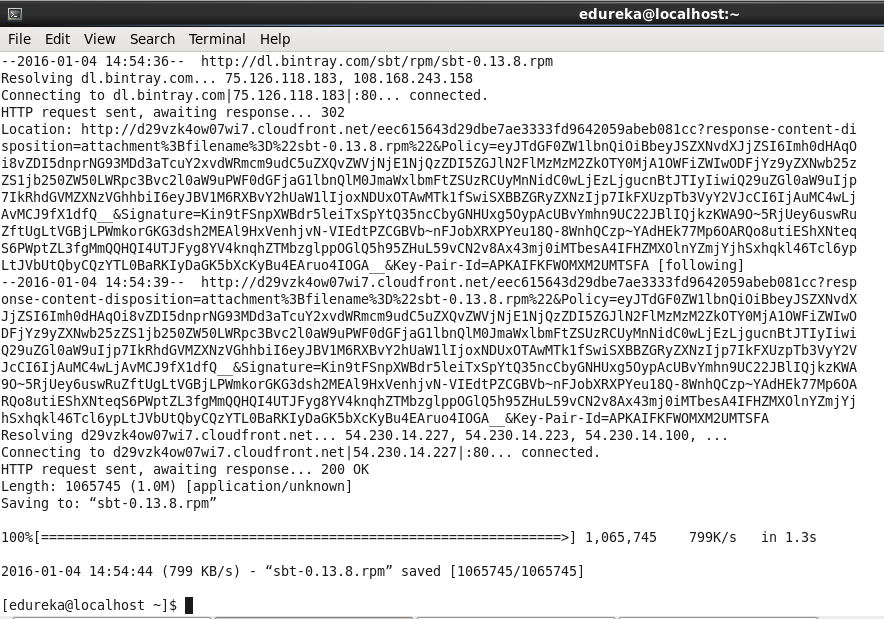
Command: wget http://dl.bintray.com/sbt/rpm/sbt-0.13.8.rpm


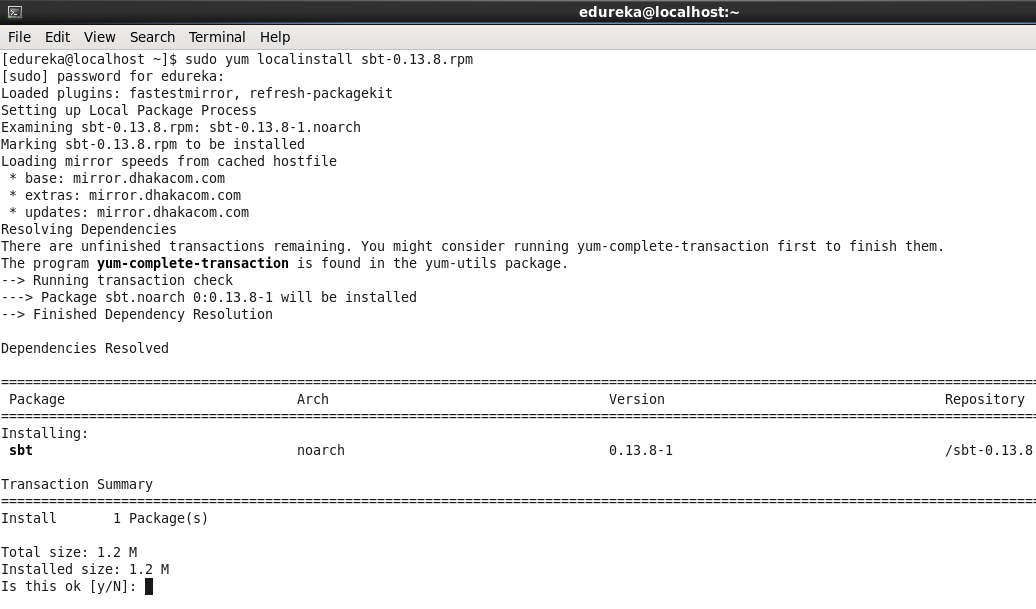
Command: sudo yum localinstall sbt-0.13.8.rpm


Command: wget http://dl.bintray.com/sbt/rpm/sbt-0.13.8.rpm
Now let’s check the sbt version.
Command: sbt –version


To import your project to Eclipse, you must add sbteclipse to your plugin definition file. You can use either the global one at ~/.sbt/plugins/plugins.sbt or the project-specific one at PROJECT_DIR/project/plugins.sbt:
Let’s add the plugin globally so that we need not add it in each project individually. The steps for this are:
Make a plugin directory inside .sbt/0.13/
Command: mkdir -p .sbt/0.13/plugins
Create a file plugins.sbt
Command: sudo gedit .sbt/0.13/plugins/plugins.sbt


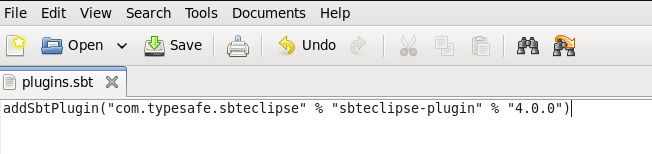
In order to add the sbteclipse plugin, just add this setting to this file.
addSbtPlugin(“com.typesafe.sbteclipse” % “sbteclipse-plugin” % “4.0.0”)

Now the sbteclipse plugin is set.
Once the installation is complete, we will be able to use the additional command eclipse when we launch sbt.
These are the steps to run a project directly by sbt. We will next learn how to run the project in eclipse.
sbt package
mkdir helloworld
cd helloworld/
mkdir -p src/main/scala
sudo gedit src/main/scala/hello.scala


Put this code:
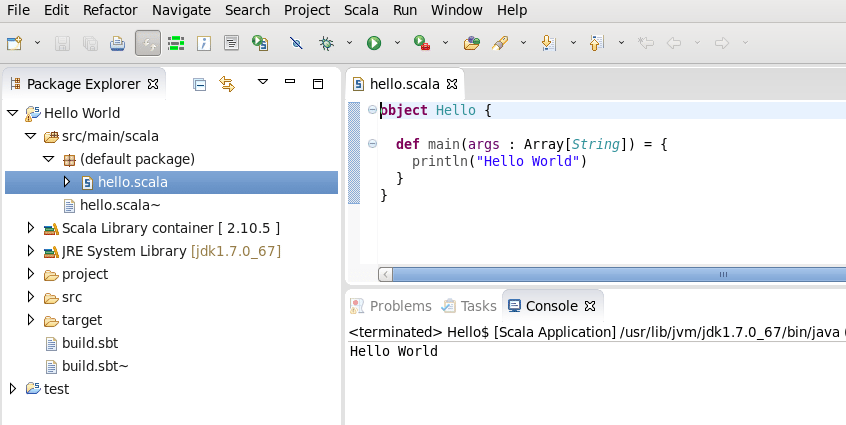
object Hello {
def main(args : Array[String]) = {
println(“Hello World”)
}
}
Create a build.sbt file inside the helloworld directory.
sudo gedit build.sbt
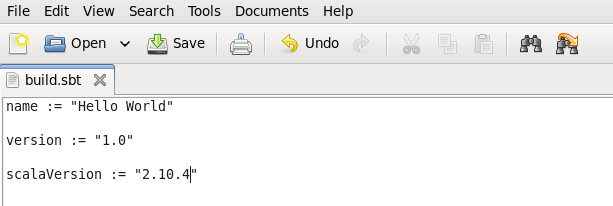

Below is a very basic sbt file, where you can add dependencies needed for your application.
sbt package
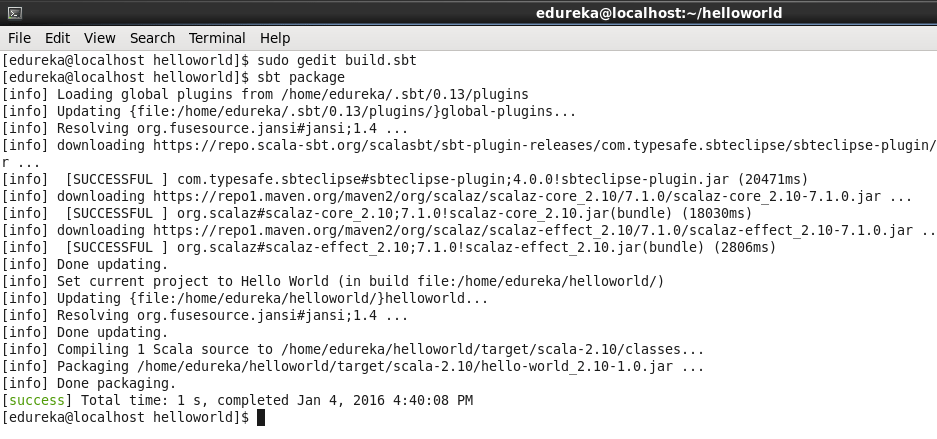

This will create the jar file to run this application. Now run this command in order to run your application.
Command: spark-submit –class “Hello” –master local[2] target/scala-2.10/hello-world_2.10-1.0.jar


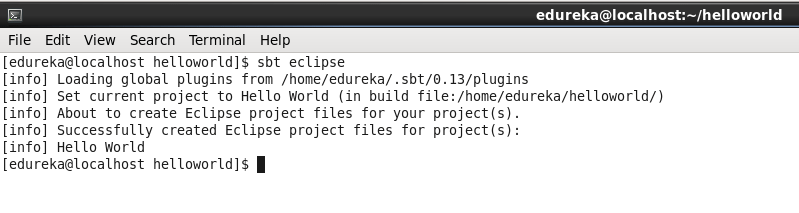
Sbt eclipse
The command below will make the project eclipse compatible and you will be able to import this project in eclipse and run it successfully.
Command: sbt eclipse

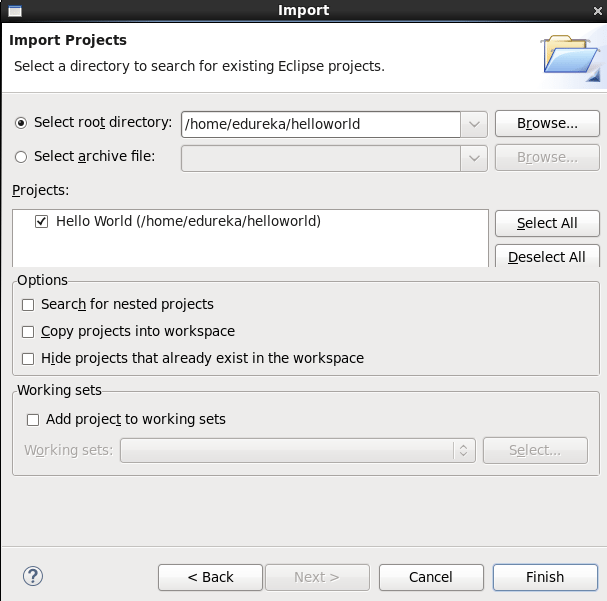
Go to Scala IDE , File -> Import
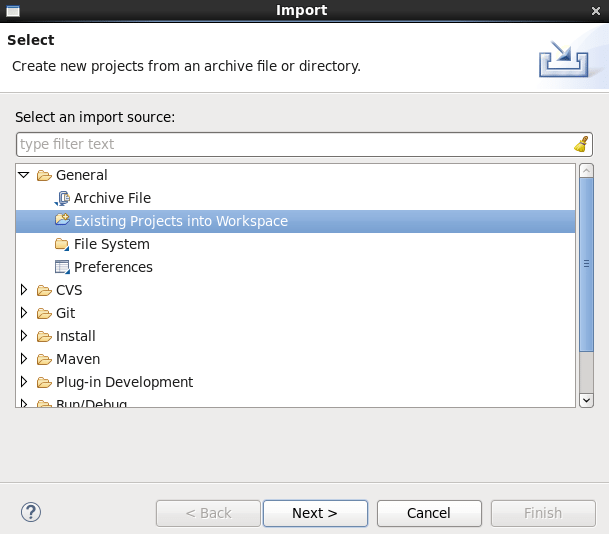

Select root directory helloworld.
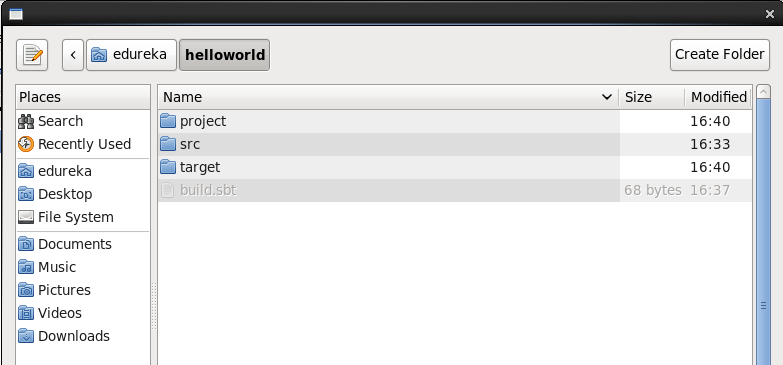

You can now see that you can import this project by clicking on Finish.

Now, let’s run it as Scala application.

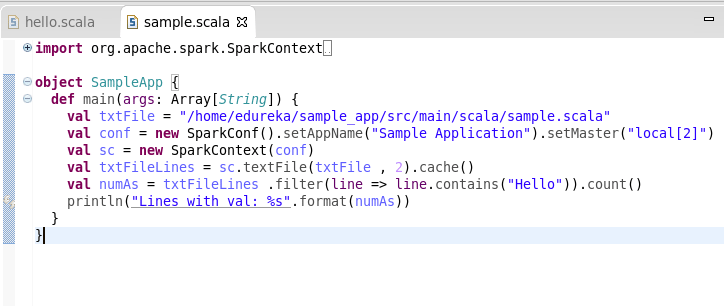
Just FYI, when you are setting SparkConf, always remember to set Master as below.

Now you can run your application.


Got a question for us? Please mention it in the comments section and we will get back to you or you can also join our Scala Certification today..
Related Posts:
Apache Spark Vs Hadoop MapReduce
5 Reasons to Learn Apache Spark
Apache Kafka with Spark Streaming: Real-Time Analytics Redefined