


The last decade has seen an overwhelming evolution of the Software Testing industry giving way to greener pastures. It is important to ensure effective performance of software application and Software Testing is required to ensure that the application runs without any failures. This blog on “JMeter Tutorial” will provide in-depth knowledge about a load testing tool for analyzing and measuring the performance in the following sequence:
What is Performance Testing?
It is very important to verify whether the product meets expected or required performance. Unfortunately, we figure out this pitfall post delivery of the product. But performance has become an inevitable factor nowadays, especially for web and mobile applications as the user strength is very huge for each application.


- Speed – It Checks whether the response of the application is fast.
- Scalability – It determines the maximum user load.
- Stability – It checks if the application is stable under varying loads.
Now let’s move ahead with our “JMeter Tutorial” and find out some of the best tools used for performance testing.
Tools used for Performance Testing
Performance testing is significant in real time, particularly from a point of view of customer satisfaction. There are several performance testing tools available such as:
JMeter is one of the most preferred tool for Performance Testing. So, Let’s move ahead with our “JMeter Tutorial” to know more about the particular testing tool.
What is JMeter?
Apache JMeter is a testing tool used for analyzing and measuring the performance of different software services and products. It is a pure Java open source software used for testing Web Application or FTP application.


It is used to execute performance testing, load testing and functional testing of web applications. JMeter can also simulate a heavy load on a server by creating tons of virtual concurrent users to web server.
How does JMeter perform Testing?
Let’s have a look at the different steps performed by JMeter during testing:
- It creates a request and sends to the server.
- It receives the response from server, collects them and visualizes those details in a chart or graph.
- It processes the response from the server.
- It generates the test result in several formats such as text, XML, JSON so that the tester can analyze data.
Now let’s move ahead with our “JMeter Tutorial” and find out what makes JMeter one of the most preferred tool for testing.
Advantages of JMeter
Apache JMeter open source software fills a big void by making the testing process easy. Some of the advantages of JMeter include:


Open-source – JMeter is an open source software. This means that it can be downloaded free of cost. It is also a 100% pure Java application. The developer can use its source code, can modify and customize it as per their requirement.


User-friendly – JMeter has a comprehensive GUI, which helps to create test plan and configure the elements. Adding elements is also easy. You just have to right-click on the tree scenario and add what you need to do.


Support – Basically it is designed for performance testing, but also supports other non-functional tests such as Stress Testing, Distributed Testing, Web service testing, etc by creating test plans.

Comprehensive Documentation – This is one of the most important things to be highlighted. Because of its robust documentation, user can have a clear idea on each and every step, starting from scratch including installation and configuration of the test settings and generating final report.


Recording – JMeter allows user to record HTTP/HTTPS to create Test plan using Recording facility. We use Proxy Server that allows JMeter to watch and record your actions while you browse your web application with your normal browser.


Reporting – JMeter supports dashboard report generation. A host of reports are generated through JMeter which helps the user to understand Performance test execution results.
JMeter Tutorial
Now that you know what is JMeter and why we prefer this testing tool over other tools, let’s move ahead and focus on the following:
JMeter Installation Process
Let’s have a look at the steps involved in the installation process of JMeter:
Step 1 – Install Java
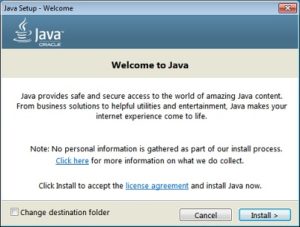

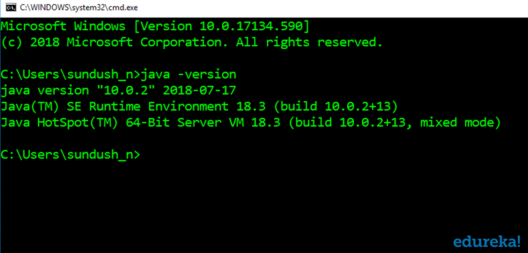
JMeter is pure Java desktop application and it requires a fully compliant JVM 6 or higher. You can download and install the latest version of Java SE Development Kit.
You can check in the command prompt if the installation is successful. It will give you the following output :

Step 2 – Download JMeter
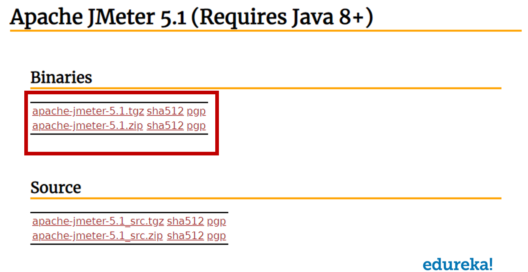

The Latest version of JMeter available is 5.1. You can download any of the binaries.
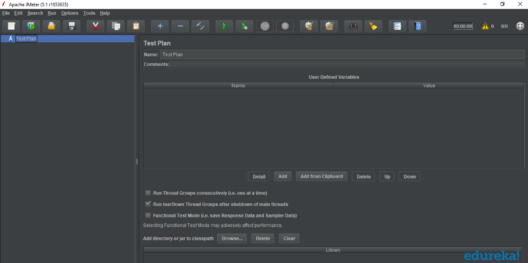
Step 3 – Install JMeter


Installation of JMeter is extremely easy and simple. You simply unzip the zip/tar file into the directory where you want JMeter to be installed. There is no tedious installation screen to deal with.
If you are using Window, just run the file /bin/jmeter.bat to start JMeter in GUI mode:

Now that you have learnt about the installation process of JMeter, let’s move ahead with our “JMeter Tutorial” and know about the different elements of JMeter.
Elements of JMeter
The different components of JMeter are called Elements. Each Element is designed for a specific purpose. Some of the main elements are :
- Thread Group
- Samplers
- Listeners
- Configuration
Thread Group
Thread Groups is a collection of Threads. Each thread represents one user using the application under test. It simulates one real user request to the server. The controls for a thread group also allow you to set the number of threads for each group.

For example, if you set the number of threads as 100, JMeter will create and simulate 100 user requests to the server under test.

Samplers
JMeter supports testing HTTP, FTP, JDBC and many more protocols.Thread Groups simulate user request to the server. Samplers help the Thread Group to know which type of requests (HTTP, FTP etc.) it needs to make.

- FTP request: You can use an FTP request sampler in JMeter to do a performance test on FTP server. This controller lets you send an FTP “download file” or “upload file” request to an FTP server.
- HTTP request: This sampler lets you send an HTTP/HTTPS request to a web server.
- JDBC request: This sampler lets you execute Database Performance Testing. It sends a JDBC Request to a database.
- BSF Sampler: This sampler allows you to write a sampler using a BSF scripting language.
- Access Log Sampler: This sampler allows you to read access logs and generate HTTP requests.
- SMTP Sampler: This sampler is used to send email messages using the SMTP protocol.
Listeners
Listeners show the results of the test execution. They can show results in a different format such as a tree, table, graph or log file.
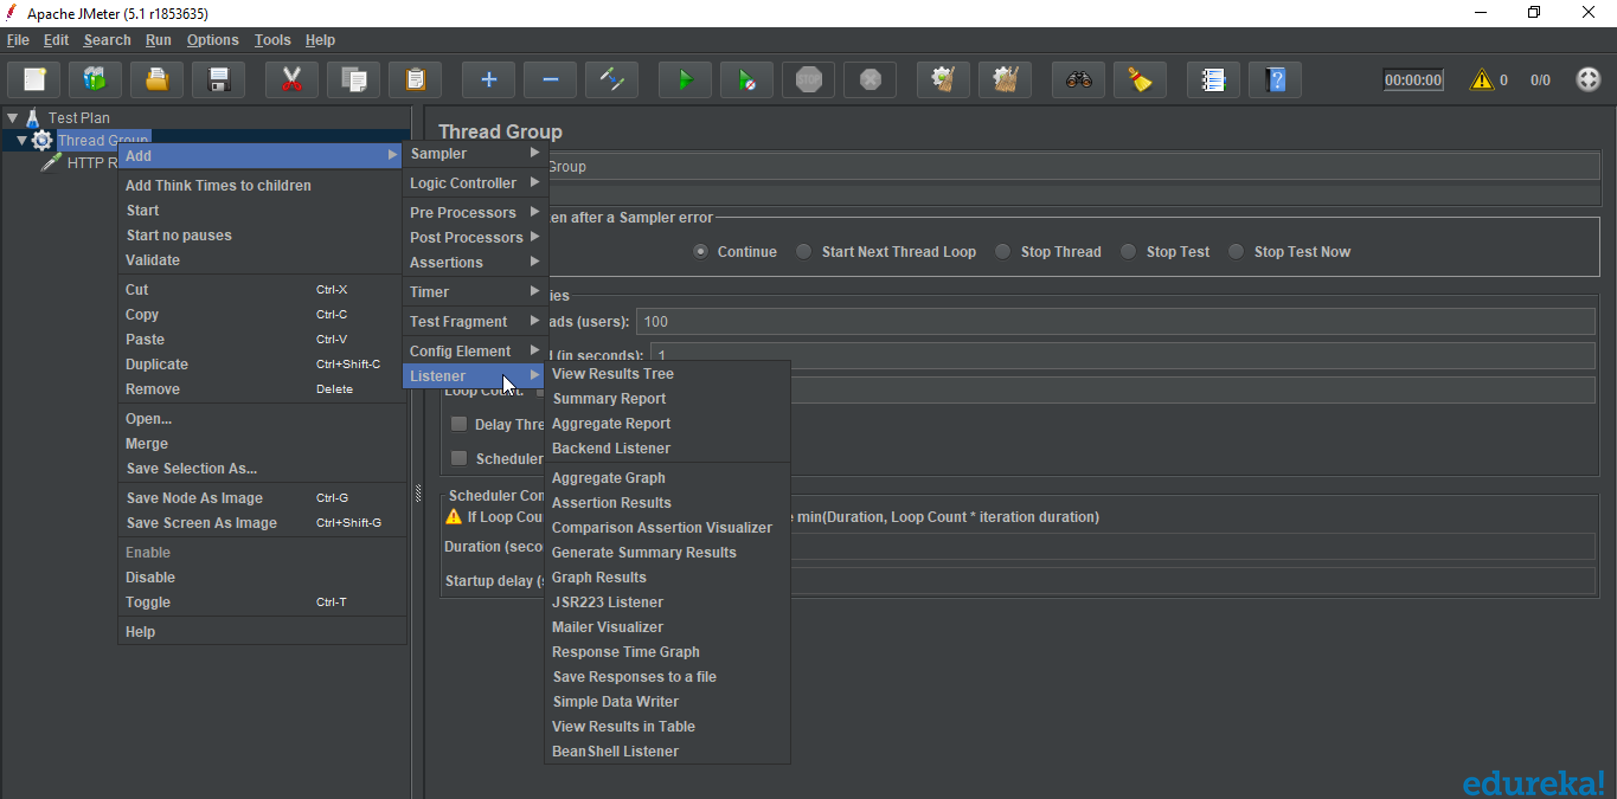

- Graph result listeners display the server response times on a Graph
- View Result Tree show results of the user request in basic HTML format
- Table Result show summary of a test result in table format
- Log show summary of a test results in the text file
Configuration Elements
Configuration Elements are used to set up defaults and variables for later use by samplers.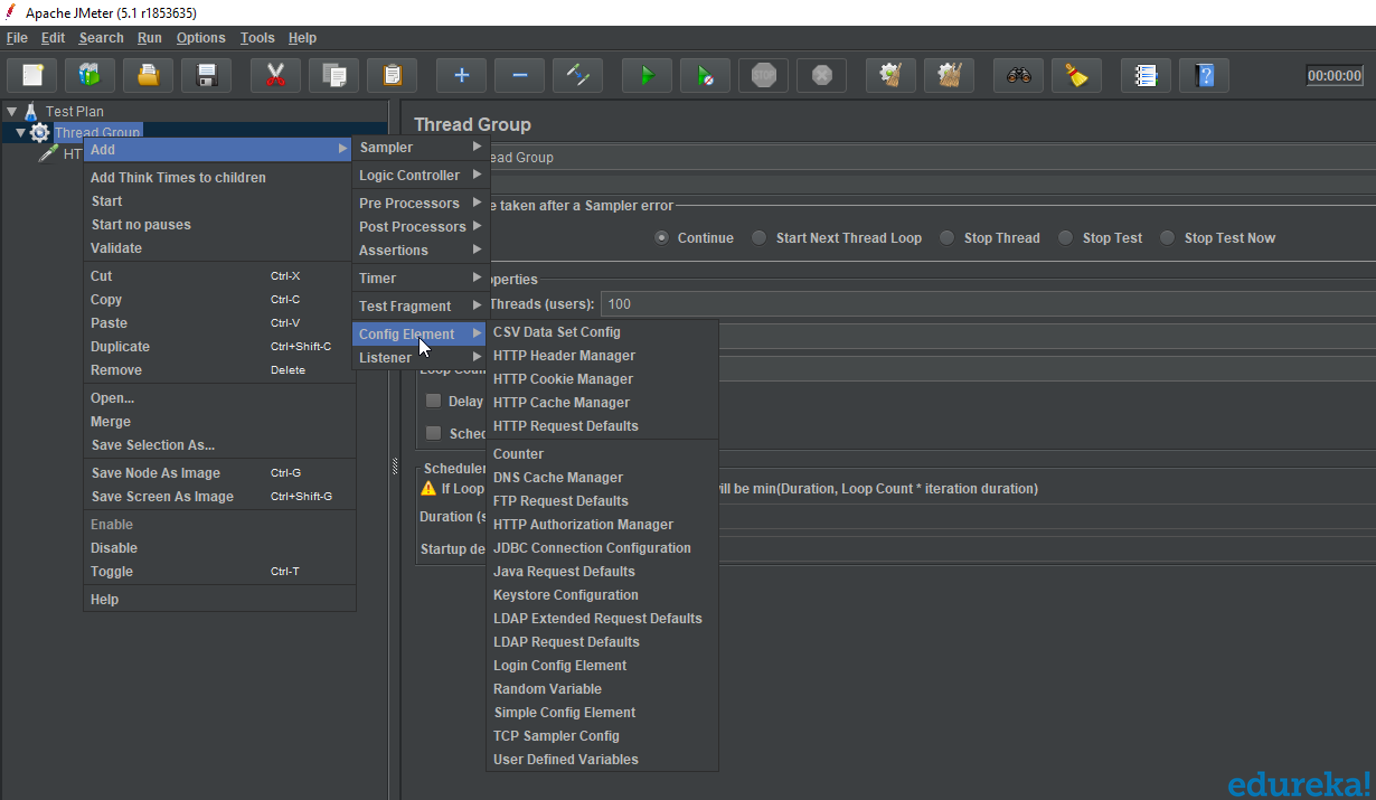

- CSV Data Set Config : TheCSV Data Set Config allows you to read different parameters from text file. It is used to read lines from a file, and split them into variables.
- HTTP Cookie Manager : HTTP Cookie Manager has the same feature as a web browser. If you have an HTTP Request and the response contains a cookie, the Cookie Manager automatically stores that cookie to use it for all future requests.
- HTTP request default : This element lets you set default values that your HTTP Request controllers use.
- Login Config Element : The Login Config Element lets you add or override username and password settings in samplers.
Now with this, we come to an end to this “JMeter Tutorial” blog. I Hope you guys enjoyed this article and understood what is performance testing and how JMeter works.
Now that you have understood what is JMeter, check out the Performance testing course by Edureka, a trusted online learning company with a network of more than 250,000 satisfied learners spread across the globe. This course provides you insights into software behavior during workload. In this course, you will learn how to check the response time and latency of software and test if a software package is efficient for scaling. The course will help you check the strength and analyze the overall performance of an application under different load types. Got a question for us? Please mention it in the comments section of “JMeter Tutorial” and we will get back to you.