


JavaScript is one of the most popular languages in Full-Stack, Front-end, and Back-end Development. It is used to create beautifully designed websites. In JavaScript, validation is used to authenticate a user. This article provides a step by step guide on Email validation in JavaScript in the following sequence:
What is Validation?
Validation is a method to authenticate the user. JavaScript provides the facility to validate the form on the client-side so data processing will be faster than server-side validation. It is preferred by most of the web developers. Through JavaScript, we can validate name, password, email, date, mobile numbers and more fields.


Client-side validation prevents the client from knowing whether the form is okay before reloading a page. Whereas, Server-side validation is important due to the fact that client-side validation can be completely bypassed by turning off JavaScript.
Now let’s move ahead and look at the steps involved in email validation in JavaScript.

Email Validation in JavaScript – Step by Step
Validating email is a very important point while validating an HTML form. An email is a string or a subset of ASCII characters that are separated into two parts by “@” symbol.
The first part can consist of the following ASCII Characters:
- Uppercase (A-Z) and lowercase (a-z) letters
- Digits (0-9)
- Characters such as ! # $ % & ‘ * + – / = ? ^ _ ` { | } ~
- Character . ( period, dot or fullstop) but it should not be the first or last character and should not come one after the other
The domain name consists of
- letters
- digits
- hyphens
- dots
To get a valid email id we use a regular expression /^w+([.-]?w+)*@w+([.-]?w+)*(.w{2,3})+$/. Now let’s see how this expression is used in the JavaScript Code to validate your email id:
email-validation.js
function ValidateEmail(inputText)
{
var mailformat = /^w+([.-]?w+)*@w+([.-]?w+)*(.w{2,3})+$/;
if(inputText.value.match(mailformat))
{
alert("You have entered a valid email address!");    //The pop up alert for a valid email address
document.form1.text1.focus();
return true;
}
else
{
alert("You have entered an invalid email address!");    //The pop up alert for an invalid email address
document.form1.text1.focus();
return false;
}
}
Now let’s apply the JavaScript function in the HTML form:
emailvalidation.html
<!DOCTYPE html> <html lang="en"> <head> <meta charset="utf-8"> <title>JavaScript email validation</title> <link rel='stylesheet' href='form-style.css' type='text/css' /> //link to the source file of css to add styles </head> <body onload='document.form1.text1.focus()'> <div class="mail"> <h2>Enter email to Validate</h2> <form name="form1" action="#"> <ul> <li><input type='text' name='text1'/></li> <li> </li> <li class="Validate"><input type="submit" name="Validate" value="Validate" onclick="ValidateEmail(document.form1.text1)"/></li> //Adding the submit button <li> </li> </ul> </form> </div> <img src="data:image/gif;base64,R0lGODlhAQABAIAAAAAAAP///yH5BAEAAAAALAAAAAABAAEAAAIBRAA7" data-wp-preserve="%3Cscript%20src%3D%22email-validation.js%22%3E%3C%2Fscript%3E" data-mce-resize="false" data-mce-placeholder="1" class="mce-object" width="20" height="20" alt="<script>" title="<script>" /> //link to the source file of javascript function </body> </html>
Now let’s add style to the form with the help of CSS:
form-style.css
li {list-style-type: none;
font-size: 16pt;
}
.mail {
margin: auto;
padding-top: 10px;
padding-bottom: 10px;
width: 800px;
background : rgb(153, 198, 211);
border: 1px soild rgb(1, 20, 24);
}
.mail h2 {
margin-left: 38px;
}
input {
font-size: 20pt;
}
input:focus, textarea:focus{
background-color: lightyellow;
}
input submit {
font-size: 10pt;
}
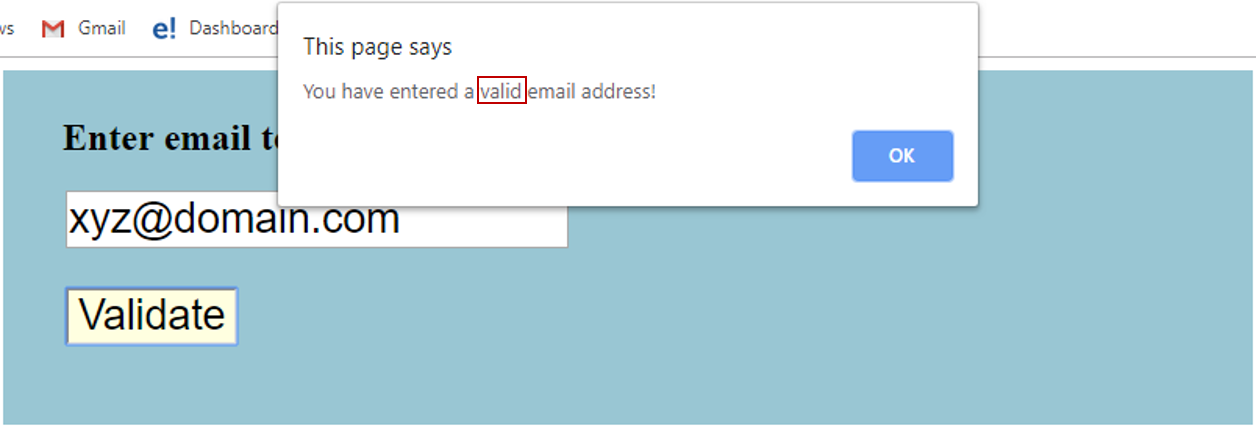
Now that you have created the form to validate email id, you will get the following output after executing the HTML code:
Output


Java Full Course – 10 Hours | Java Full Course for Beginners | Java Tutorial for Beginners | Edureka

🔥𝐄𝐝𝐮𝐫𝐞𝐤𝐚 𝐉𝐚𝐯𝐚 𝐂𝐨𝐮𝐫𝐬𝐞 𝐓𝐫𝐚𝐢𝐧𝐢𝐧𝐠: https://www.edureka.co/java-j2ee-training-course (Use code “𝐘𝐎𝐔𝐓𝐔𝐁𝐄𝟐𝟎”)
This Edureka Java Full Course will help you understand the various fundamentals of Java programm…
Now base on the format of the regular expression, if you enter a valid email id such as xyz@domain.com it will show the following alert:

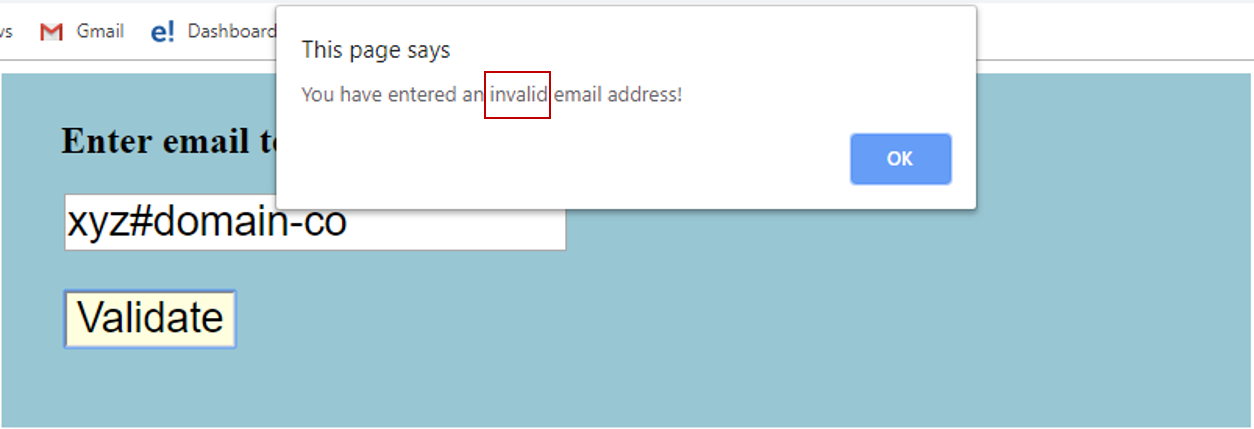
But if you enter an email id that violates the rule of your regular expression format such as xyz#domain-co it will show the following alert:

Web Development Full Course for Beginners
These were the different steps for email validation in JavaScript. I hope you understood how HTML, CSS and JavaScript are used together to build a validation form.
Now that you know about Email Validation in JavaScript, check out the Web Development Certification Training by Edureka. Web Development Certification Training will help you learn how to create impressive websites using HTML5, CSS3, Twitter Bootstrap 3, jQuery and Google APIs and deploy it to Amazon Simple Storage Service(S3).
Got a question for us? Please mention it in the comments section of “Email Validation in JavaScript” and we will get back to you.