


Install Puppet
This blog is a guide on how to install Puppet Master and Puppet Agent (Slave) on a CentOS machine. We will also look at a Puppet example, in which I will deploy Apache Tomcat using Puppet. I am using two CentOS virtual images, one for Puppet Master and other for Puppet Agent.
Following are the steps to install Puppet:-
- Install Puppet Master and Puppet Agent
- Edit hosts and Puppet configuration files in Puppet Master and Agent
- Establish a Secure Connection between Puppet Master and Puppet Agent
- Deploy Apache Tomcat using Puppet
Before we install Puppet, Let us look at some prerequisites.
Prerequisites
I am using two virtual images, so you can select any one of them as Puppet Master and other can be termed as Puppet Agent.
First, we need to delete all firewall rules from Puppet Master and Puppet Agent. Iptables is the default firewall available in the most Linux distributions by default.
Execute this:
iptables -F
Now we need to save these configurations.
Execute this:
service iptables save
We need to enable the official Puppet Labs collection repository in both Puppet Master and Puppet Agent. To get this repository go to a link yum.puppetlabs.com.
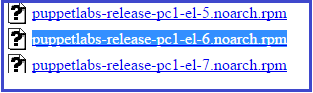

Now to get this repository, execute the below command in both the virtual images:
Execute this:
rpm -ivh http://yum.puppetlabs.com/puppetlabs-release-el-6.noarch.rpm


We are done with the prerequisites, now before moving to Puppet installation, check out this Puppet installation video.
Puppet Installation Tutorial | Puppet Installation – Tomcat Deployment | DevOps Tools | Edureka

1. Install Puppet Master and Puppet Agent
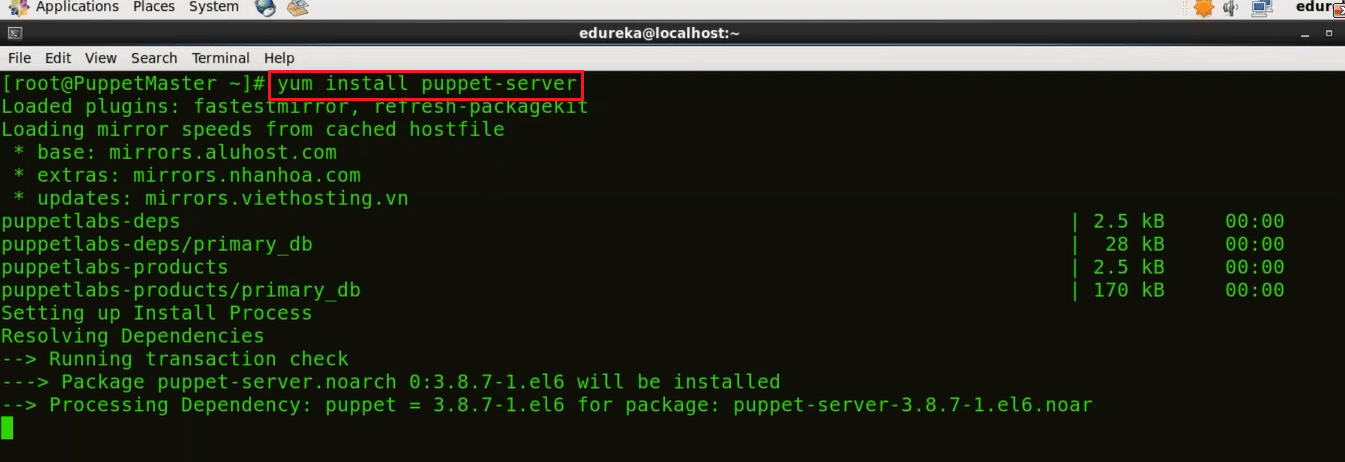
1.1. Install Puppet Master
To install Puppet Master execute the below command:
Execute this (on master):
yum install puppet-server

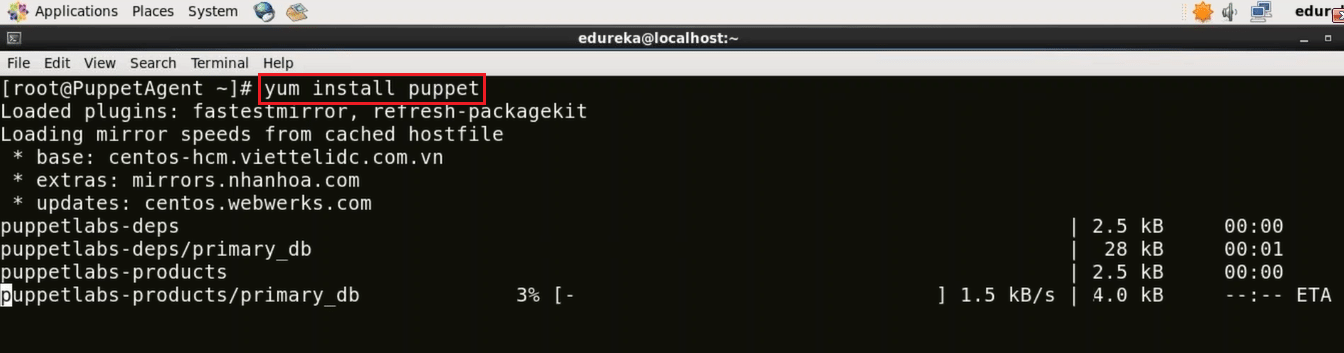
1.2. Install Puppet Agent
To Install Puppet Agent execute the below command:
Execute this (on agent):
yum install puppet

2. Edit hosts and Puppet configuration files in Puppet Master and Agent
2.1. Edit hosts and Puppet configuration files in Puppet Master
First, in Puppet Master virtual image I will edit the hosts file using vi editor. You can use any other editor like vim, gedit etc. as well.
Execute this (on master):
vi /etc/hosts


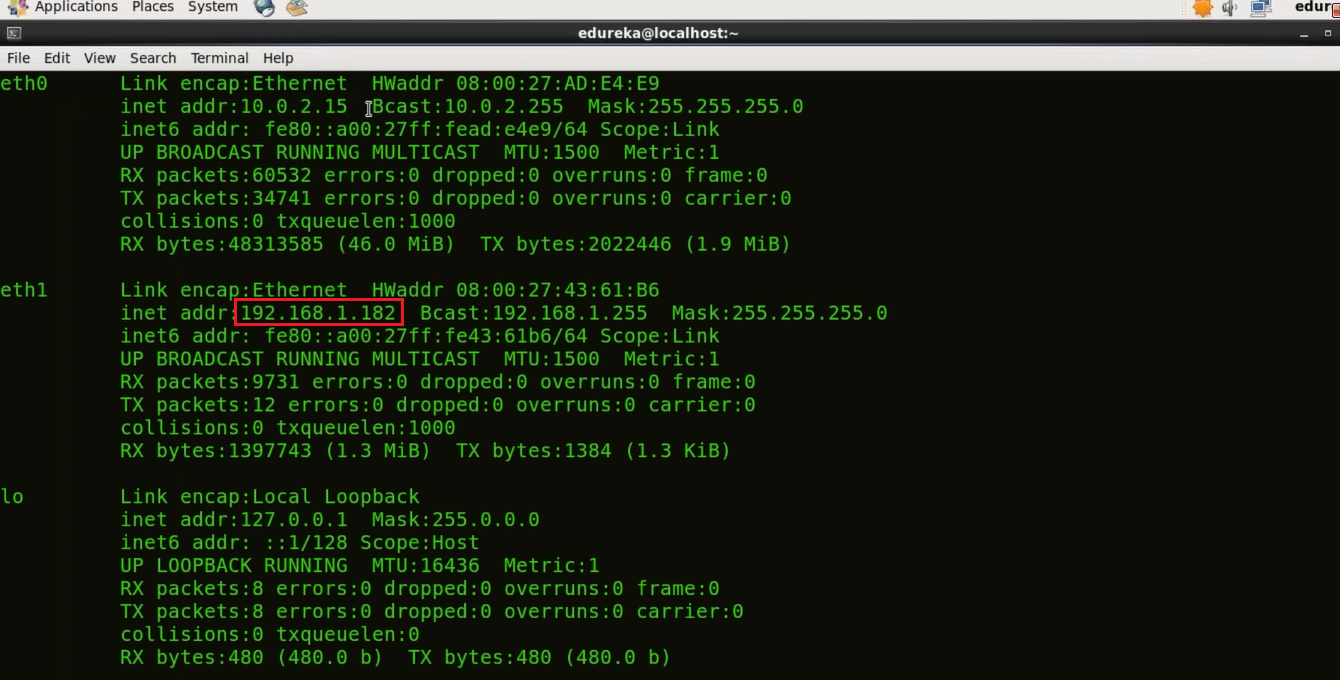
Just type the IP address of your machine and give a domain name to it. In the above screenshot you can see that 192.168.1.182 is the IP address of my machine and I have assigned it a domain name puppet puppet.edureka.co.
In order to know the IP address of your machine use the below command:
Execute this (on master):
ifconfig

Now we will edit the Puppet configuration file, I will use vi editor.
Execute this (on master):
vi /etc/puppet/puppet.conf
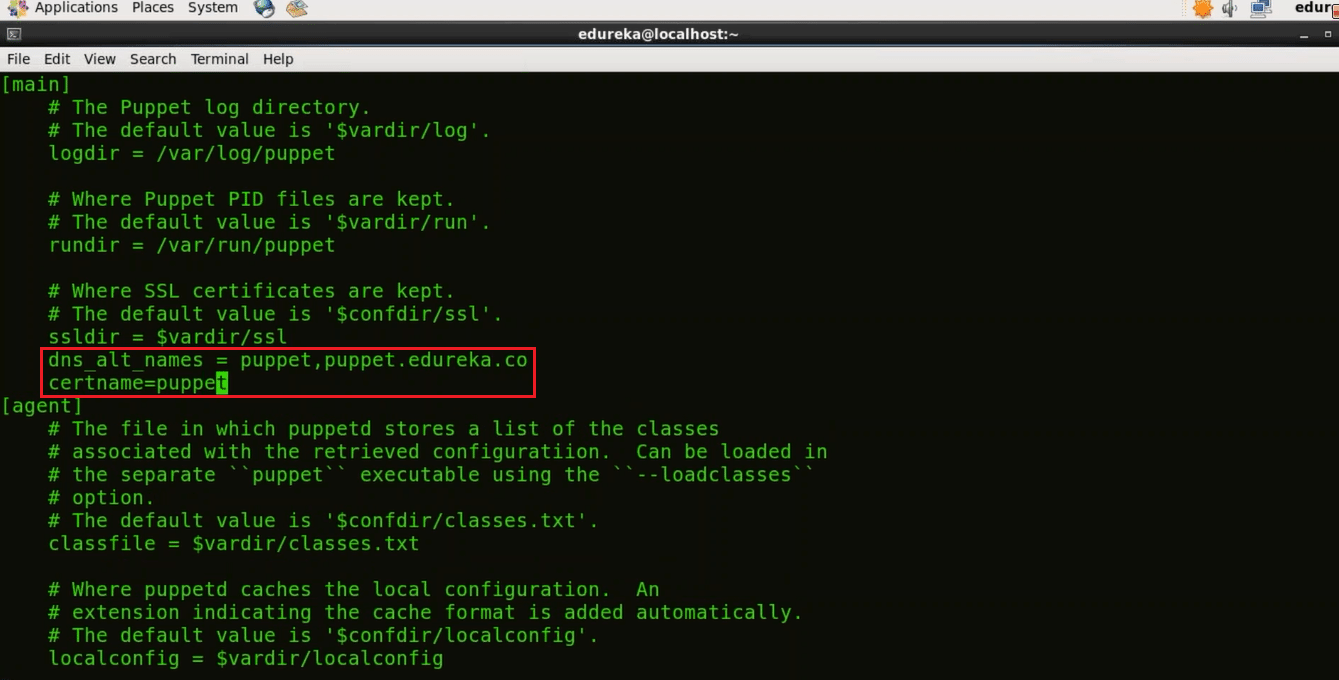

Here in the Master section give the DNS name to which the server will respond to (type the domain name that you have given to your Puppet Master). DNS is an important element to ensure that nodes communicate using friendly names instead of IP addresses.
dns_alt_names = puppet,puppet.edureka.co
We need to give the certificate name as well
certname=puppet
2.2.Edit hosts and Puppet configuration files in Puppet Agent
Similar to Puppet Master here in the Puppet Agent virtual image we will first edit the hosts file by using vi editor.
Execute this (on agent):
vi /etc/hosts


Now type the IP address of your Puppet Agent and give a domain name to it, I have given ‘puppetagent’. You also need to give the IP address of your Puppet Master and the domain name attached to it.
192.168.1.119 puppetagent
192.168.1.182 puppet puppet.edureka.co
Let us now edit the Puppet configuration file.
Execute this (on agent):
vi /etc/puppet/puppet.conf
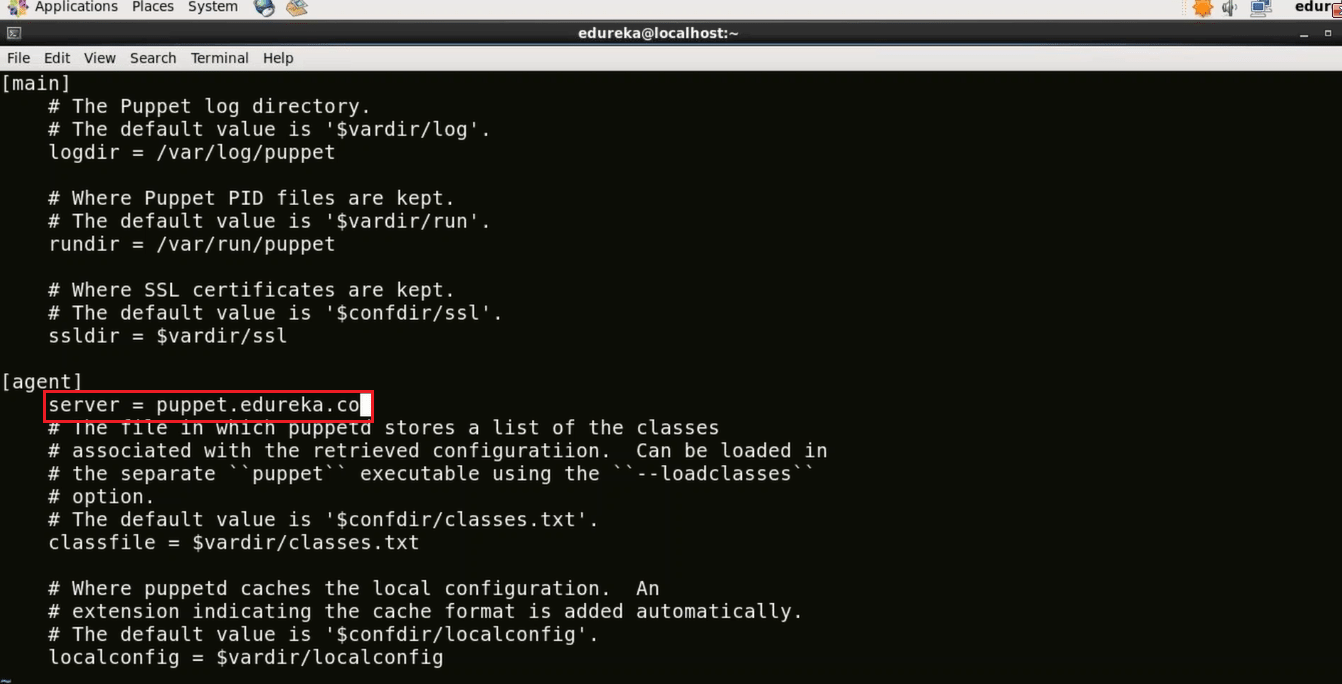

Now in the agent section assign the server name.
Type the domain name of your Puppet Master. This is a very important step because once you give the domain name it will go to the hosts file and check the IP address attached to that domain name. Make sure you have typed the correct domain name.
server = puppet.edureka.co
3. Establish A Secure Connection Between Puppet Master and Puppet Agent
Puppet Agent requests Puppet Master for its certificate. Once Puppet Master sends its certificate Puppet Agent generates its own certificate. It then requests the Puppet Master to sign this certificate. Once Master has signed this certificate there is a secure connection established between Puppet Master and Puppet Agent.
3.1. Generate Puppet Master Certificate
In Puppet Master virtual image, in order to generate CA certificate and Puppet Master certificate in Puppet Master machine execute the below command:
Execute this (on master):
sudo -u puppet puppet master --no-daemonize --verbose
This command will create the CA certificate and a Puppet Master certificate, with the appropriate DNS names included. Stop It once the version of Puppet is displayed by using ctrl+c because we cannot start the Puppet Master right now.


Now I will start Puppet Master.
Execute this (on master):
puppet resource service puppetmaster ensure=running


3.2. Send Certificate signing request from Puppet Agent to Puppet Master
Here in Puppet Agent virtual image, I need to send the certificate signing request to Puppet Master.
Execute this (on agent):
puppet agent -t


3.3. Sign Puppet Agent Certificate in Puppet Master
In Puppet Master virtual image, we need to sign the certificate requested by Puppet Agent. In order to get the list of certificates execute the below command:
Execute this (on master):
puppet cert list


As you can see that there is a certificate signing request pending by the name puppetagent. In order to sign that certificate execute the below command:
Execute this (on master):
puppet cert sign puppetagent
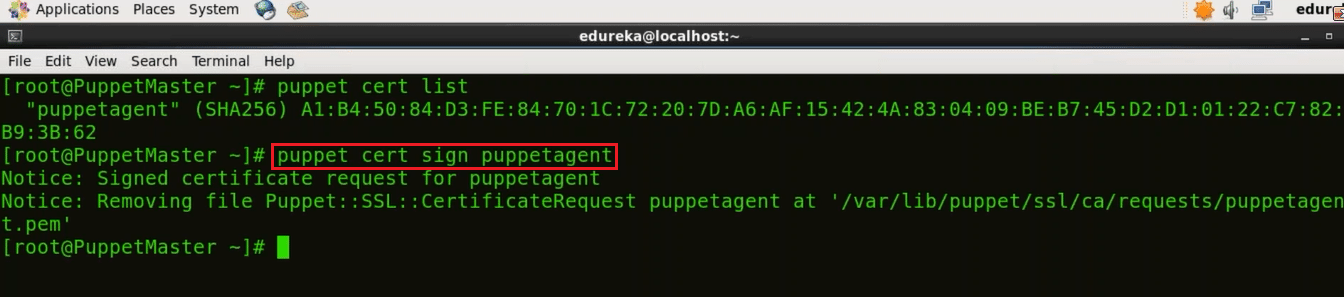

Here the certificate signing request was sent by Puppet Agent so I have signed that particular certificate, refer the screenshot above.
3.4. Update Puppet Agent
First, we need to start the Puppet Agent.
Execute this (on agent):
puppet resource service puppet ensure=running


Now we need to update the Puppet Agent with the changes made in the Puppet Master. Since the Master has recently signed the certificate so it will update that.
Execute this (on agent):
puppet agent -t


Congratulations! Now there is a secure connection between Puppet Master and Puppet Agent. Let us now see a Puppet example, in which I will deploy Apache Tomcat using Puppet.
4. Deploy Apache Tomcat using Puppet
4.1. Define Configuration In Puppet Master
In Puppet Master virtual image, before installing Tomcat 9, I need to install Java 8 because Tomcat 9 is only compatible with Java 8 or versions of Java released after Java 8.
4.1.1. Install Java and Tomcat Module
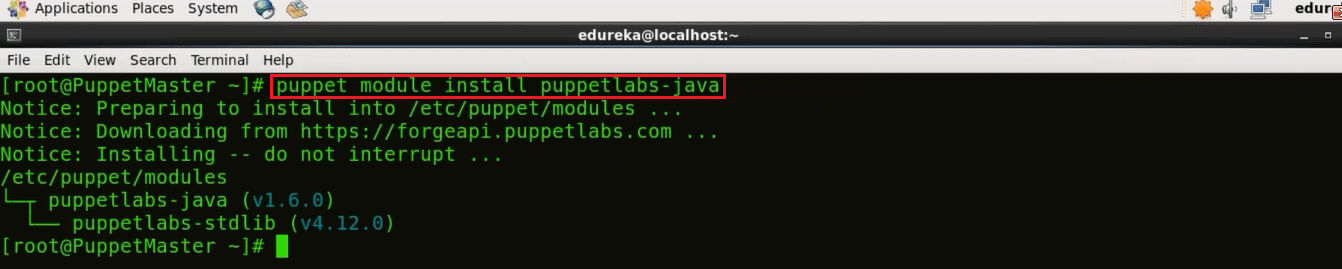
To install Java I need to install Java module, this module automatically installs Java JDK and simplifies the installation of Java using Puppet.
Execute this (on master):
puppet module install puppetlabs-java
This command will install the latest compatible version of Java module.

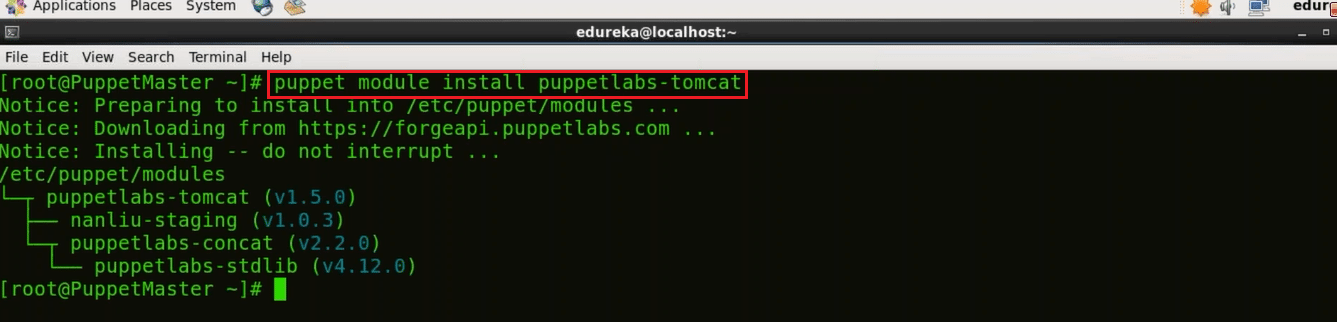
Now, we will install the Tomcat module. It allows you to use Puppet to install Tomcat, manage its configuration files and deploy web apps to it.
To install latest compatible version of Tomcat Module:
Execute this (on master):
puppet module install puppetlabs-tomcat

4.1.2. Edit site.pp File in Puppet Manifests
Edit site.pp file in Puppet Manifests using your favorite editor, I will use vi editor, to know more about Manifests refer my Puppet Tutorial blog.
Execute this (on master):
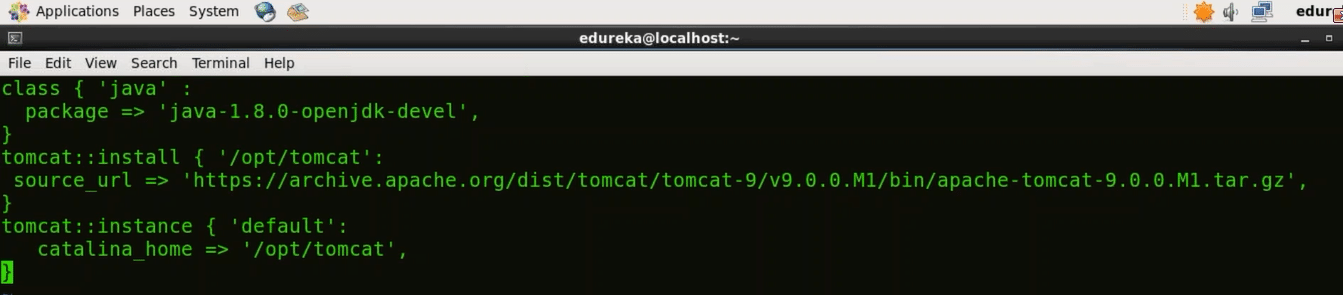
vi /etc/puppet/manifests/site.pp
Here include the following:
class {  ‘java’ :
 package => ‘java-1.8.0-openjdk-devel’:
 }
 tomcat::install { ‘/opt/tomcat’:
   source_url => ‘http://redrockdigimark.com/apachemirror/tomcat/tomcat-9/v9.0.0.M13/bin/apache-tomcat-9.0.0.M13.tar.gz’,
 }
 tomcat::instance { ‘default’:
 catalana_home => ‘/opt/tomcat’,
 }
This is how site.pp file should look like:

Save the file and quit from vi editor.
4.2. Update Puppet Agent
Puppet Agent pulls its configuration from the Master periodically (after every 30 minutes). It will evaluate the main manifest and apply the module that specifies Tomcat setup. If you want to try it out immediately, you need to run the following command on every Agent node:
Execute this (on agent):
puppet agent -t


Let us see if Apache Tomcat is working in Puppet Agent. To confirm that open localhost:8080 in your browser on Puppet Agent virtual image (port 8080 is the default port for Apache Tomcat).
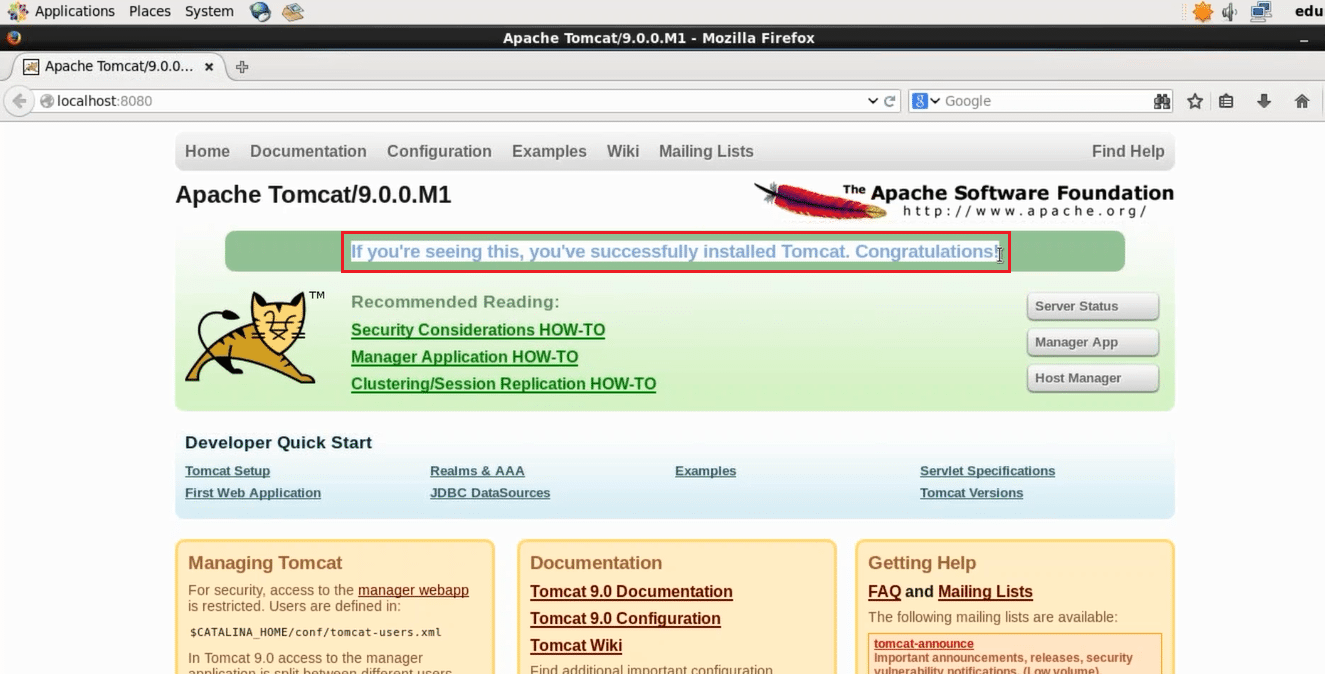

We have successfully installed Apache Tomcat using Puppet. Similarly, large infrastructure with hundreds of Agents can be automatically managed using Puppet and plays a vital role in achieving DevOps.
I hope you were able to follow the Puppet Installation guide and by now Puppet must be up and running on your machine, check out the DevOps training by Edureka, a trusted online learning company with a network of more than 250,000 satisfied learners spread across the globe. The Edureka DevOps Certification Training course helps learners gain expertise in various DevOps processes and tools such as Puppet, Jenkins, Nagios and GIT for automating multiple steps in SDLC.