
Advanced DevOps Certification Training with G ...
- 24k Enrolled Learners
- Weekend
- Live Class
(7990)


 Copy Link!
In this blog, I will guide you through the installation process of Jenkins. Just follow the below steps to install Jenkins along with its suggested plugins. In case you are curious to know more about Jenkins, click here to find all the necessary details.
The complete process to install Jenkins can be summarized in five steps:
Note: These steps are for the CentOS operating system. In case you do not have a CentOS host machine you can install a CentOS VM to go ahead with the installation.
Now before moving on, go through this Jenkins installation video from our Jenkins training expert.
To install Java version 8 execute the below command:
sudo yum install java-1.8.0-openjdk

In order to install Jenkins we need to deploy the Jenkins war file by using Apache Tomcat. I will use wget command to install specific version of Apache Tomcat i.e. Tomcat 9 in this case.
First, to install wget execute the below command:
sudo yum install wget

Now I will use wget to download the Tar file for Tomcat 9 using the below command:
wget https://archive.apache.org/dist/tomcat/tomcat-9/v9.0.0.M10/bin/apache-tomcat-9.0.0.M10.tar.gz

Next, I will show you how to extract the contents from this downloaded Tomcat 9 tar file. For this I will use tar command:
tar xzf apache-tomat-9.0.0.M10.tar.gz

To make it simple I will move this extracted file to a new directory Tomcat9 using the mv command and to do that I will execute the following command:
mv apache-tomcat-9.0.0.M10 tomcat9

Our next step is to provide a username and password for Apache Tomcat and for that I will use gedit editor, you can use any other editor as per your comfort.
gedit /home/edureka/tomcat9/conf/tomcat-users.xml
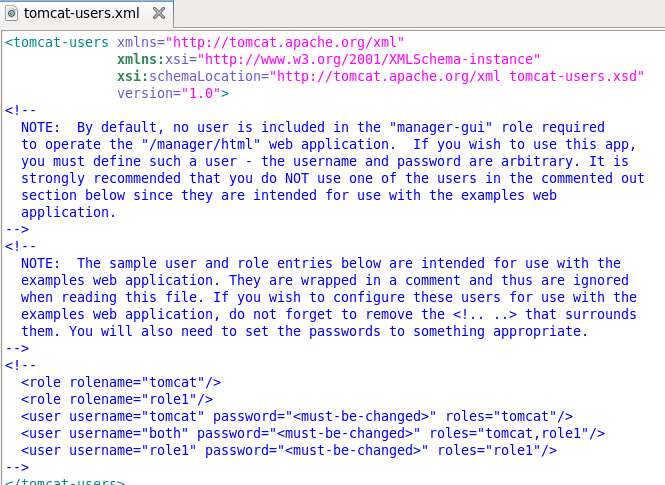
Now delete the content of the tomcat-users.xml file. Copy the below block and paste it in tomcat-users.xml file.
<?xml version='1.0' encoding='utf-8'?> <tomcat-users> <role rolename="manager-gui"/> <role rolename="manager-script"/> <role rolename="manager-jmx"/> <role rolename="manager-jmx"/> <role rolename="admin-gui"/> <role rolename="admin-script"/> <user username="edureka" password="edureka" roles="manager-gui,manager-script,manager-jmx,manager- status,admin-gui,admin-script" /> </tomcat-users>
The updated tomcat-users.xml file will look like this:
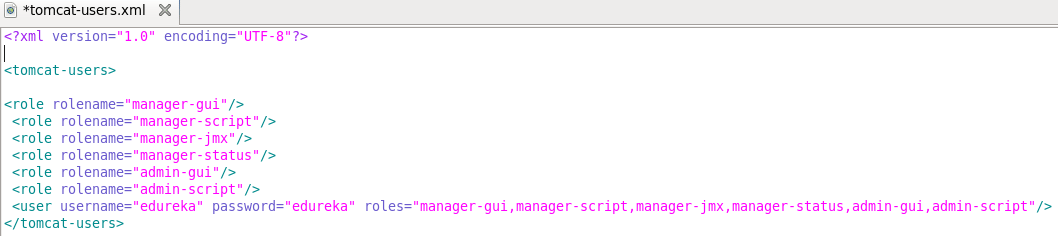
In the above image, as you can see that I have defined several roles and for all these roles I have given one single username and password i.e. edureka. If you want to assign different username and password for different roles you can do that as well.
Now save it and close the file to go back to the terminal.
We need to start Apache Tomcat now, but before that I will change my directory to Tomcat9 by executing the below command:
cd tomcat9
To start Tomcat use the below command:
./bin/startup.sh

So, Tomcat has now started.
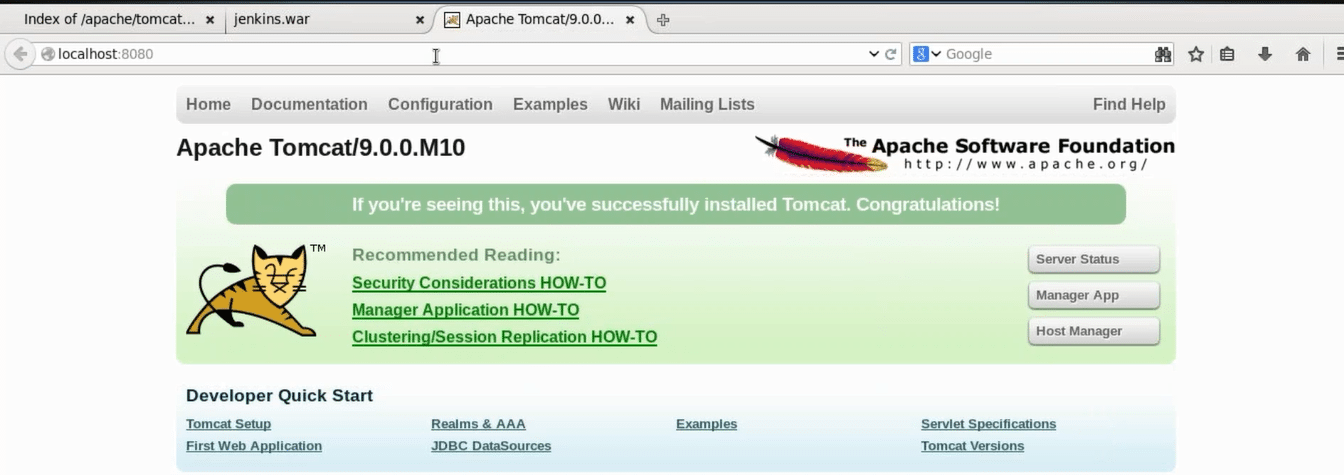
Now open your browser and access localhost:8080 to confirm that Tomcat is up and running. For your information port 8080 is the default port for Apache Tomcat.
I will again use the wget command to download Jenkins war (web archive) file. To get the release list of Jenkins war you can use the URL Jenkins releases

Here copy the link location of the version of Jenkins that you wish to install. I will install Jenkins version 2.7.3, which is highlighted in the snapshot.
Go back to the terminal and move to the home directory by executing the below command.
cd
Now download Jenkins war file by using wget command:
wget http://updates.jenkins-ci.org/download/war/2.7.3/jenkins.war

To deploy Jenkins war file that you have downloaded in the previous step, open your browser and access localhost:8080 again. Now click on the Manager App.
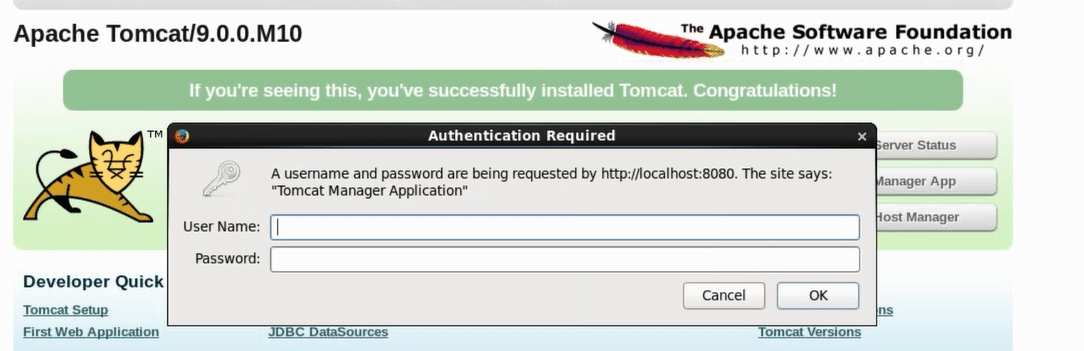
When you click on the Manager app, it will ask for username and password. If you remember I have given one single username and password for all the roles i.e. edureka. Type the below mentioned username and password and click OK.
Now you will be directed to Tomcat web application manager page. When you scroll down you will find an option called Deploy. Over here you need to give the context path, i.e. /jenkins and directory URL, i.e. location of the Jenkins war file in your system in my case it is /home/edureka/jenkins.war and finally click on Deploy.
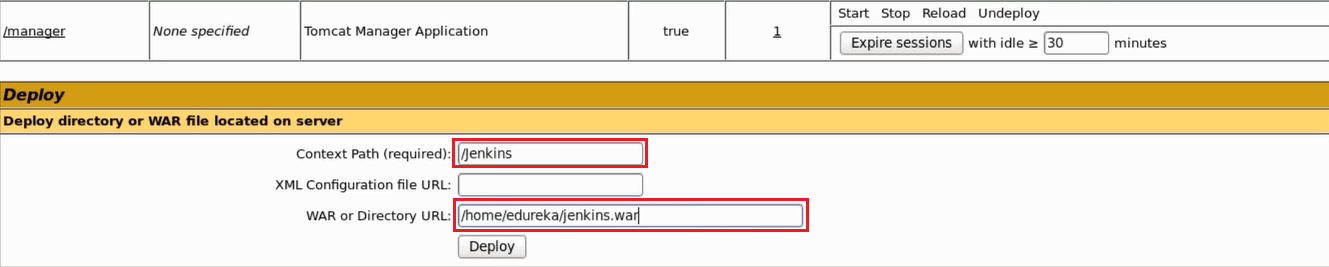
Now in the Tomcat web application manager page you can find Jenkins listed under Applications along with other web apps.

Now I will click on “/jenkins” which is highlighted in the above image.
When I clicked on jenkins I was directed to Unlock Jenkins page. Please refer to the below snapshot:
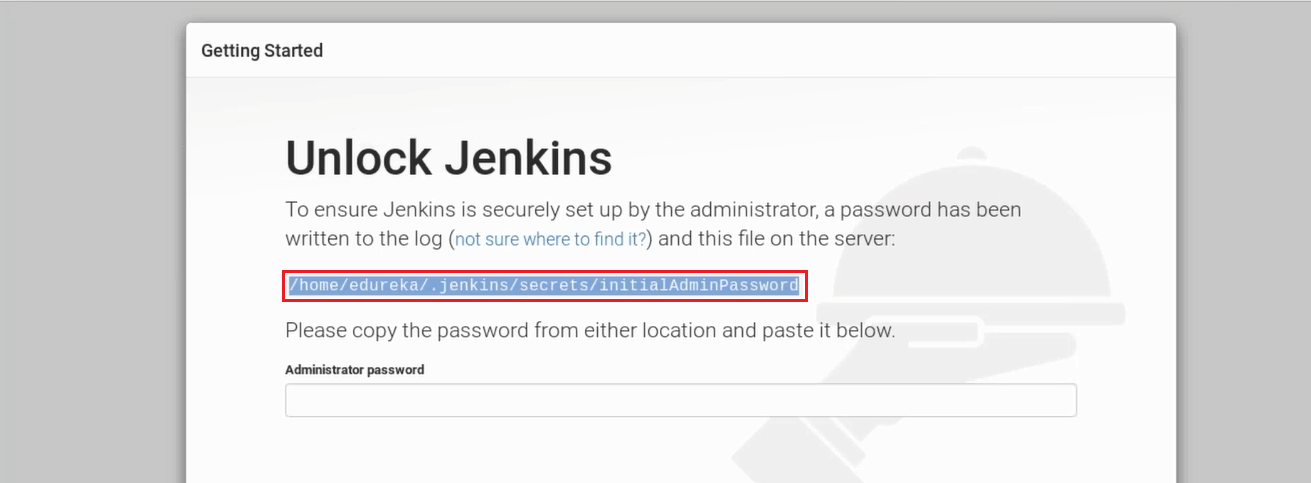
In order to unlock Jenkins first copy the part that I have highlighted in the screenshot above. This is the location that contains your one time password for Jenkins i.e. /home/edureka/.jenkins/secrets/initialAdminPassword in my case, it will be different for you. Hence, just copy the path from the screen on your end and go back to the terminal.
Finally, use the following command to get your one time password:
cat <paste the location that you have copied>
This cat command will read the contents of the file that contains the one time password and will display it on the terminal.

Just copy this password and paste it in the Administrator password text-box in the Unlock Jenkins page. Please refer to the below snapshot.
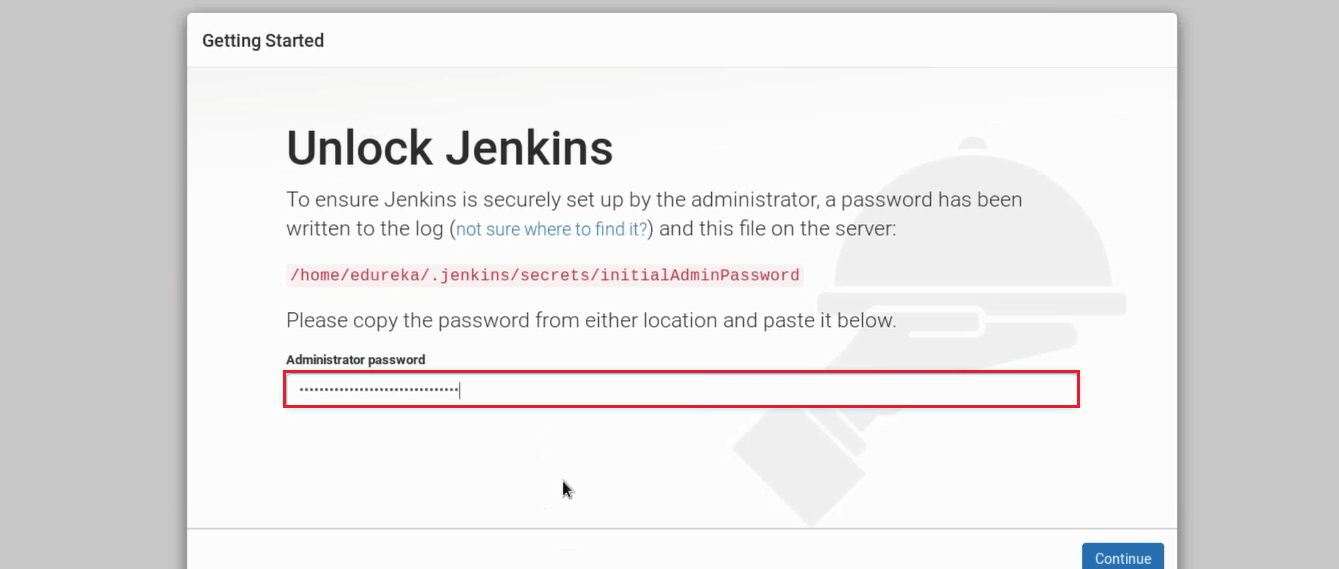
Once you have pasted the password, click on continue.
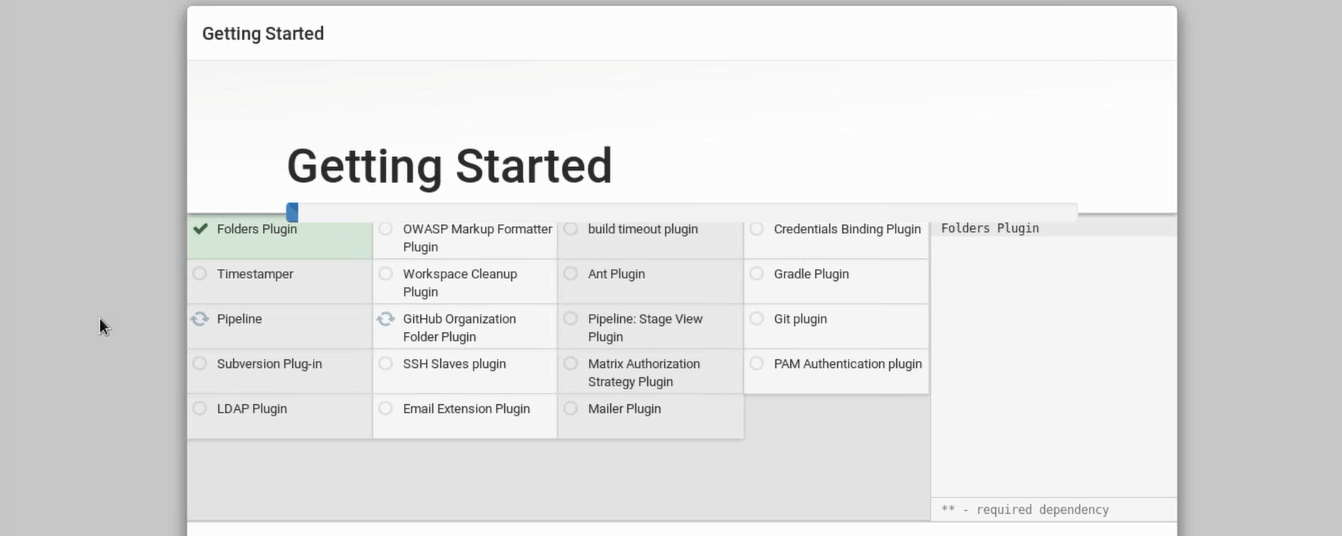
Now I will install plugins. As you see in the below snapshot there are two options i.e. either I can go with suggested plugins or I can select plugins on my own.
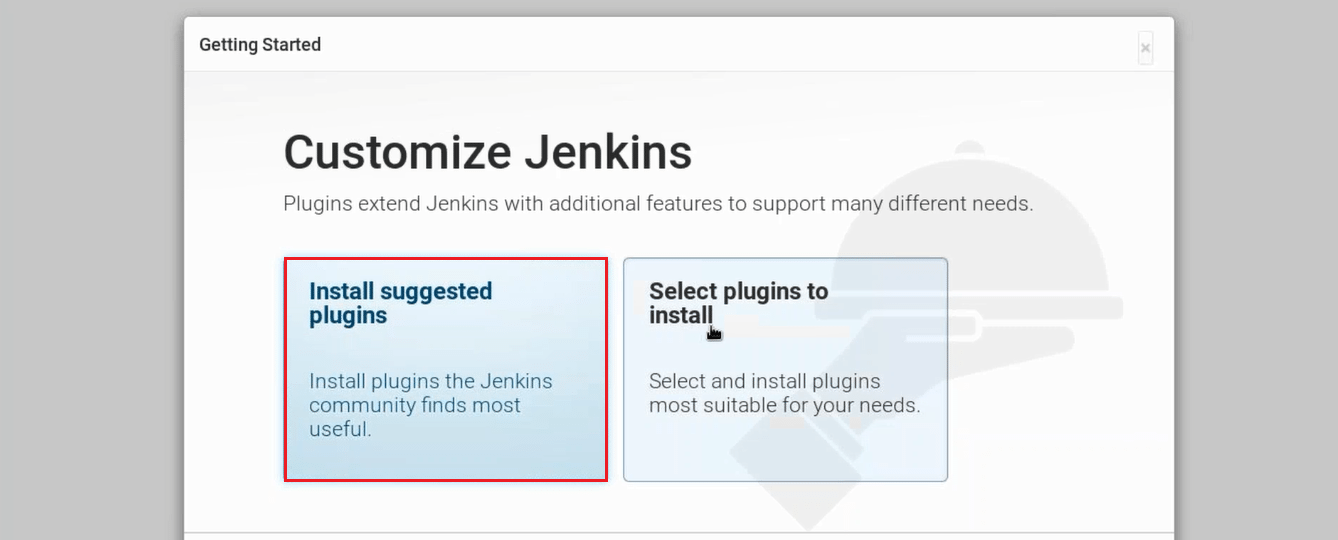
I will go with Install Suggested Plugins.
Snapshot below will give you a list of plugins that will be installed when you click on Install Suggested Plugins.
Once the plugins are installed, you will be directed to a page where you have to Create First Admin User. Please fill your relevant details.
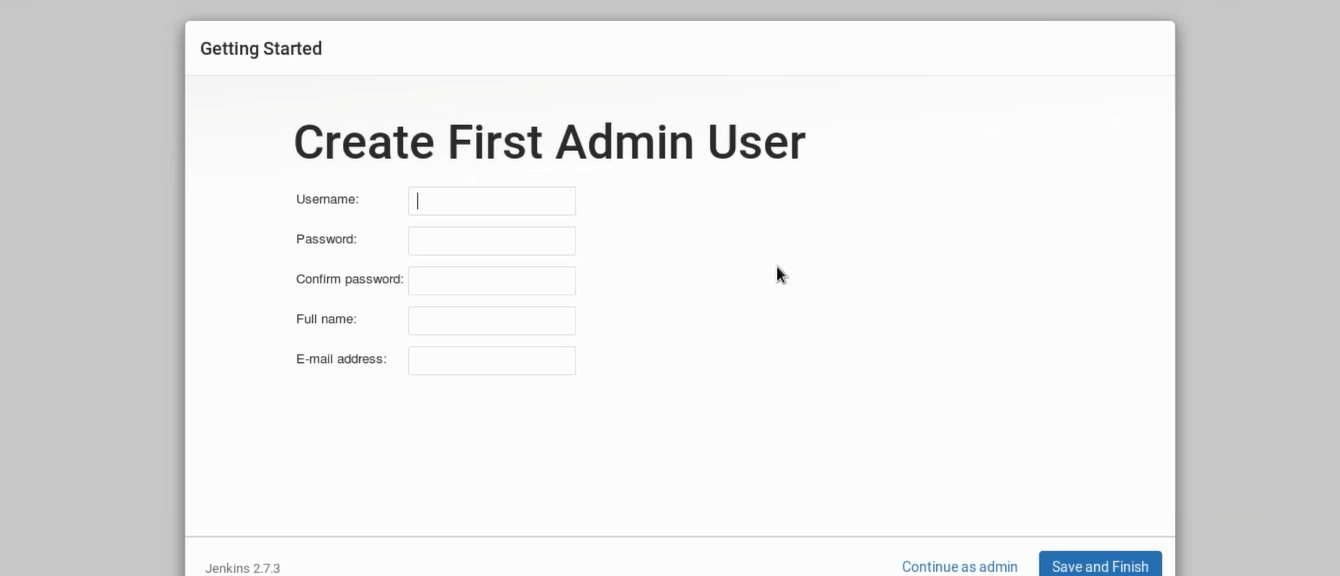
After filling this form, click on save and finish.
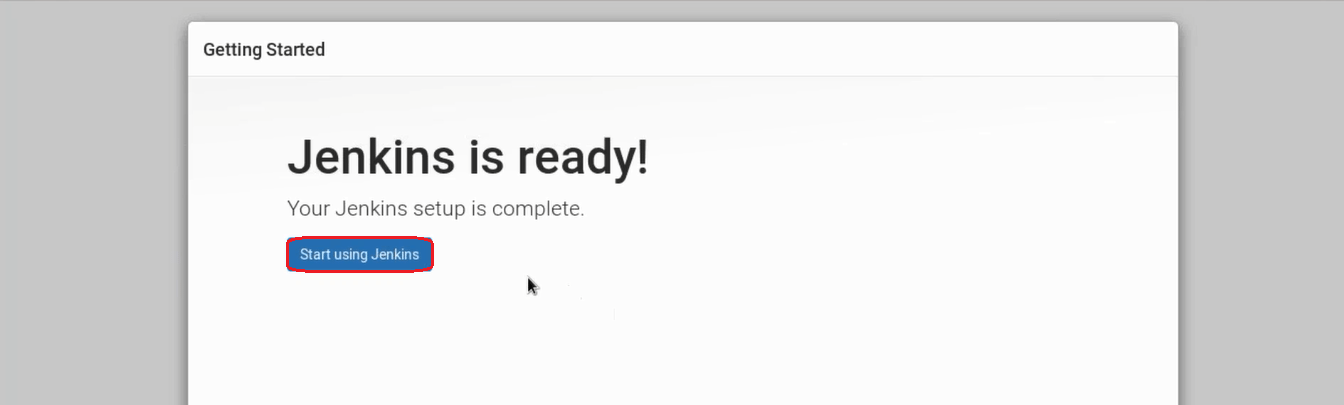
Congratulations! Jenkins is ready now, once you click on start using Jenkins you will be directed to Jenkins dashboard. You can now use Jenkins to continuously trigger build and test for every change made in the source code.

I hope you were able to follow the Jenkins Installation guide and by now Jenkins must be up and running on your machine, check out the DevOps Certification Course by Edureka, a trusted online learning company with a network of more than 250,000 satisfied learners spread across the globe. The Edureka DevOps Certification Training course helps learners gain expertise in various DevOps processes and tools such as Puppet, Jenkins, Nagios and GIT for automating multiple steps in SDLC.
Got a question for us? Please mention it in the comments section and we will get back to you.


 Thank you for registering Join Edureka Meetup community for 100+ Free Webinars each month JOIN MEETUP GROUP
I have used these steps while I was migrating Jenkins from one server to another. Thanks for the detailed tutorial.
However, I am not sure how Jenkins_home is set here? I see that Jenkins_home is being set to some path but there is no env variable defined for that. So how it is picking up the value for Jenkins_home?
Thanks for the tutorial. i didn’t struggled any steps mentioned here.. your guide helped me lot to proceed my Jenkin installation.
Thanks!
Hey @pasindu_jayaweera:disqus Thank you for reading our blogs. Keep learning and keep growing :)
The XML that you told us to paste in is missing a closing quotation after utf-8. That causes the login to fail.
Hello,
Thanks for the manual.
Hey Jorge, thanks for checking out our blog and for pointing this out. We will check and correct it. Cheers!
the link is not working yet, please provide an alternative link.
Hello, thanks for checking out our blog.
Hey Jorge, please try this