


Install Chef
Are you looking forward to become a Certified Professional in DevOps? Well, if the answer is yes, let me tell you that you need to master in all top tools of DevOps. One such tool out of the lot is Chef. So this blog is a guide on how to install Chef on a CentOS machine. Installing Chef is like a cake walk, you just have to execute a few commands.
Chef has three major components:
- Workstation
- Server
- Nodes
For demonstration purpose I will be using only one Node. There can be hundreds of Nodes managed by one Chef Server. I am using two CentOS Virtual Images one for Workstation and other for a Node. For Server, I will use the hosted version of Chef Server (on a cloud) available at manage. chef. myself
Following are the steps to install Chef:
- Install Chef DK (Development Kit) on Chef Workstation
- Setup a Chef Server
- Create a Recipe or a Cookbook / download a Cookbook from Chef Supermarket in Workstation
- Upload a Cookbook on the Chef Server
- Connect A Node To The Chef Server
- Deploy the Cookbook from the Server to the Node
1. Install Chef DK (Development Kit)
In my Chef Workstation I will install Chef DK. Chef DK is a package that contains all the development tools that you will need when coding Chef. Here is the link to download Chef DK.
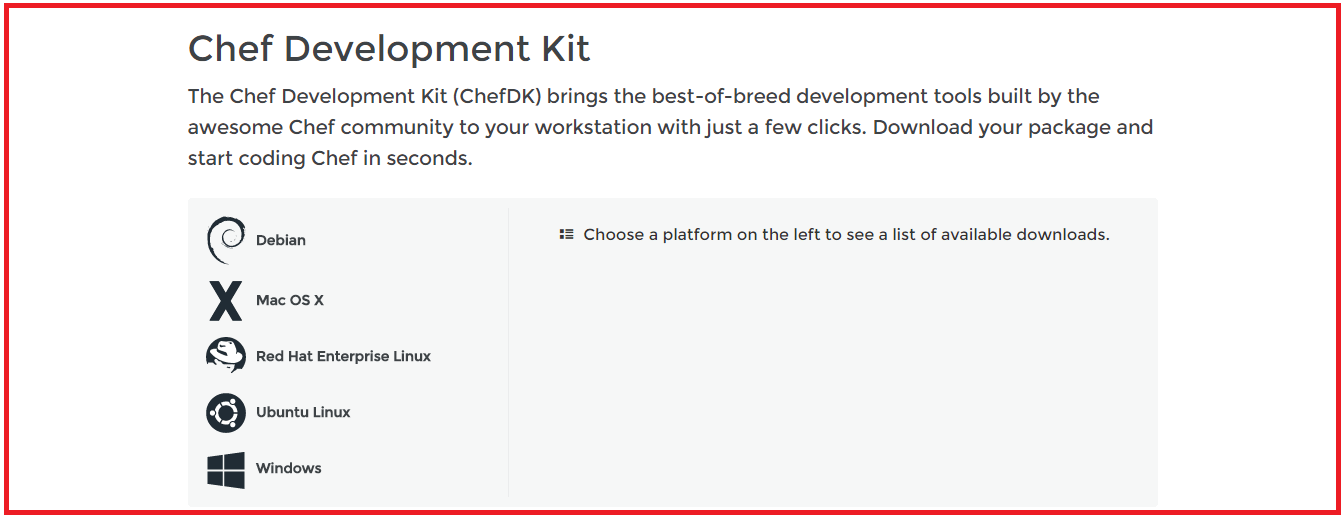

Here, choose the operating system that you are using. I am using CentOS 6.8. So, I will click on Red Hat Enterprise Linux.
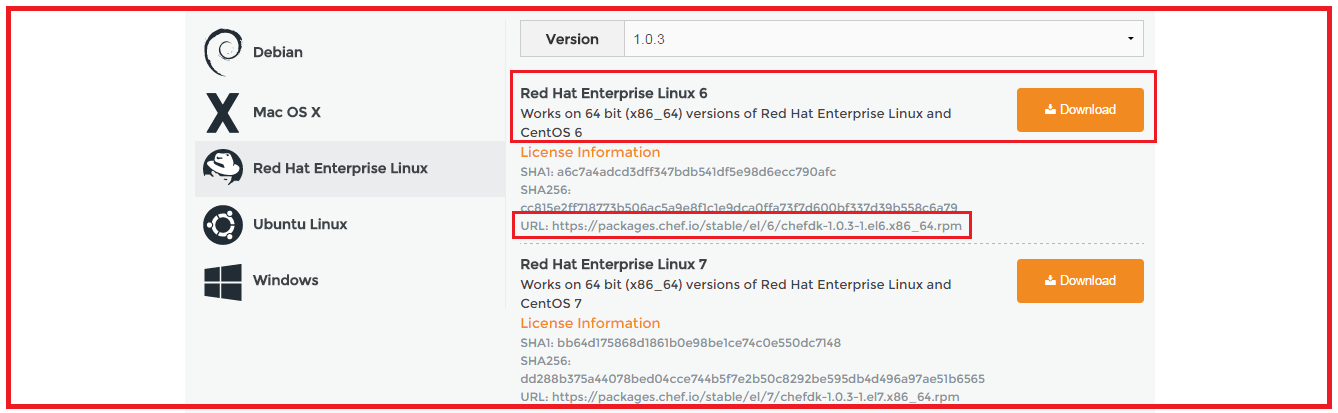

Copy the link according to the version of CentOS that you are using. I am using CentOS 6, as you can see that I have highlighted in the above screenshot.
Go to your Workstation terminal and download the Chef DK by using wget command and paste the link.
Execute this command:
wget https://packages.chef.io/stable/el/6/chefdk-1.0.3-1.el6.x86_64.rpm


The package is now downloaded. Now I will install this package using rpm.
Execute this:
rpm -ivh chefdk-1.0.3-1.el6.x86_64.rpm


2. Setup Chef Server
I will use the hosted version of Chef Server on the cloud but you can use a physical machine as well. This Chef-Server is present at manage.chef.io
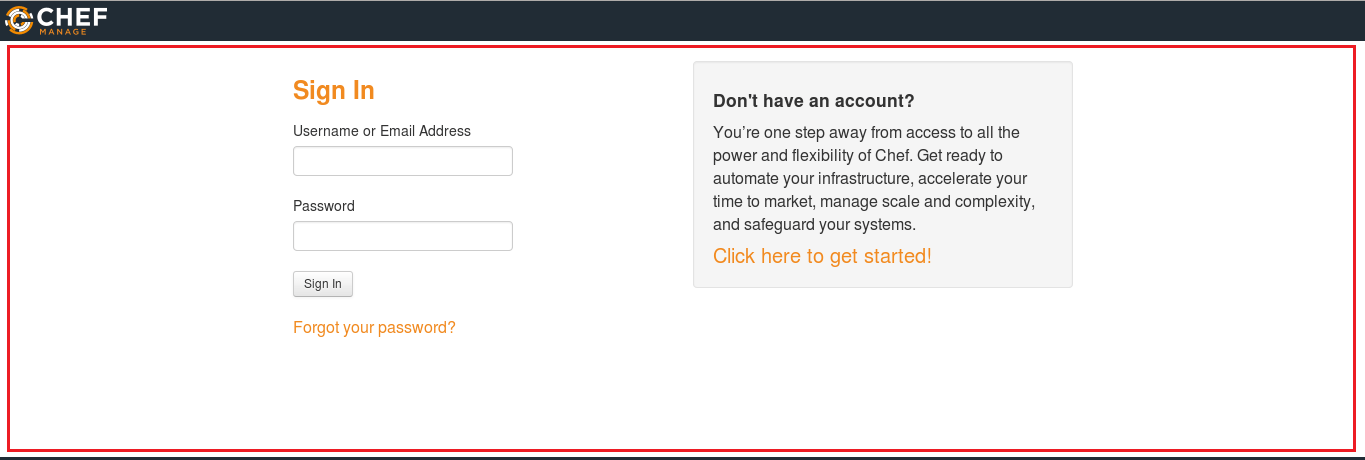

Over here, create an account if you don’t have one. Once you have created an account, sign-in with your login credentials.
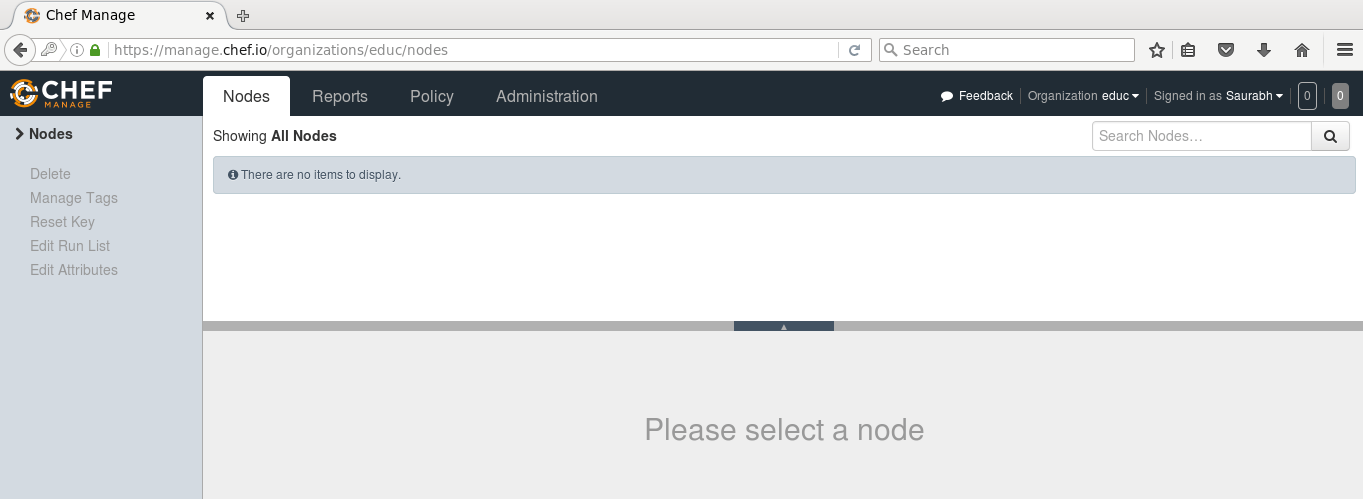

This is how Chef Server looks like.
If you are signing in for the first time, the very first thing that you will be doing is creating an organization. Organization is basically a group of Machines that you will be managing with the Chef Server.
First, I will go to the administration tab. Over there, I have already created an organization called edu. So I need to download the starter kit in my Workstation. This starter kit will help you to push files from the Workstation to the Chef Server. Click on the settings icon on the right hand side and click on Starter Kit.


Now you will get an option to download the Starter Kit. Just click on it to download the Starter Kit zip file.


Move this file to your root directory. Now unzip this file by using unzip command in your terminal. You will notice that it includes a directory called chef-repo.
Execute this:
unzip chef-starter.zip
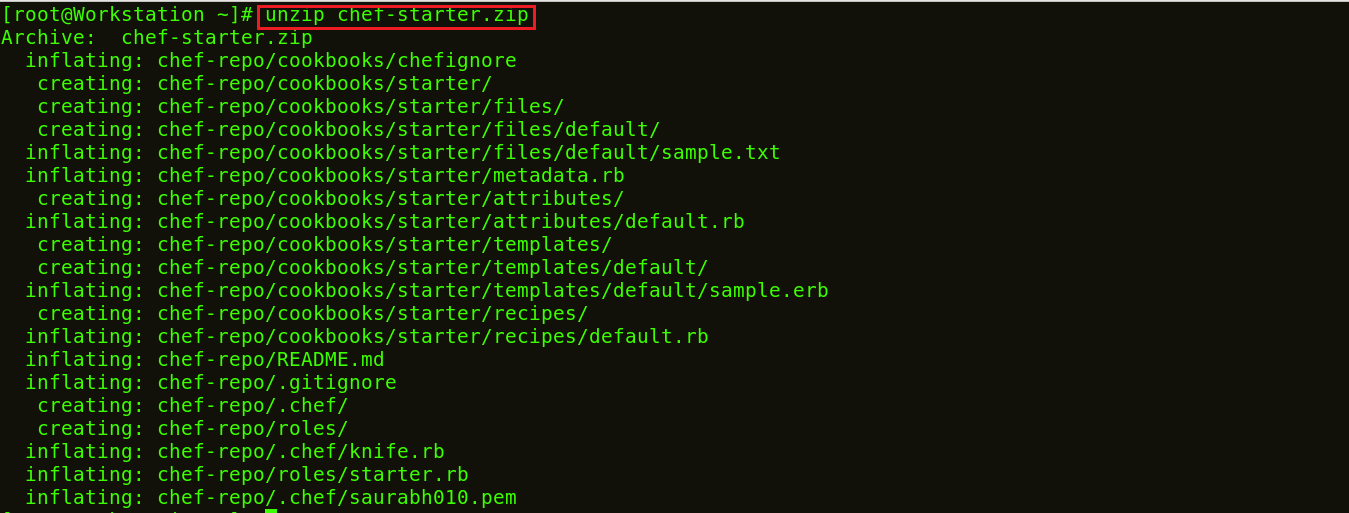

Now move this starter kit to the cookbook directory in chef-repo directory.
Execute this:
mv starter /root/chef-repo/cookbooks
3. Download A Cookbook From Chef Supermarket In Workstation
Chef Cookbooks are available in the Cookbook Supermarket, we can go to the Chef Supermarket. Download the required Cookbooks from supermarket.chef.io. I’m downloading one of the Cookbook to install Apache from there.
Execute this:
cd chef-repo
knife cookbook site download learn_chef_httpd


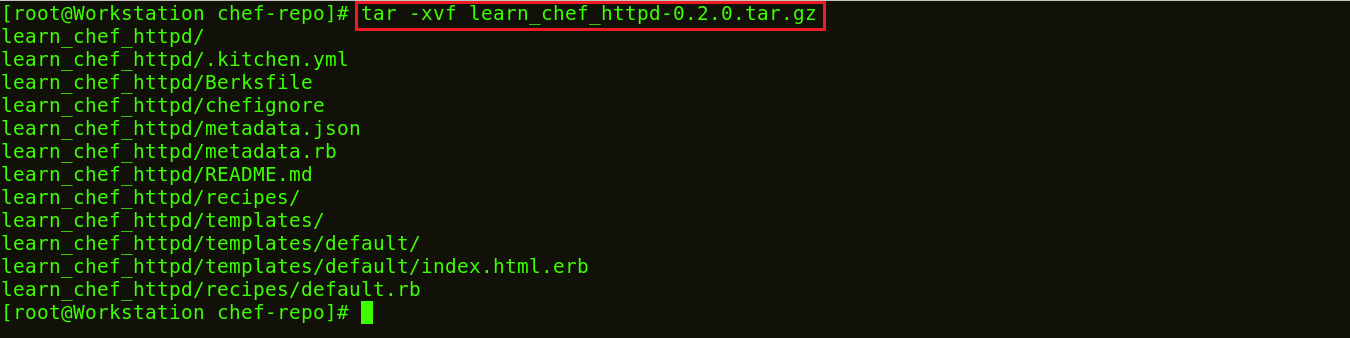
There is Tar ball downloaded for the Apache Cookbook. Now, I will extract the contents from this downloaded Tar file. For that, I will use tar command.
Execute this:
tar -xvf learn_chef_httpd-0.2.0.tar.gz

All the required files are automatically created under this Cookbook. There is no need to make any modifications. Let’s check the Recipe description inside my recipe folder.
Execute this:
cd /root/chef-repo/learn_chef_httpd/recipes
cat default.rb
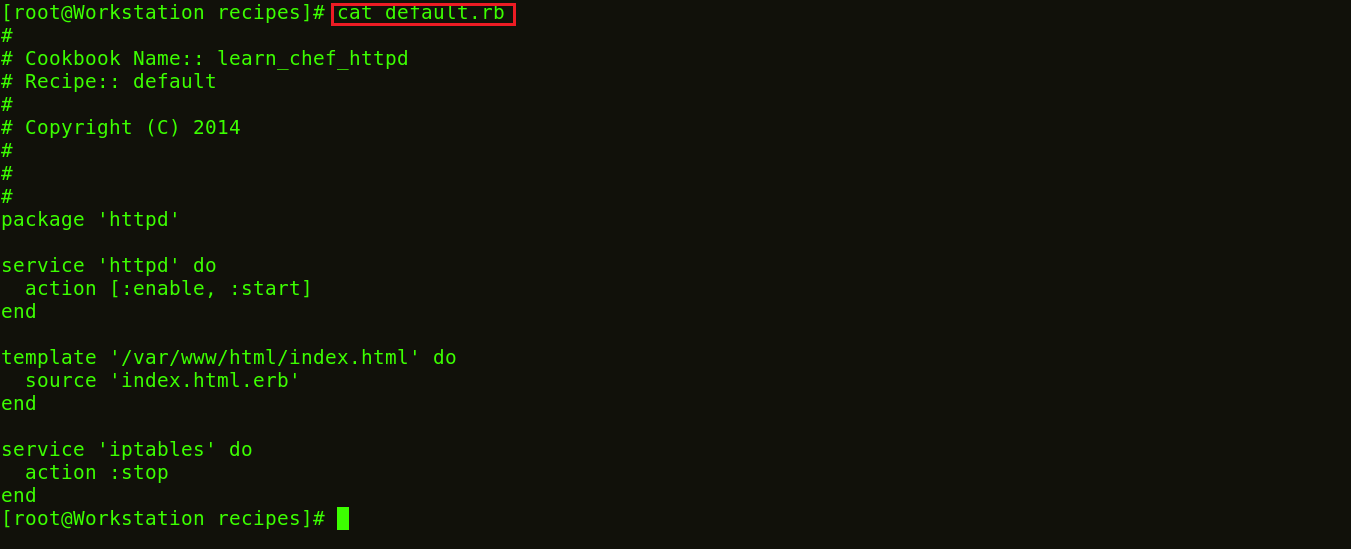

Now, I will just upload this cookbook to my Chef Server as it looks perfect to me.
4. Upload A Cookbook In The Chef Server
In order to upload the Apache Cookbook that I have downloaded, first move this learn_chef_httpd file to the Cookbooks folder in the chef-repo. Then change your directory to cookbooks.
Execute this:
mv /root/chef-repo/learn_chef_httpd /root/chef-repo/cookbooks
cd /root/chef-repo/cookbooks
Now in this directory, execute the below command to upload the Apache Cookbook:
Execute this:
knife cookbook upload learn_chef_httpd


Verify the Cookbook from the Chef Server Management console. In the policy section, you will find the Cookbook that you have uploaded. Refer the screenshot below:


Now, our final step is to add Chef Node. We’ve setup a Workstation, a Chef Server and we need to add our Nodes to the Chef Server for automation.
5. Connect A Node To The Chef Server
The terminal color of my Node machine is different from the Workstation so that you will be able to differentiate between both.
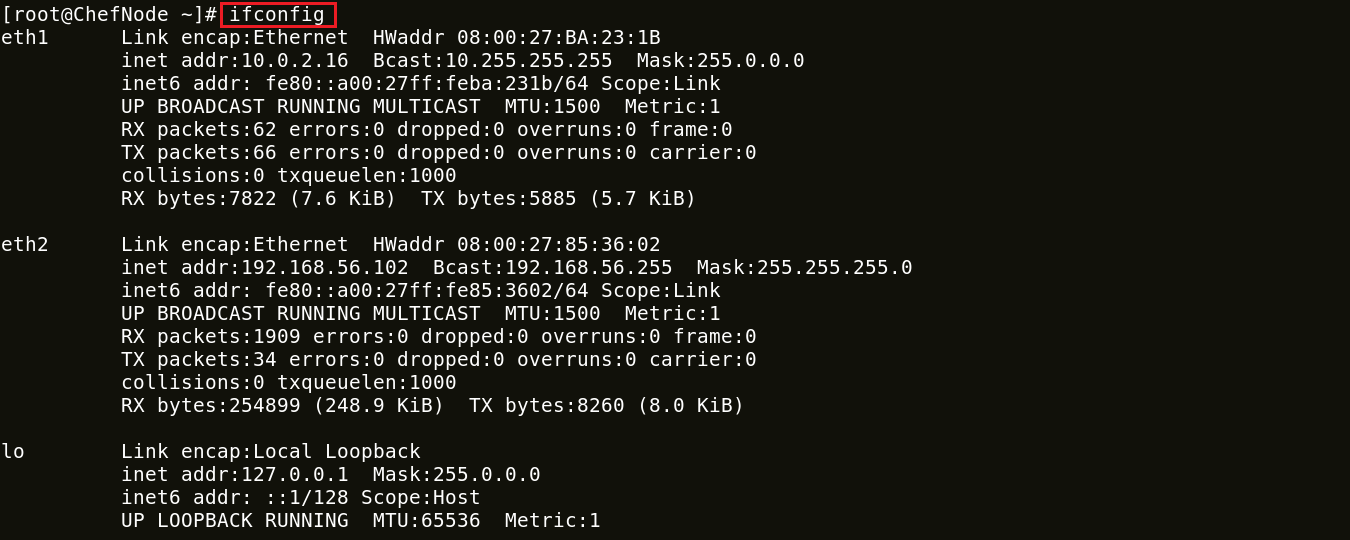
I just need the IP address of my Node for that I will execute the below command in my Node machine.
Execute this:
ifconfig

I will add my Chef Node to the Server by executing Knife Bootstrap command in which I will specify the IP address of The Chef Node and its name. Execute the command shown below:
Execute this:
knife bootstrap 192.168.56.102 --ssh-user root --ssh-password edureka --node-name chefNode
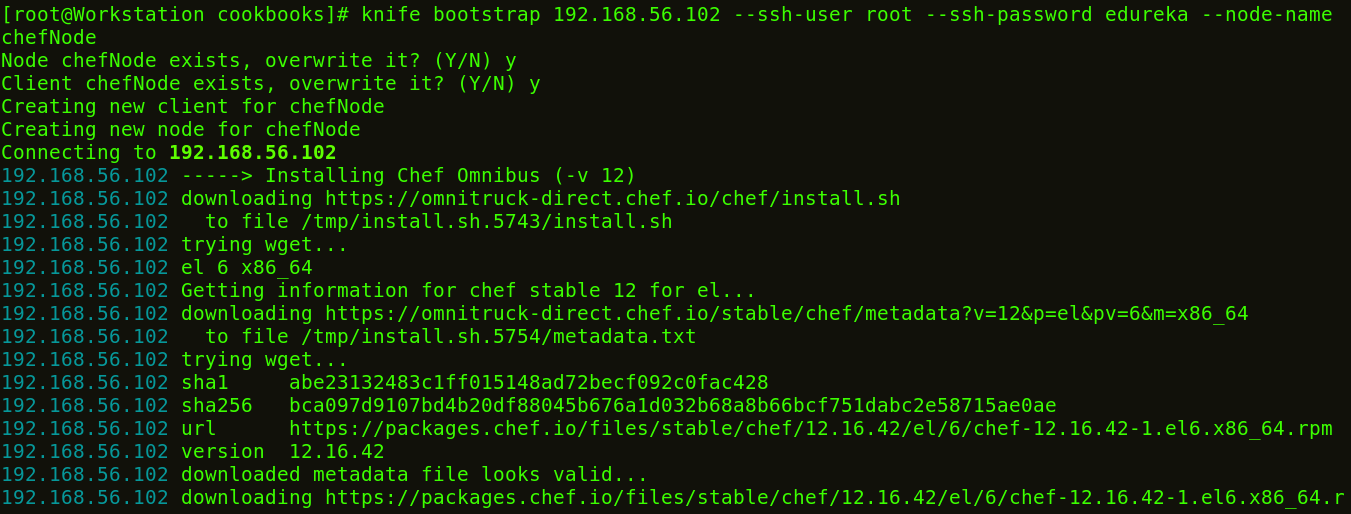

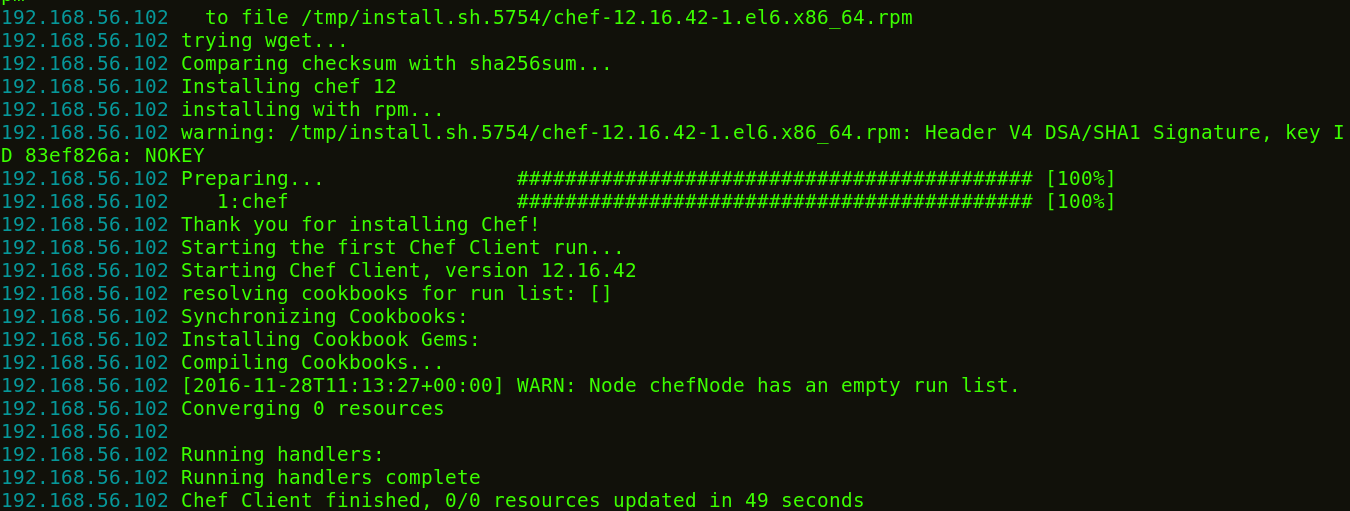

This command will also initialize the installation of the Chef-Client in the Chef Node. You can verify it from the CLI on the Workstation using the knife command,as shown below:
Execute this:
Knife node list


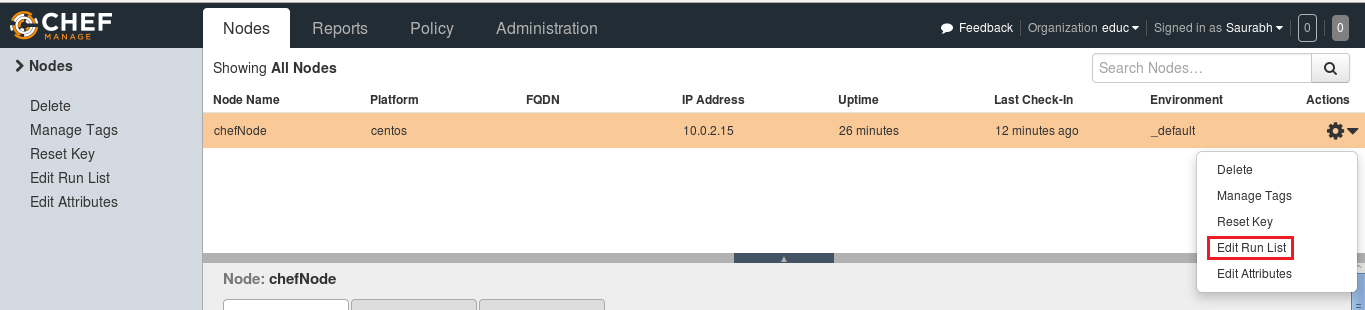
You can also verify from the Chef Server. Go to the nodes tab in your Server Management Console, here you will notice that the node that you have added is present. Refer the screenshot below:


6. Deploy The Cookbook From The Server To The Node
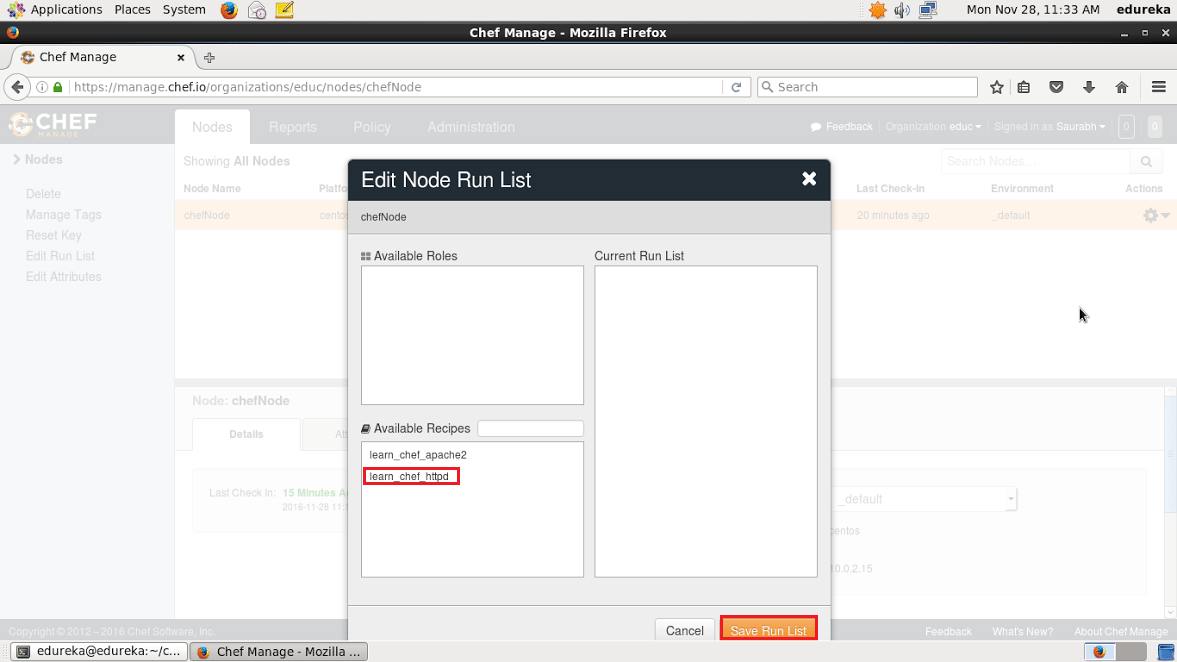
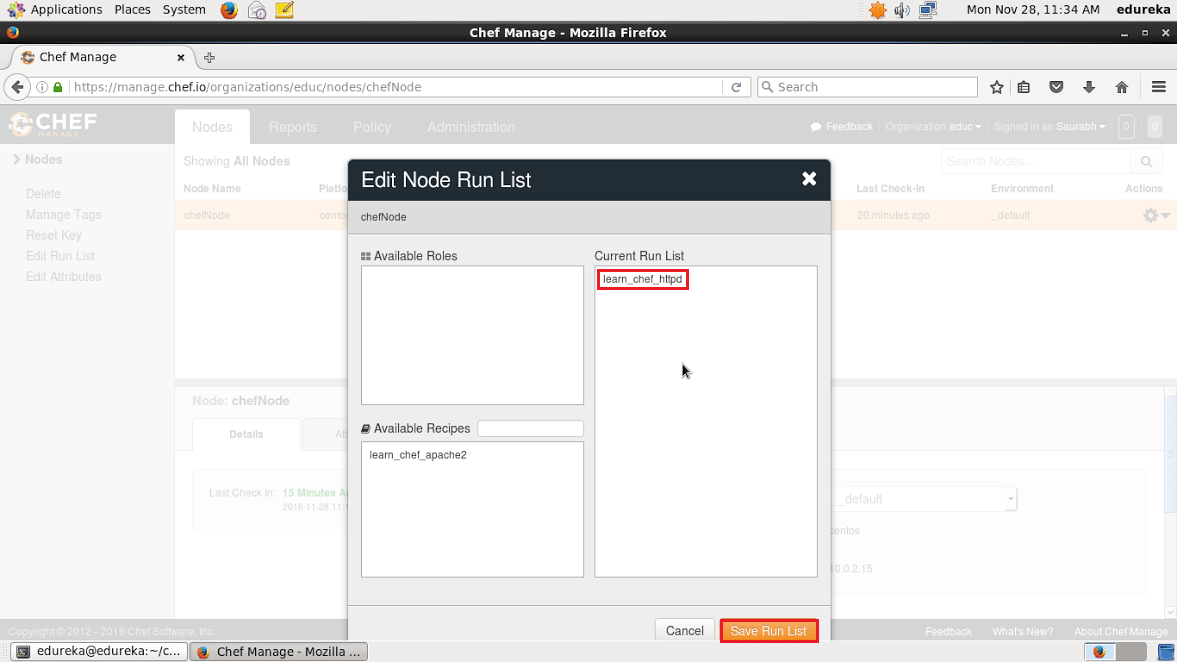
Let’s see how we can add a Cookbook to the Node and manage its Run list from the Chef Server. Run List describes the order in which the Cookbooks should be executed. As you can see in the screenshot below, click the Actions tab and select the Edit Run list option to manage the Run list.

In the Available Recipes, you can see our learn_chef_httpd Recipe, you can drag that from the available packages to the current Run List and save the Run list.

Now login to your Node and just run chef-client to execute the Run List.
Execute this:
chef-client
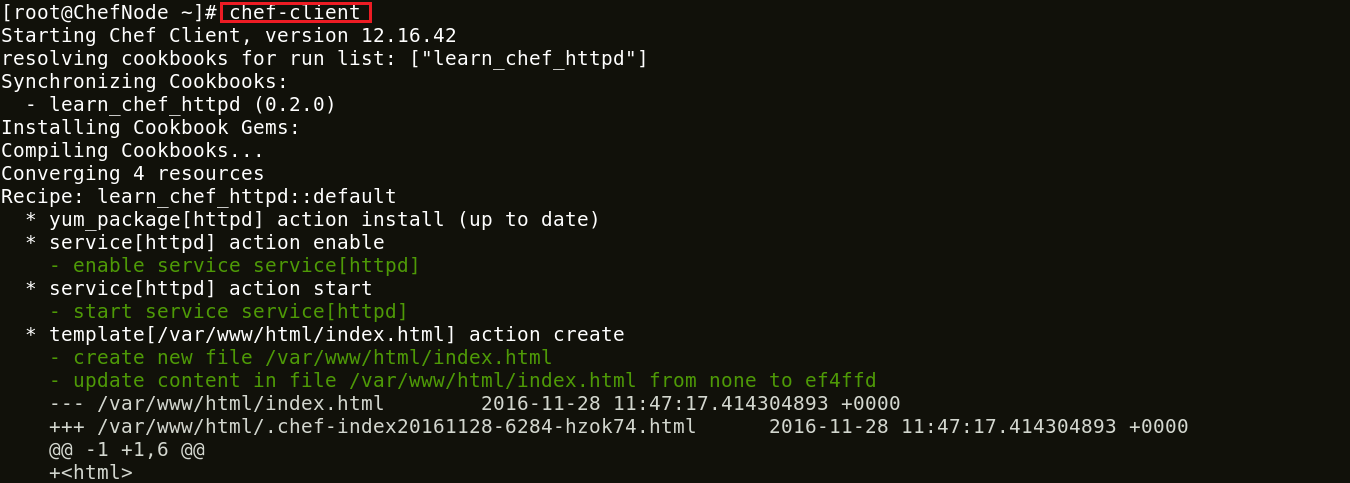

Congratulations! you have successfully installed Chef and deployed Apache from your Chef Server to the Node.
I hope you were able to follow me through the installation process of Chef and by now Chef must be up and running in your machine.
If you found this blog on “Install Chef ” relevant, check out the DevOps training by Edureka, a trusted online learning company with a network of more than 250,000 satisfied learners spread across the globe. The Edureka DevOps Certification Training course helps learners gain expertise in various DevOps processes and tools such as Puppet, Chef, Jenkins, Nagios and GIT for automating multiple steps in SDLC.