The Ubuntu desktop is a Linux Distribution includes everything you need to run an organization, enterprise, institution or home. It is easy to use, easy to install and is one of the first distributions you start out with when you learn Linux. It’s also open source, accessible, secure and best of all- free to download!
So, the following are the steps you need to follow to Install Ubuntu on your system or on your virtual machine.
Step 0: Prerequisites
So, you shall have to consider a few things before starting the installation:
Make sure your laptop is connected to a power source.
You have to have at least 25 GB of free storage space on your disk(5 GB in case of minimal installation).
You have to have access to either a DVD or a USB (8GB+) flash drive containing the version of Ubuntu you require.
♠Note: Make sure you have a recent backup of your data. While it’s highly unlikely for anything to go wrong, precaution is always better than cure.
Step 1: Downloading Ubuntu into your Flash Drive
You can burn the Ubuntu .iso image into the old USB stick. You can follow these steps to do the same.
- Download Ubuntu image from the Ubuntu release page.
- Download UNetbootin. For Ubuntu, install it from the Software Center.
- Plug in the USB stick.
- You should now start UNetbootin, and burn the .iso image into your USB/ Flash drive.
Step 2: Boot from DVD/Flash Drive
Now you’re simply a few steps away to run your Commands on Linux. It’s actually quite easy to install Ubuntu using a DVD /USB. Basically, all you need to do is the following;
Put the Ubuntu DVD into your optical drive. If you’re using a Flash Drive, you can go ahead and plug it into the USB port.
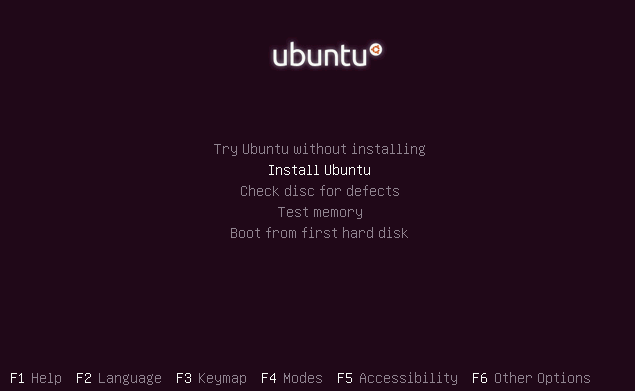
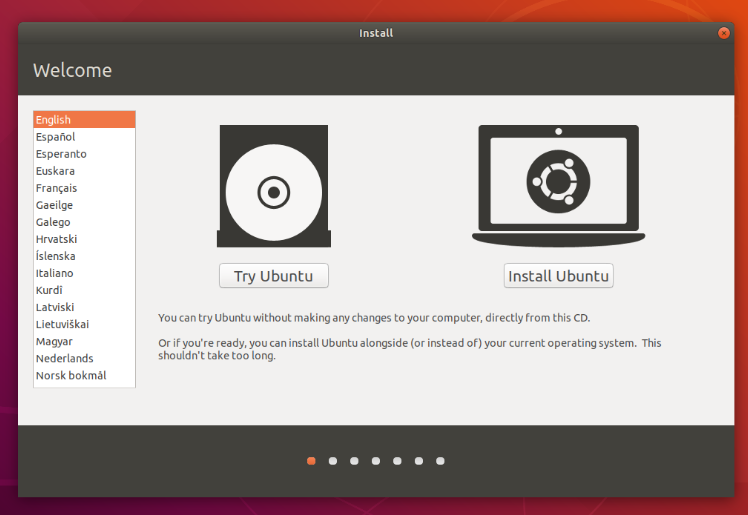
Then, restart your computer. As soon as your computer boots you’ll be able to see a welcome window in the likes of what you see below.

Now, go ahead and select your preferred option from a barrage of languages enlisted on your left, followed by which, you can choose between either installing Ubuntu directly or trying the desktop first.
You’ll probably find an option called Install Ubuntu. Click on that option and press return to launch the desktop installer automatically.
Alternatively, you could also select the first option, Try Ubuntu without installing to give Ubuntu a test run.
A few seconds later, after the desktop has loaded, you’ll see a new window. This is the welcome window. At this point, you can select your language from a list on the left and choose between either installing Ubuntu directly or trying the desktop first.
Step 3: Preparations for Installing Ubuntu
Post the language selection, you shall be asked to select your keyboard layout. If the installer doesn’t guess the default layout correctly, you can use the Detect Keyboard Layout button to run through a brief configuration procedure and then select Continue.
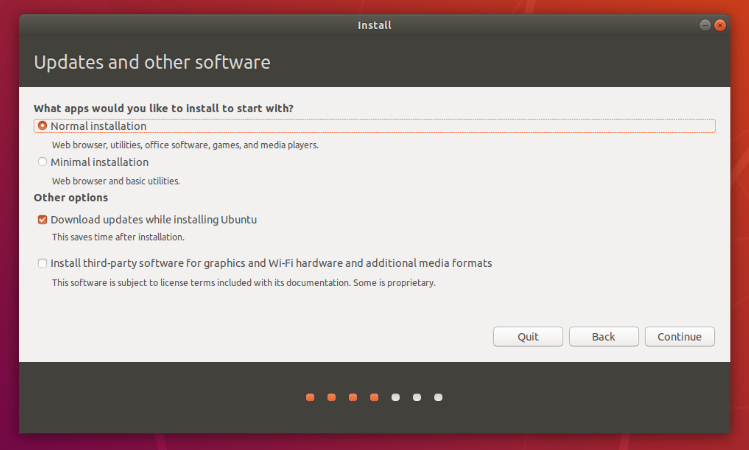
Next, you shall be asked What apps would you like to install to start with? Two options will be available to you; Normal installation and Minimal installation.
The first option is the equivalent to the old default bundle of utilities, applications, games and media players. It’s a great launchpad for any Linux installation.
The second option takes considerably less storage space and allows you to only install what you require.
Beneath the installation-type question will be two check-boxes; I’d reckon you enable both Download and Install Third-Party Software.
Suppose, you aren’t connected to the internet, you will be asked to select a wireless network, if available. It’s always preferable to stay connected to the internet during the installation so your machine is updated.
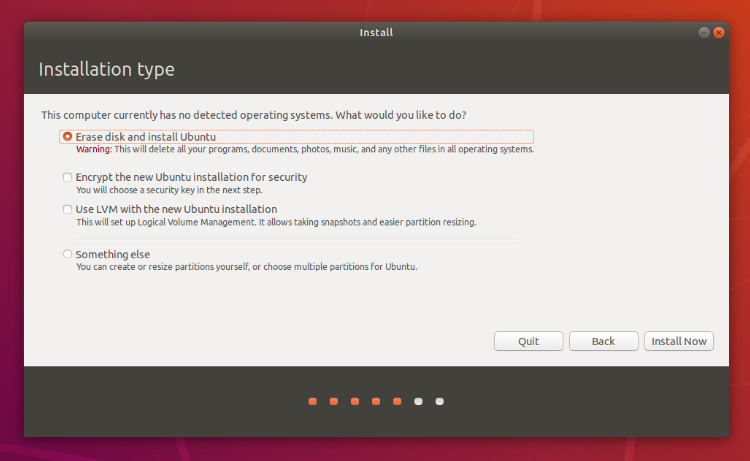
Step 4: Allocate Drive Space
There will be a couple of checkboxes to choose from as you can see in the image below. So you can make a choice, if you’d like to install Ubuntu alongside another operating system, delete your existing operating system and replace it with Ubuntu, or Something else.
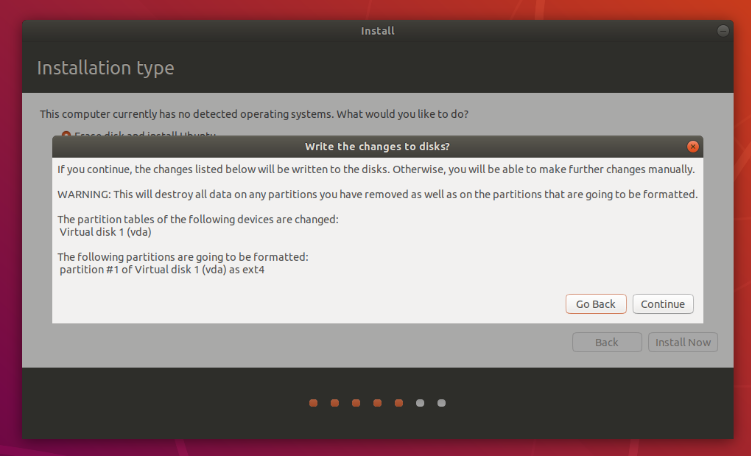
Step 5: Begin Installation
A small pane, in the likes of the image given, will appear before you which will have an overview of the storage options you’ve chosen, with the chance to go back if the details are incorrect.
Click Continue to fix those changes and start the installation process.
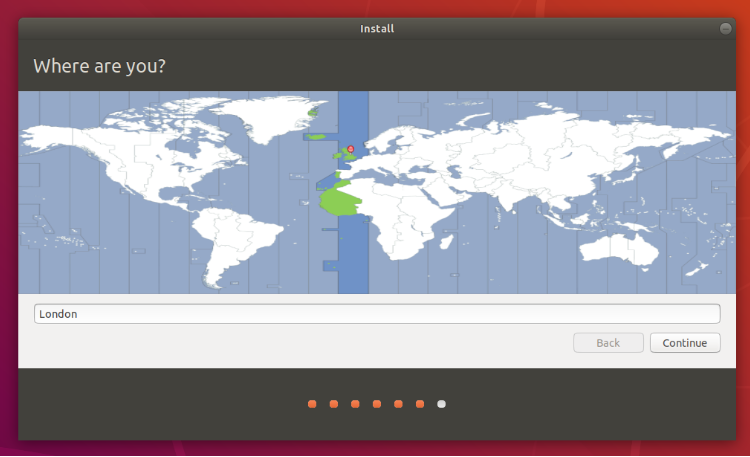
Step 6: Select Location
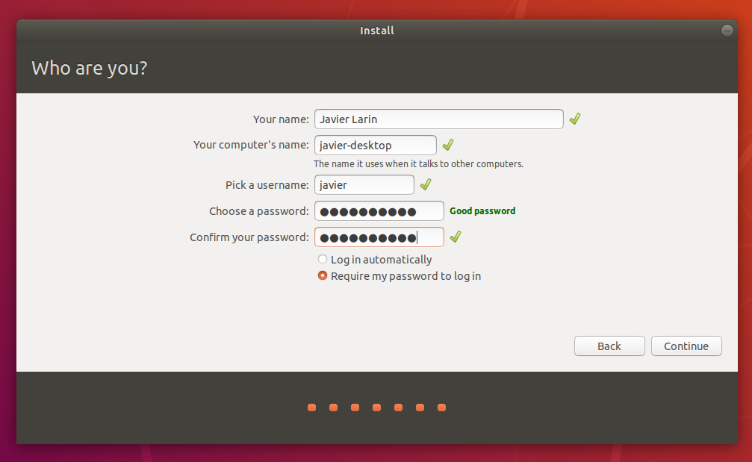
Step 7: Login
The installer shall suggest a computer name, automatically and also the username, once you enter your name. These are pretty simple to change according to your preference. The computer name is how your computer will appear on the network, while your username will be your login and account name.
Next, go ahead set a strong password. It could include uppercase alphabets, lowercase alphabets, numeric and special characters.
But if you enable home folder encryption and you happen to forget your password, you won’t be able to retrieve any personal data stored in your home folder, that’s a con. I am not trying to scare you, I promise!
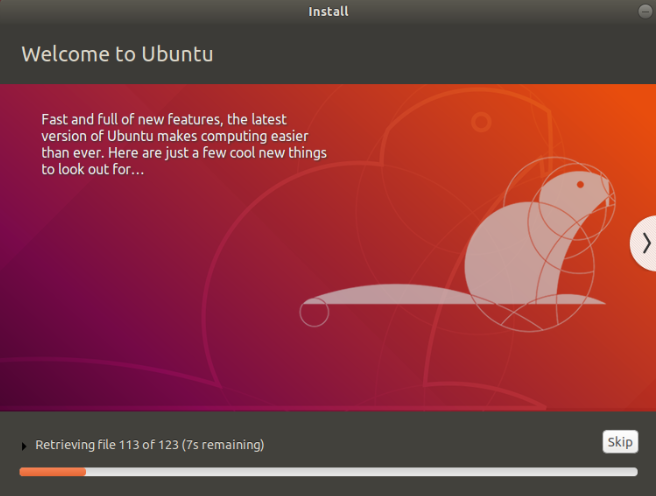
Step 8: Background Installation
Step 9: Installation Complete!
Now your Distribution has been installed and configured. A small window will appear before you, asking you to restart your machine. Click on Restart Now and when the prompt is displayed, remove either the DVD or flash drive you’ve plugged in.
Kudos! You have now successfully installed the World’s most popular Linux OS!
Alternate Method: Download Ubuntu on your Virtual Machine
There are several ways to install Ubuntu. If you want to use Ubuntu without making any changes in your Windows system, you can go the virtual machine way. Basically, you install and use this distribution like any regular Windows application. When you just want to try a Linux distro (Ubuntu in this case) for limited use, virtual machines provide a more comfortable option.
1. Download and install Virtual Box
2. Download Linux ISO
Next, you need to download the ISO file of the Linux distribution,i.e, Ubuntu. You can get this image from this link.
3. Install Ubuntu using Virtual Box
Now, you have installed Virtual Box and downloaded the ISO for Linux. You are now all set to install Linux in Virtual Box.
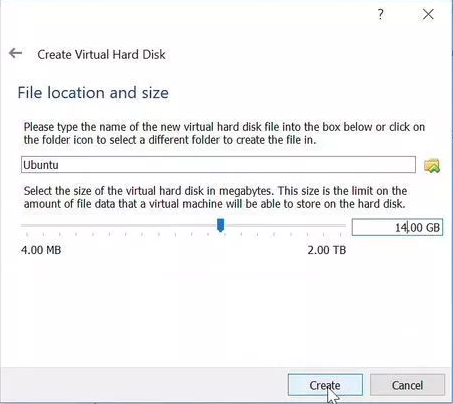
Create a virtual disk. This works like the hard disk of the virtual Linux system. This is where the virtual system will store its files. I, personally, would go for the VDI type file, here.
You can choose either to Dynamically allocate or a Fixed size option for creating the virtual hard disk. The recommended size is 10 GB.
Once everything is in place, it’s time to boot that ISO and install Ubuntu as a virtual operating system. If Virtual Box doesn’t detect the Linux ISO, browse to its location by clicking the folder icon as shown in the picture.
Soon you’ll find yourself inside Linux. You’ll end up with the option to install it.
Things from here are Ubuntu specific. From here you can continue with Step 2.
I hope you found this guide helpful. If not you can look for Edureka’s Linux Certification Course which is live and instructor-led. If you need, you can change the boot order easily to make Ubuntu your default OS. But that’s a story for another day. For now, you can go ahead, experiment and enjoy this beautiful, beginner-friendly Linux distribution.