


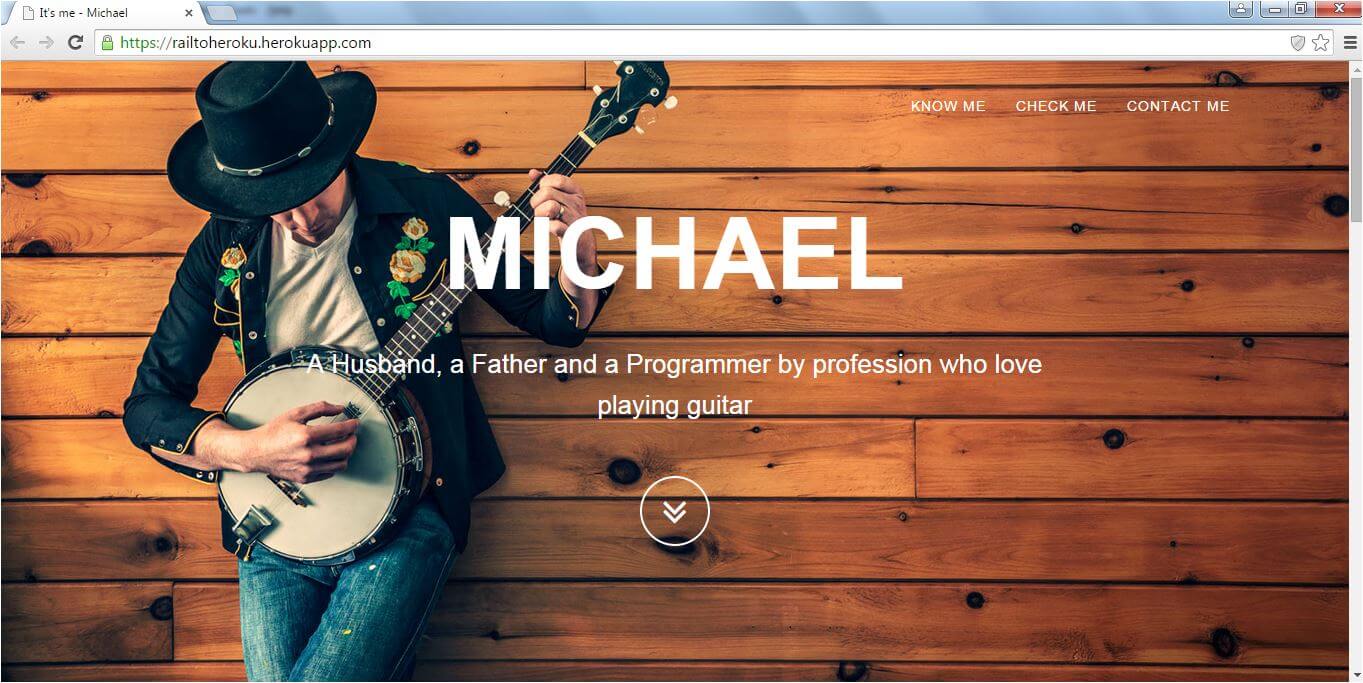
In this post we will create a personal website using rails and deploy it to Heroku. Heroku is a cloud application platform – a new way of building and deploying web apps. Best thing about Heroku is that you don’t have to pay for hosting basic web apps as Heroku has categorized them as free. We will build a single page rails application and it will be a static website that can be used as a portfolio.
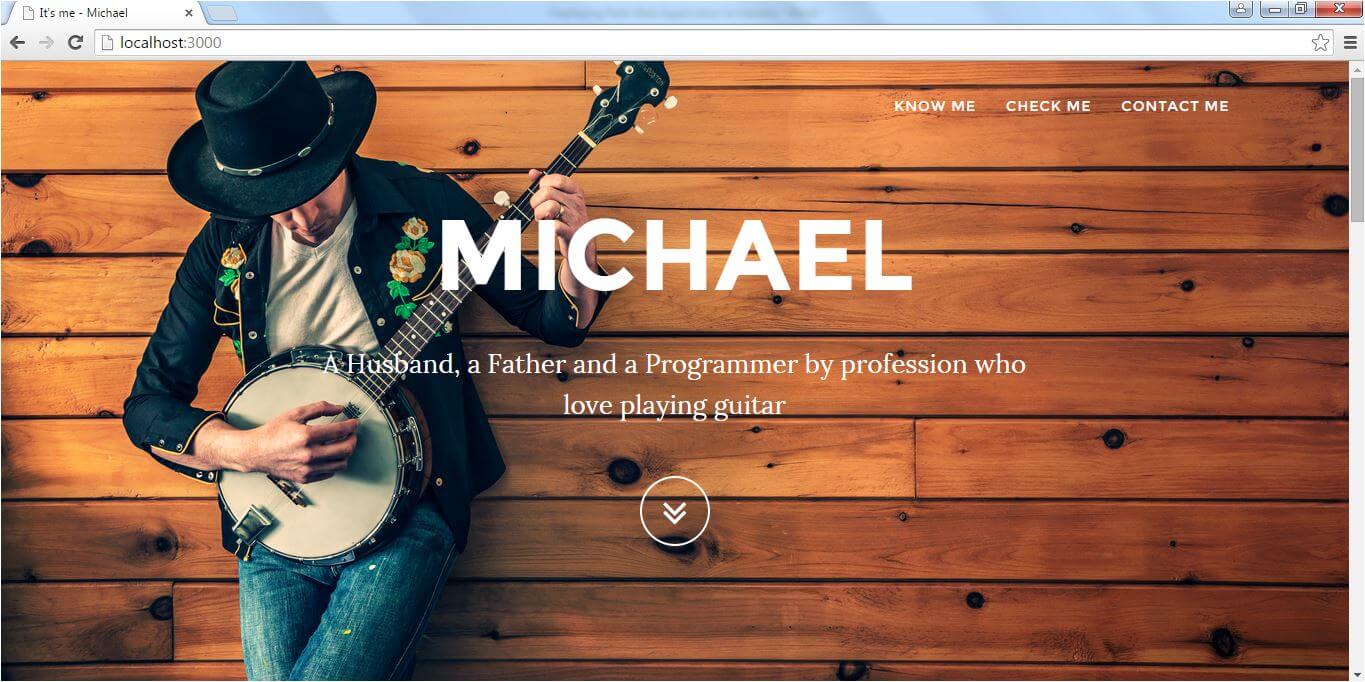
Below is the snapshot of the rails application (deployed on Heroku)
Let’s get started on creating this Rails application. I assume you already have installed Ruby and Rails. Make sure you have Ruby 2.0 and Rails 4.2.2. You can check the version from command prompt.
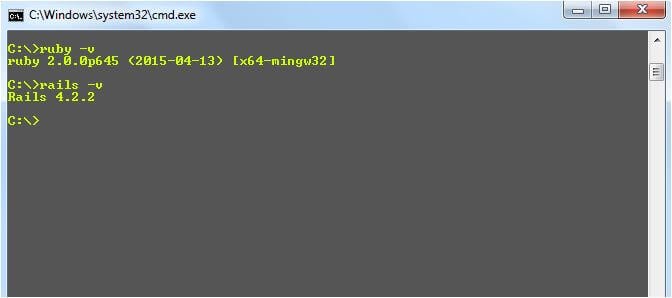
Note : We will use Ruby 2.0 and Rails 4.2.2. If you have some different versions of Ruby and Rails some of the steps shown in this post might not work for you.
Creating the Project :
We will name our project as website. To create the project use command Rails new website
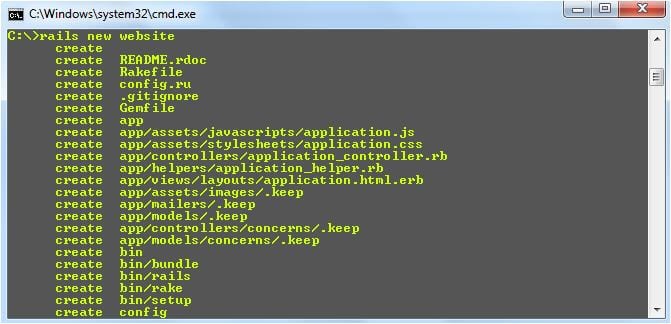
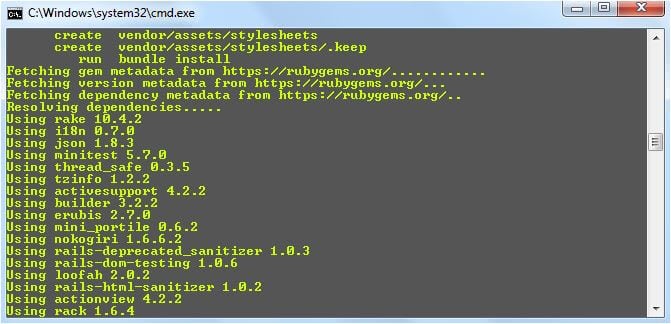
Rails will automatically generate all the files and it will also install all the required gems by executing the run bundle installed automatically as shown below
Now you will see a website folder under your C: drive (the location from where we executed Rails new website command). Let’s open the website folder in some IDE. I have Brackets IDE from Adobe. You can use any other as it does not matter.
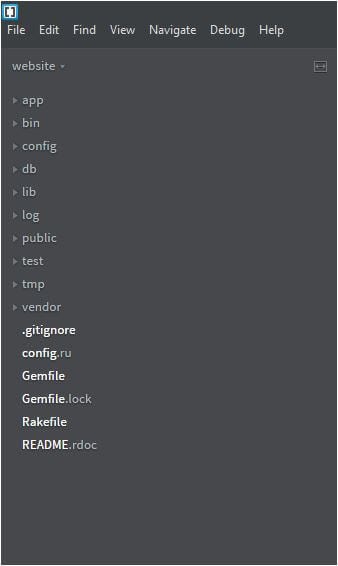
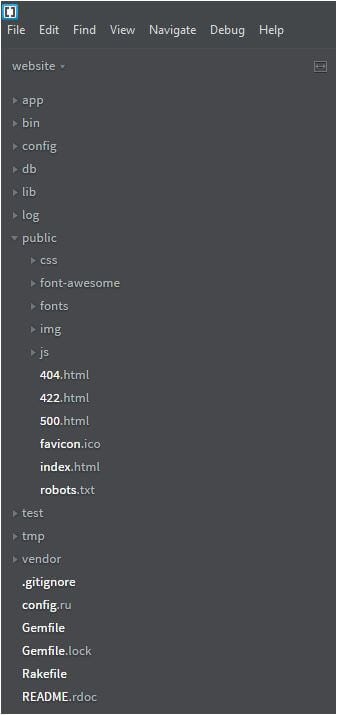
Project Structure :
The generated project structure will look as below
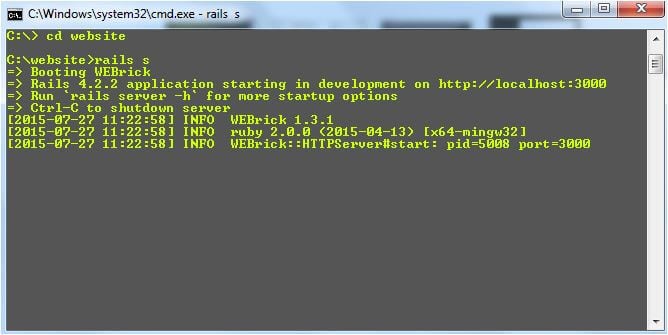
Even though we haven’t written any code you can run the website application right now. To run the website application, execute Rails s command from website folder as shown below
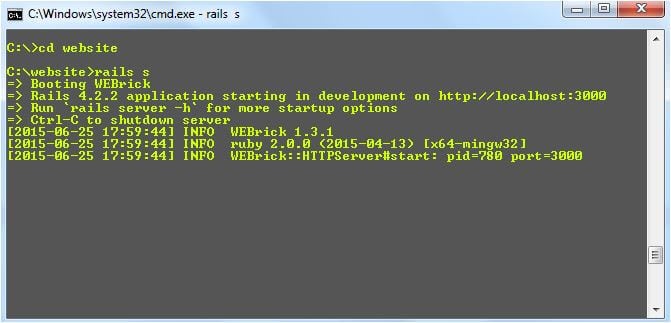
As you can see in the above snapshot that our website app have been deployed at http://localhost:3000
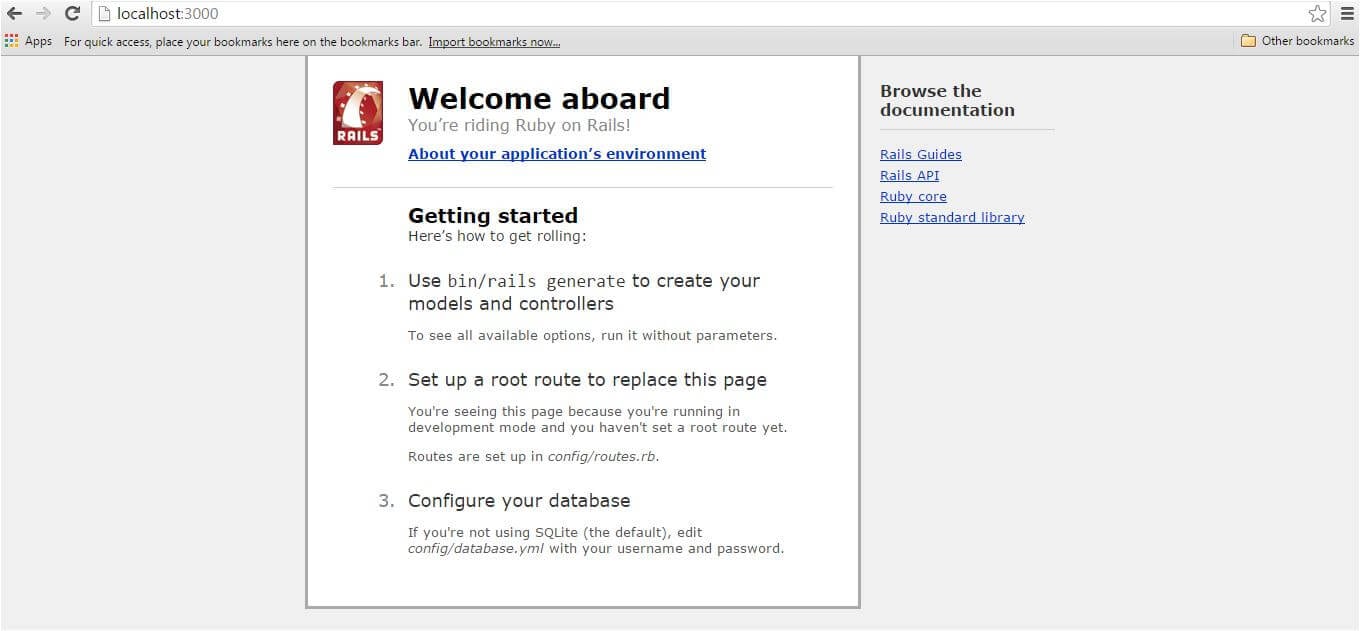
You will be able to see the screen below on accessing the URL http://localhost:3000
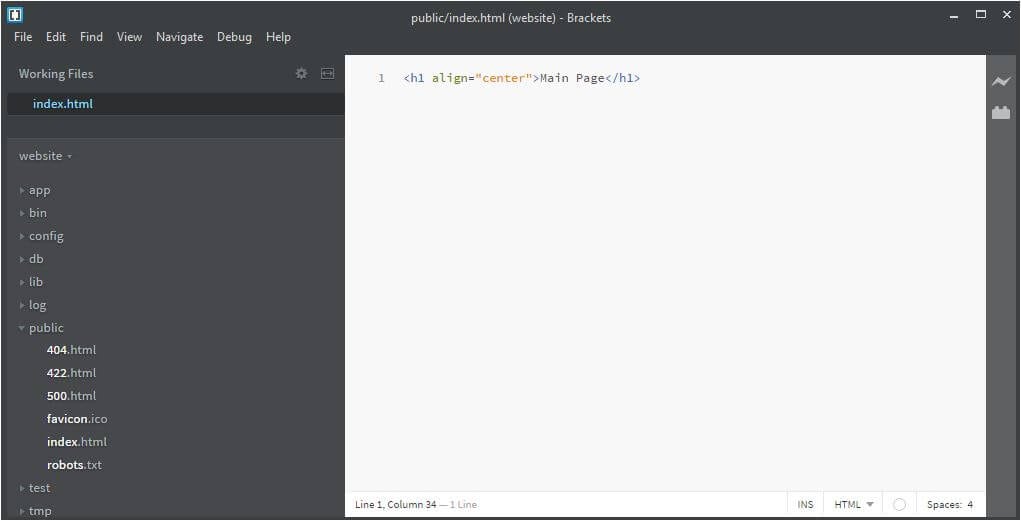
But we want to show our application main page on accessing the URL http://localhost:3000/ . For that let’s create an index.html page under the public folder of our website project.
Note : Rails will automatically serve the index.html page on accessing the root URL http://localhost:3000
For the time being we just have one line in index.html page.
Let’s access the root URL http://localhost:3000

Now, let’s put some life in our index.html page by adding some images – JS and cool CSS. We will use grayscale theme from start bootstrap.
Top 5 Backend Frameworks to Learn in 2025
Grayscale Start Bootstrap Theme –
Below is the snapshot of the grayscale start bootstrap theme that we will use. We will customize this theme to meet our requirement.
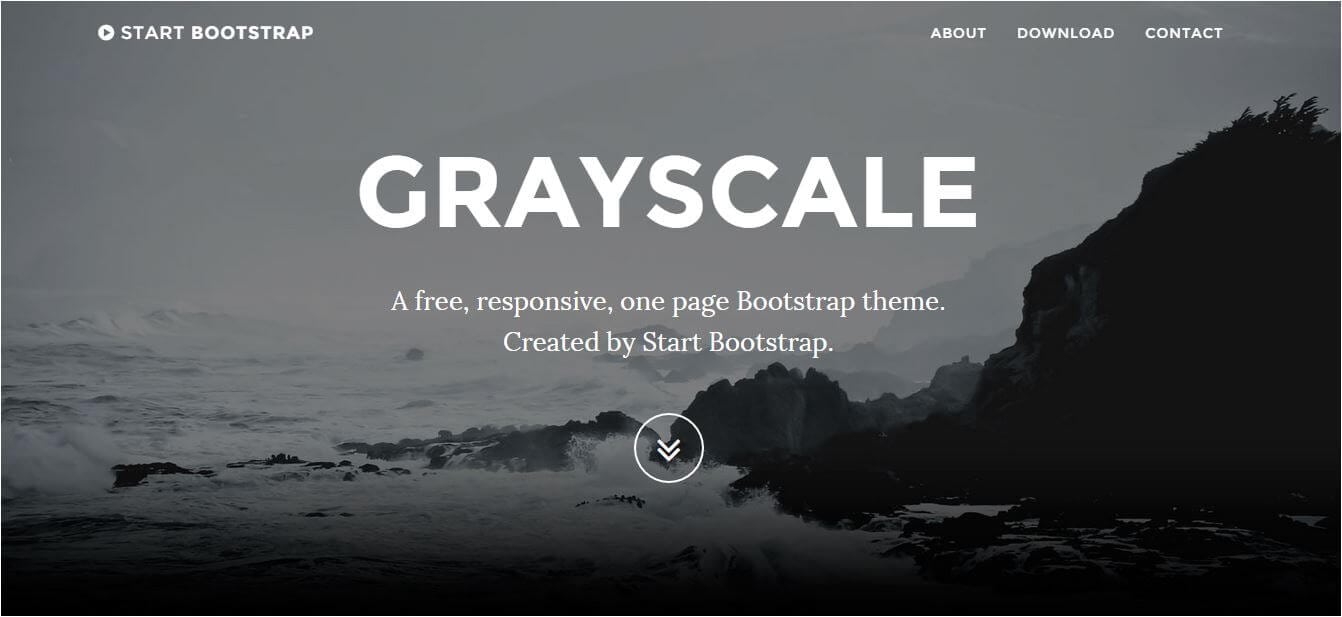
You can download this theme from http://startbootstrap.com/template-overviews/grayscale/
Download grayscale theme and copy the CSS, font-awesome, fonts, img, JS and index.html to the public directory of the website project. Below is the project snapshot after adding CSS, JS, fonts, images folder and index.html page under public directory of the website project.
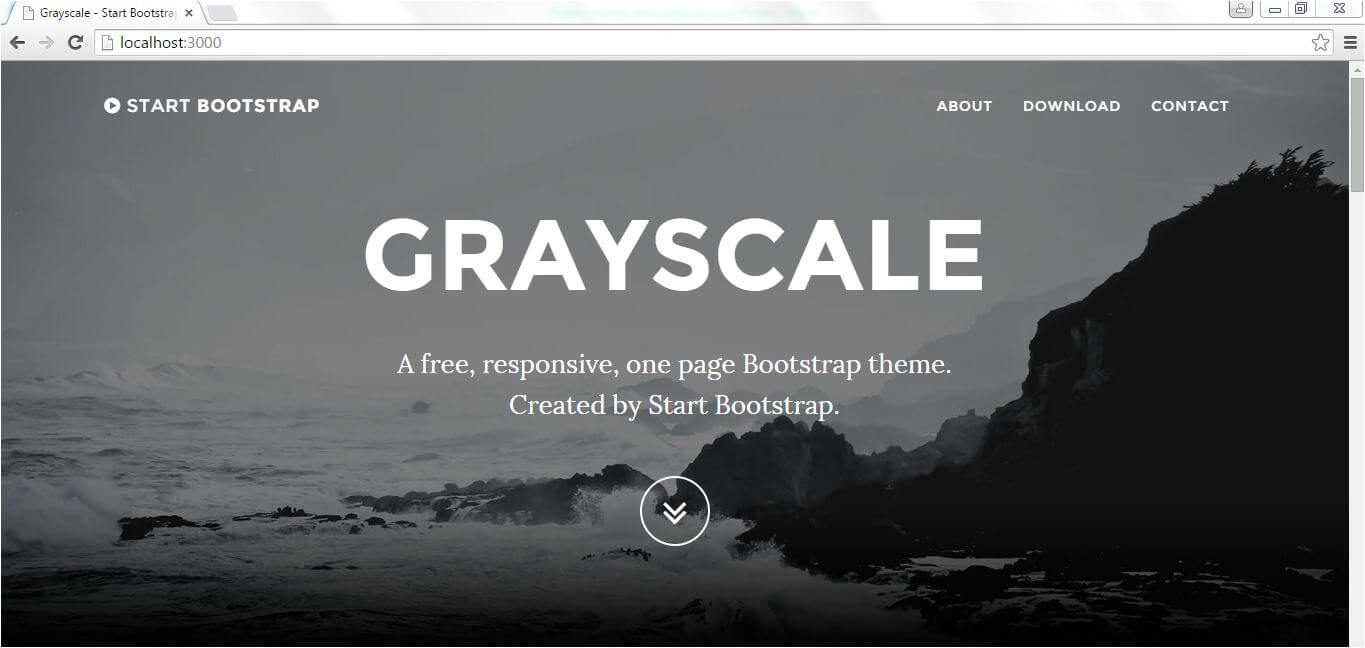
Let’s run our website project now:
On running the project you will be presented with good looking grayscale theme page.
We will modify the index.html page (under public directory of website project) to give it a professional look.
Below is the snapshot of the website project after making the changes in the index.html page. We have just changed the images and edited some of the text to make it specific to an individual.
You can modify the index.html and grayscale.CSS as you like. Now, we are ready to deploy our website application to Heroku.
Transform your design skills with our UI UX Design Course.
Pushing the code to Github :
Before deploying the application to Heroku, we need to push our code to a remote Github repository. For that you need a Github account . If you don’t have a Github account, go and create one at www.github.com.
You also need to install Github on your Windows. Download the Github for windows from https://windows.github.com/ .
Once you have downloaded and installed the Github on your machine, open up the Github application and configure your Github credentials and choose Git Bash shell as your default shell (you can choose any other option also as you like) and then save the changes.
You need to create a repository on Github, where we will save our website project remotely. To create a repository, log in to Github and click on new repository option shown in the green button.
Name your repository (in this case we have named it railtoheroku) and click on create repository link as shown below.
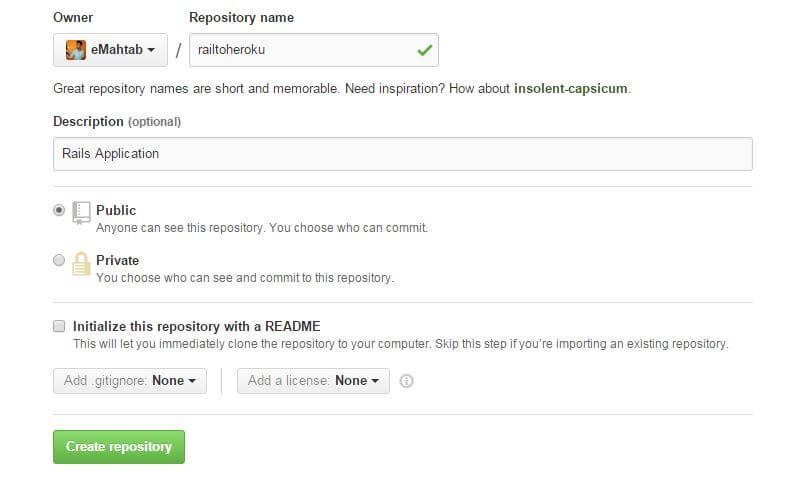
Github will provide the remote URL (https://github.com/eMahtab/railtoheroku.git in this case) for the railtoheroku repository which will be needed while pushing the code from local machine to Github.
Now, we are ready to push our website project code to Github. Follow the steps below to push the code to Github.
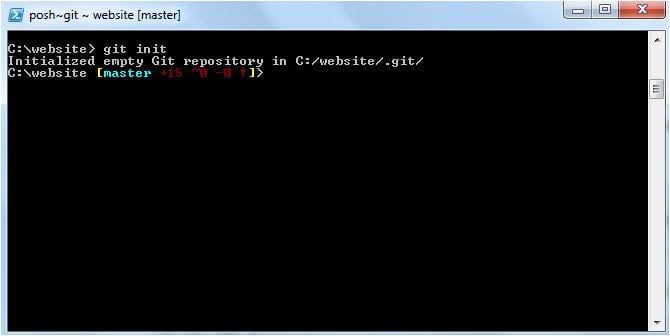
Open up Git shell and use Git init command to initialize the website directory as shown below:
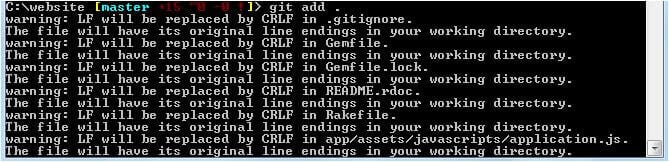
Now, add all the files in the website directory under version control by executing Git add.
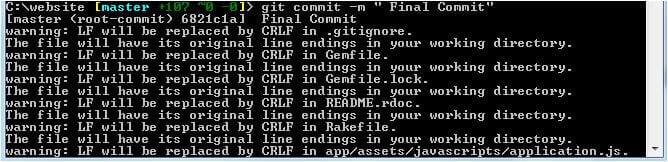
Commit all the files by executing Git commit –m “Final Commit”
Add the remote repository as shown below:
![]()
Now the last step which will actually push the code to Github repository:

We are done with Github. The next part is the actual deployment of the application to Heroku.
Deploying the application to Heroku :
Create a Heroku account at https://www.heroku.com/
Note : We have to make some changes for deployment of the application to Heroku. Heroku does not support SqLite 3, instead it has PostgreSQL database. So we have to remove sqlite3 dependency from gemfile. Heroku requires rails_12factor gem, which is used by Heroku to serve static assets such as images and stylesheets. The two changes required in Gemfile are summarized below:
Remove the line gem ‘sqlite3’ from Gemfile
Add the following lines to Gemfile
group :development, :test do # <<<< not in production

gem 'sqlite3'

end

group :production do

gem 'pg',             '0.17.1'

gem 'rails_12factor',  '0.0.2'

end
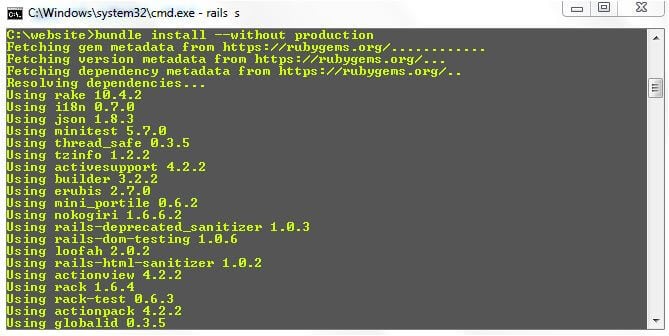
Let’s check whether everything is working fine after making the changes to Gemfile. Save the Gemfile and run bundle install with a special flag (–without production) to prevent the local installation of any production gems.
Lets commit the changes made in Gemfile to remote repository at Github:
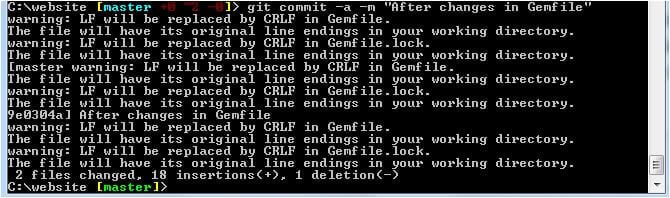
Push the changes to remote Github repository:
Creating a new application at Heroku :
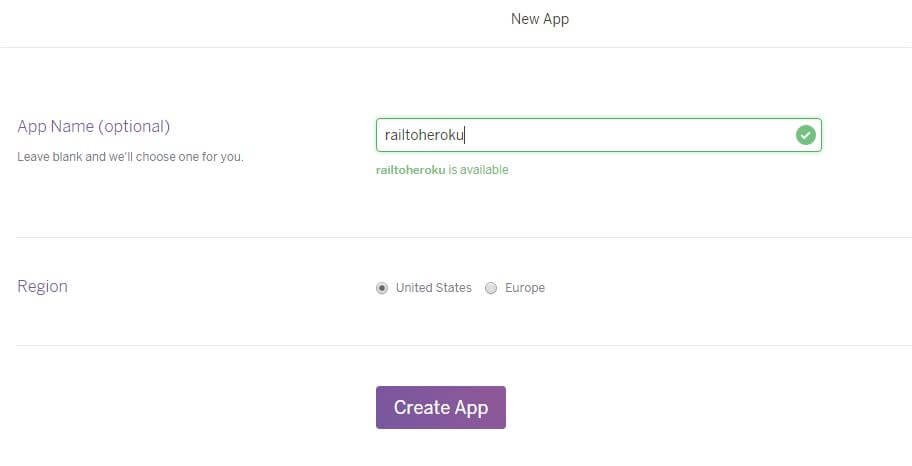
Log in to Heroku and create a new app. I have named my app railtoheroku. You can name it whatever you like. Click on create app to create the named app.
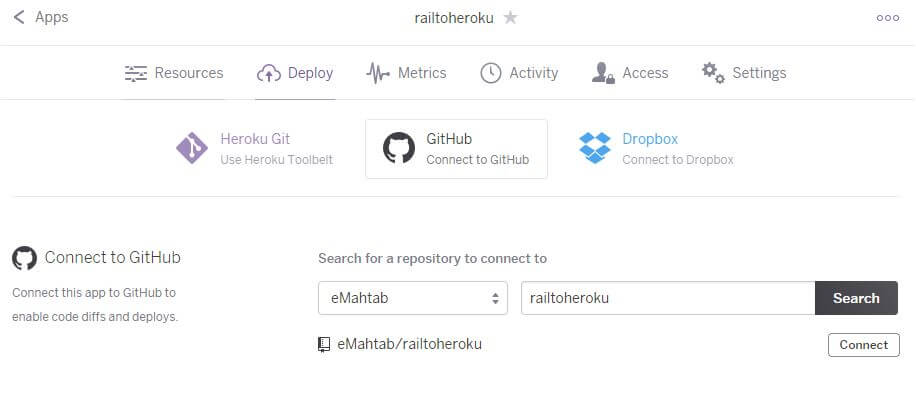
Connecting Github repository to Heroku App :
Next step is to link your Github repository to Heroku.
Below we have connected our Github repository railtoheroku
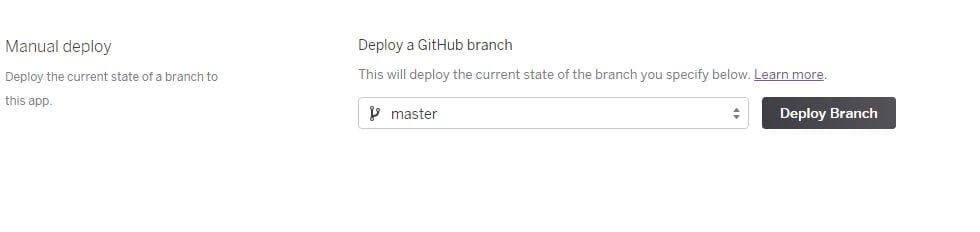
Once we connect our Github repository to Heroku, we are ready to deploy our application. To deploy the application scroll down to manual deploy option and click on deploy branch option.
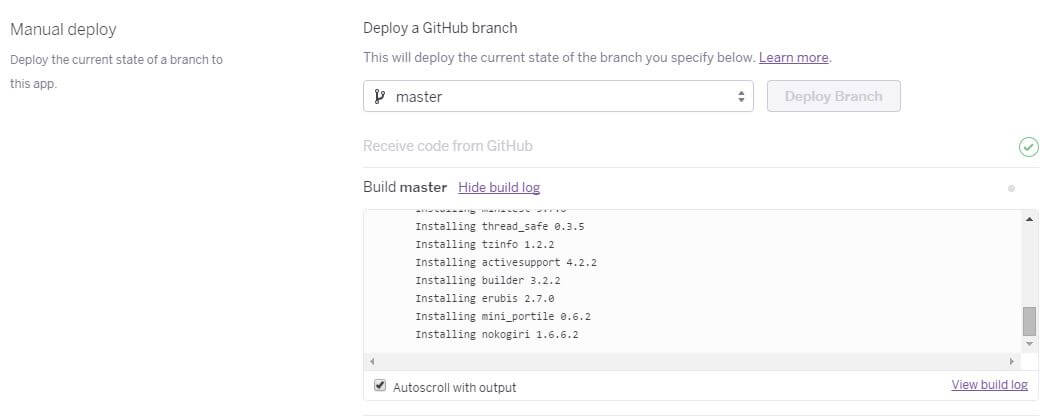
Deploying the Application :
Once you click on Deploy Branch, Heroku will start installing the gems from Gemfile on production:
Once all the gems are installed and application is deployed, you will see the congratulation message from Heroku saying, “Your app is successfully deployed.”
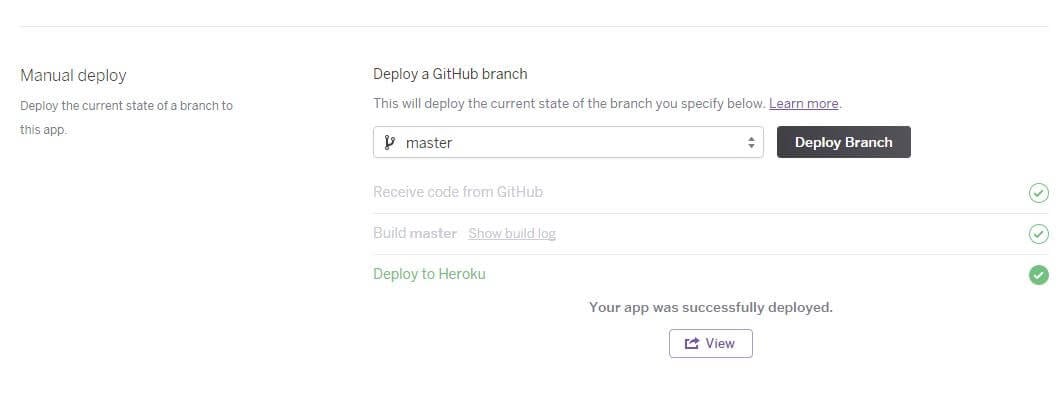
To see your deployed application just click on view button and you will be able to see your app deployed successfully.
If you face any problem while following any of the above steps please comment below. Hope you enjoyed this post.
Related Post Automating brute force login with Ruby
Check out the Angular Course Online by Edureka, a trusted online learning company with a network of more than 250,000 satisfied learners spread across the globe. Angular is a JavaScript framework that is used to create scalable, enterprise, and performance client-side web applications. With Angular framework adoption being high, performance management of the application is community-driven indirectly driving better job opportunities. The Angular Certification Training aims at covering all these new concepts around Enterprise Application Development.
If you want to get trained in React and wish to develop interesting UI’s on your own, then check out the React JS Certification by Edureka, a trusted online learning company with a network of more than 250,000 satisfied learners spread across the globe.
Got a question for us? Please mention it in the comments section and we will get back to you.
Related Posts:
Get Started with Ruby On Rails
Creating an Online Quiz Application using JSP Servlet


Hi:
What files (js, css, etc) of grayscale should be put in the public directory ?. There are two, the app/assets/* or those of grayscale-sass ?. Sorry, but for me that step of your article is not well explained.
Thanks in advance.