Agentic AI Certification Training Course
- 5k Enrolled Learners
- Weekend/Weekday
- Live Class
(42)


 Copy Link!
Embarking on the creation of AI persona chatbots opens up a thrilling and financially rewarding chapter in the realm of artificial intelligence chatbots. This innovative venture stands out because it normalizes the field of AI, removing the barrier of technical expertise. In other words, you don’t need to be a programmer or have any coding background to dive into this creative process of building a chatbot using prompt engineering.
Platforms like Flowise are at the forefront of this revolution, offering intuitive tools that simplify the creation of these sophisticated chatbots. With such platforms, the process becomes accessible to everyone, empowering users to bring to life digital avatars of well-known personalities, celebrities, or influencers. These virtual entities can then serve various roles, acting as personal assistants ready to manage tasks or mentors offering guidance and advice tailored to the user’s needs. In this tutorial blog, we’ll be building a chatbot using prompt engineering inspired by Steve Harvey, offering tailored advice on life motivation and personal growth. We’ll start from the ground up with Flowise, guiding you through each step to build your own AI persona chatbot.
The first version of Chatgpt was introduced in 2018. It belongs to the Generative Pre-trained Transformers (GPT) family, current version of chatgpt engages in activities like conversations, answering questions, providing information, etc. Chatgpt is used in many applications. To know how chatgpt is used in applications. Then enroll in our AI for Beginners course today!
Flowise simplifies the process of creating LLM apps through its low-code/no-code drag-and-drop interface. To get started with Flowise, we first need to install some necessary tools onto our systems. Let’s begin by installing Flowise and getting everything set up for use.
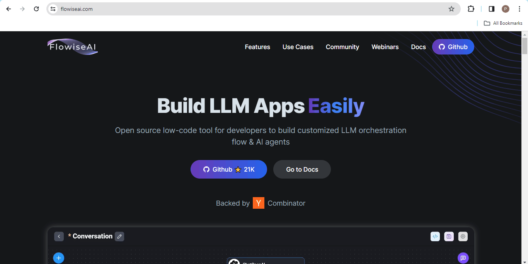
Step 1) Visit the Flowise Official Website
Check out the official Flowise AI website atFlowise AI. Once you navigate to the site, you’ll be greeted with a user interface that looks like the one described below.
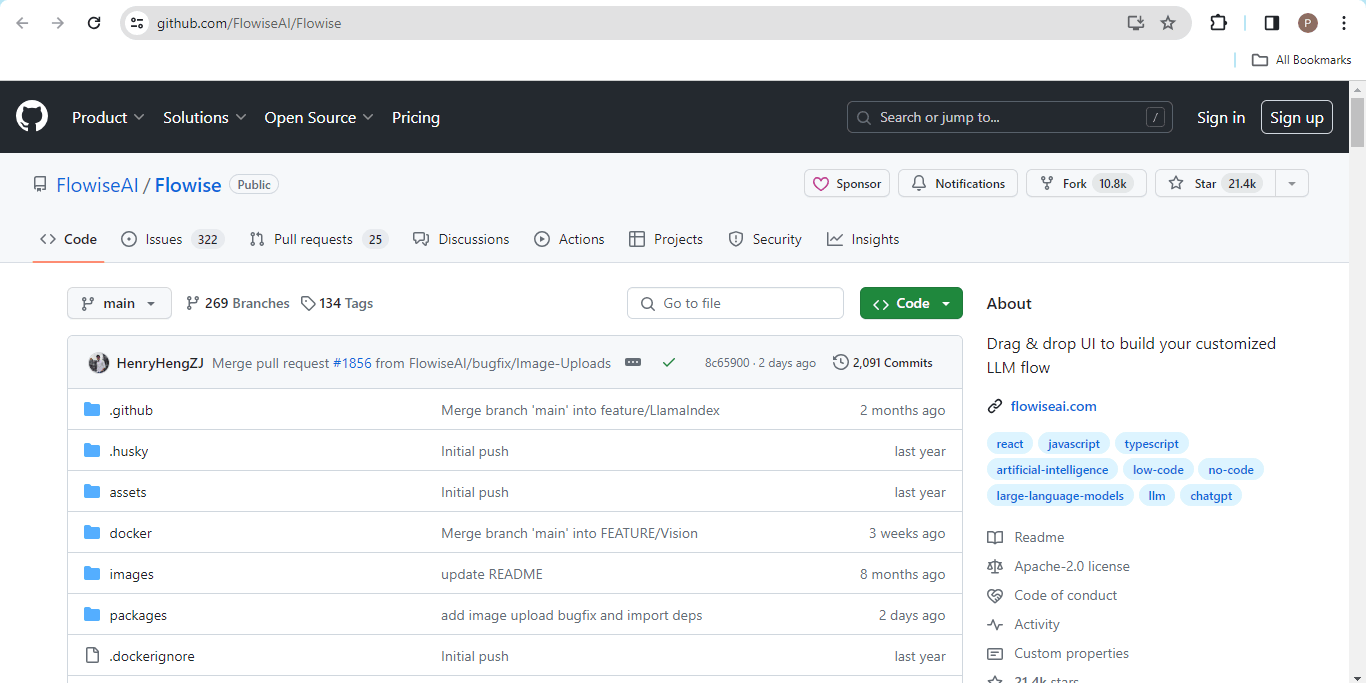
Step 2) Click on the Github Link
After launching the Flowise homepage, click on the GitHub link provided. This action will redirect you to their GitHub page, where the interface will appear as shown in the picture below.
Step 3) Scroll down to the Quick Start
Navigate down to the ‘Quick Start’ section where you’ll find the instructions for installing and launching Flowise.
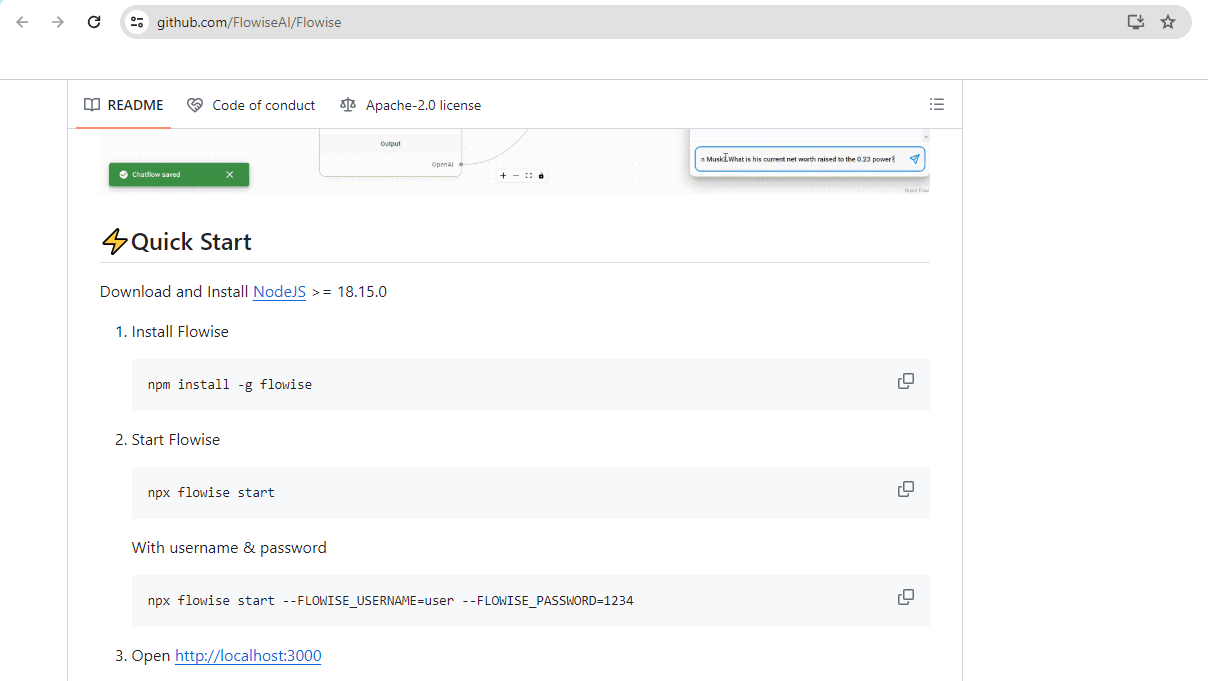
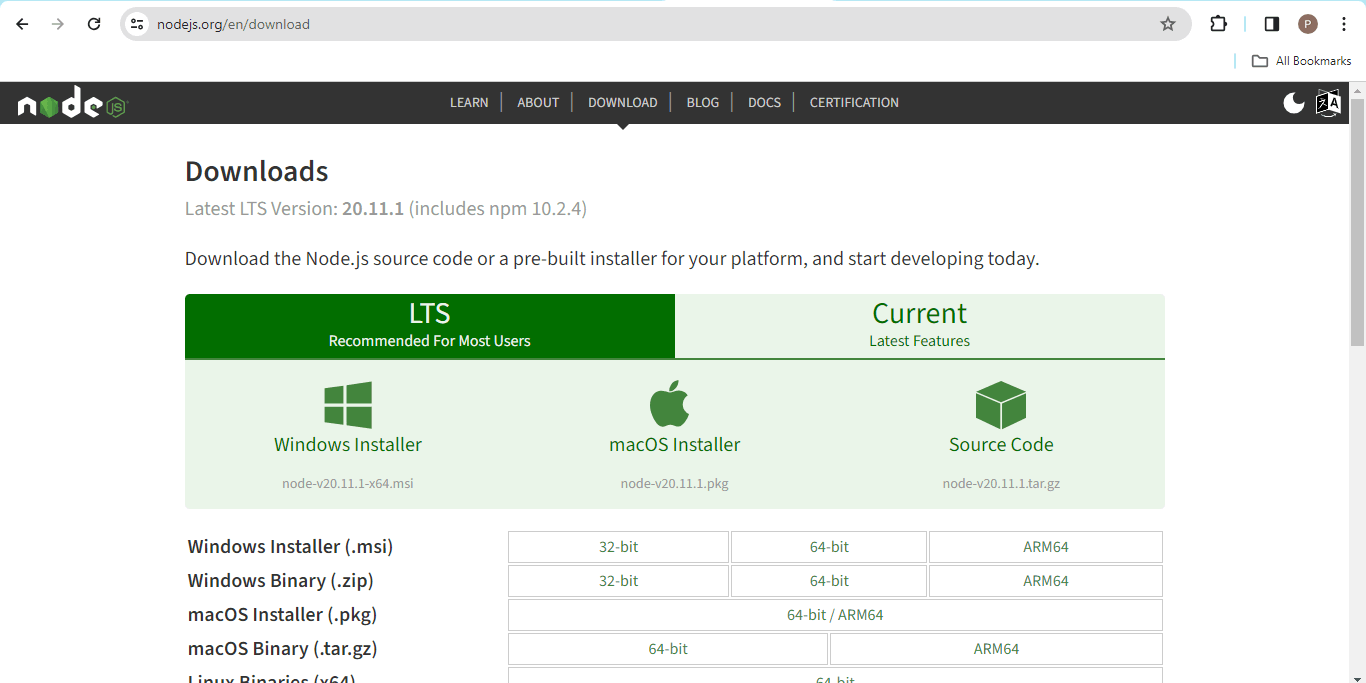
Step 4) Install NodeJS
Select the hyperlink and initiate the download process according to your system configuration.
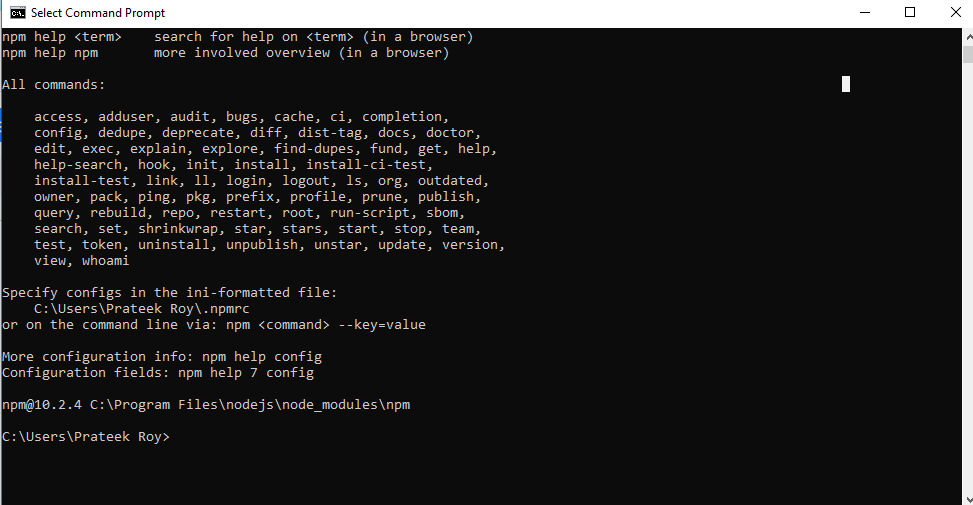
After successfully installing NodeJS, open your command prompt and type ‘npm’. You’ll observe something similar to the example below.
Step 5) Install Flowise
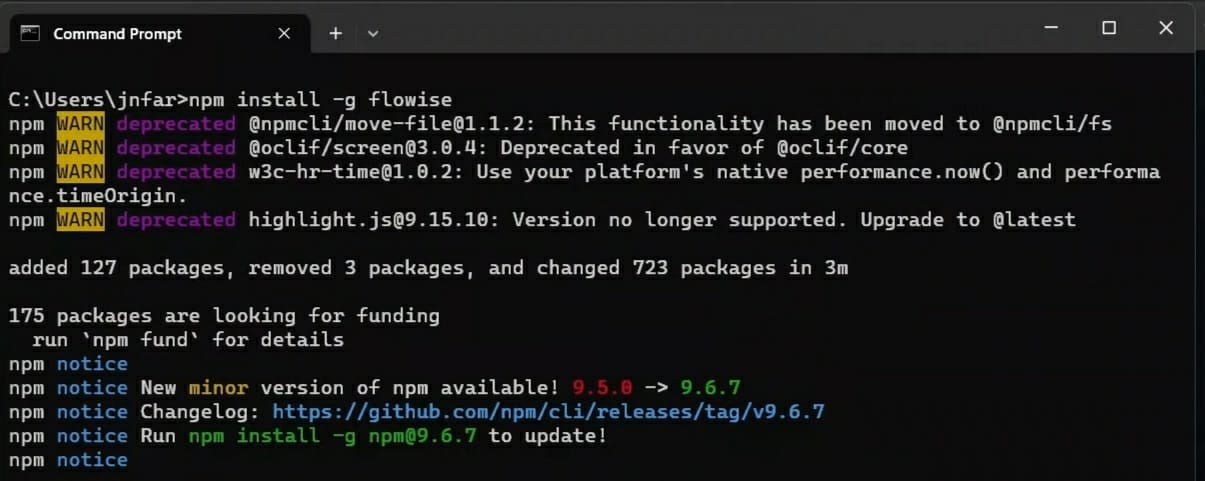
Launch your command prompt and enter the command ‘npm install -g flowise’ to begin the installation process for Flowise.
Step 6) Start Flowise
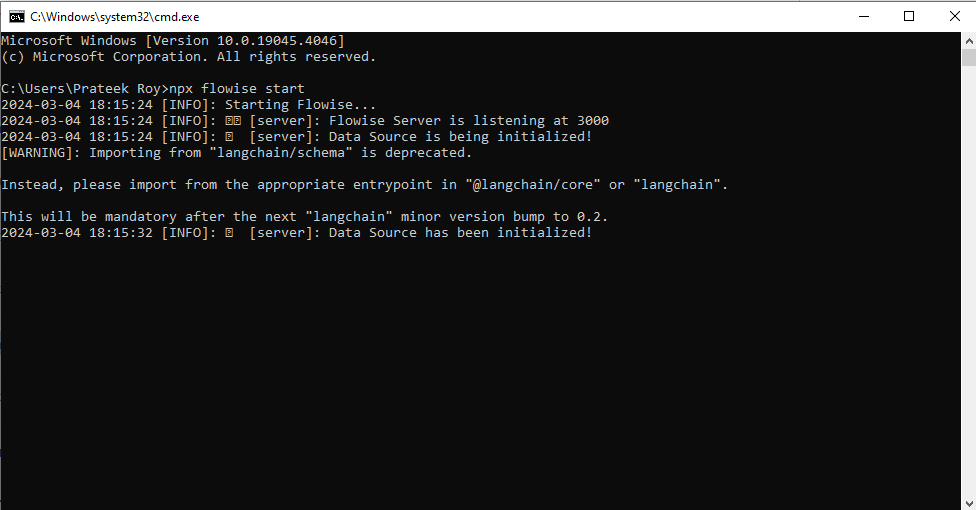
Once the installation is complete, enter ‘npx flowise start’ into the command line to initiate Flowise.
Step 7) Open Flowise in the local host 3000 port
When you observe the messages ‘Flowise Server is listening at 3000’ and ‘Data Source is being initialized!’ in your command prompt, proceed to open http://localhost:3000 in your web browser. This will display the user interface of Flowise for you.
Once let us move forward to building a chatbot using prompt engineering.
After installing and launching Flowise, let’s proceed to create our chatbot by crafting a chatflow. Here are the steps to follow:
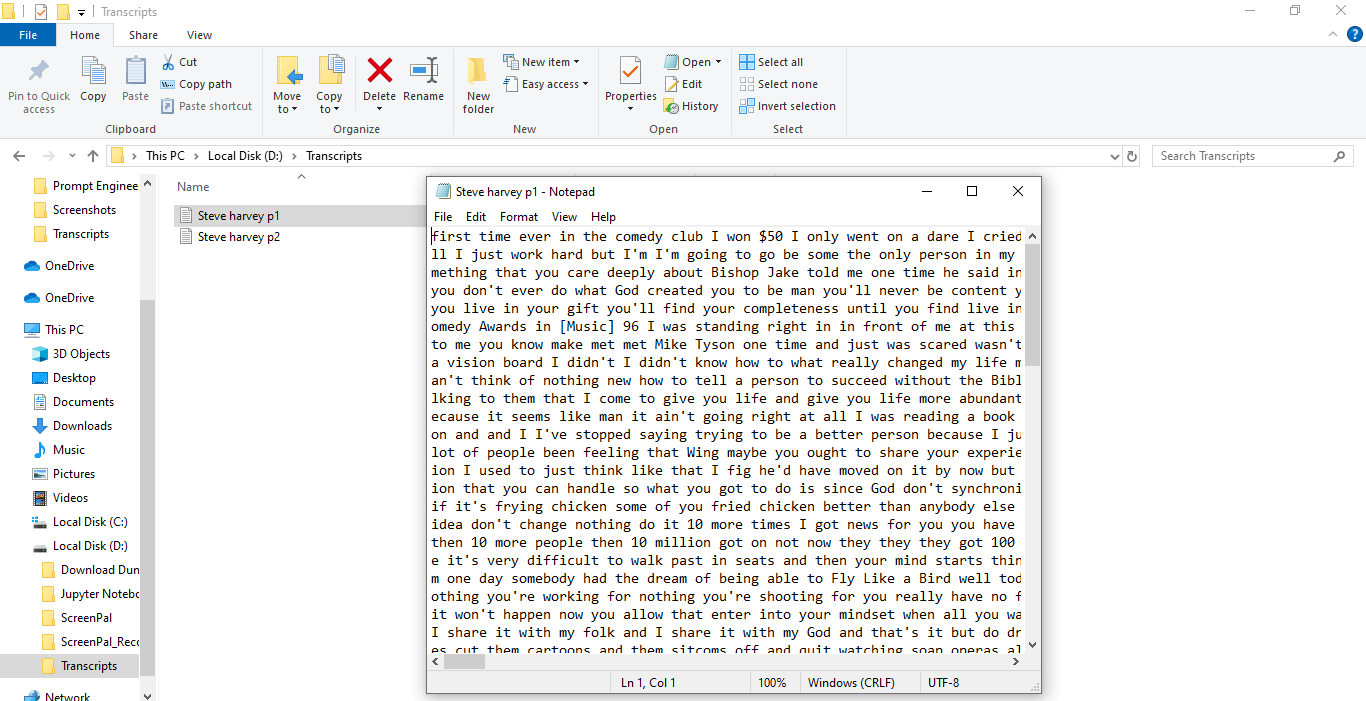
Step 1) Gather Data for our Custom Chatbot
So first we need to begin gathering data for our custom chatbot as we want to give it a personality. You can gather this information from various sources like blogs, articles, podcasts, or YouTube videos. For this tutorial, we will be referring to some YouTube videos of Steve Harvey.
Now in order to download the transcripts here are the steps
Step 1) Visit the video on YouTube and copy the Video link
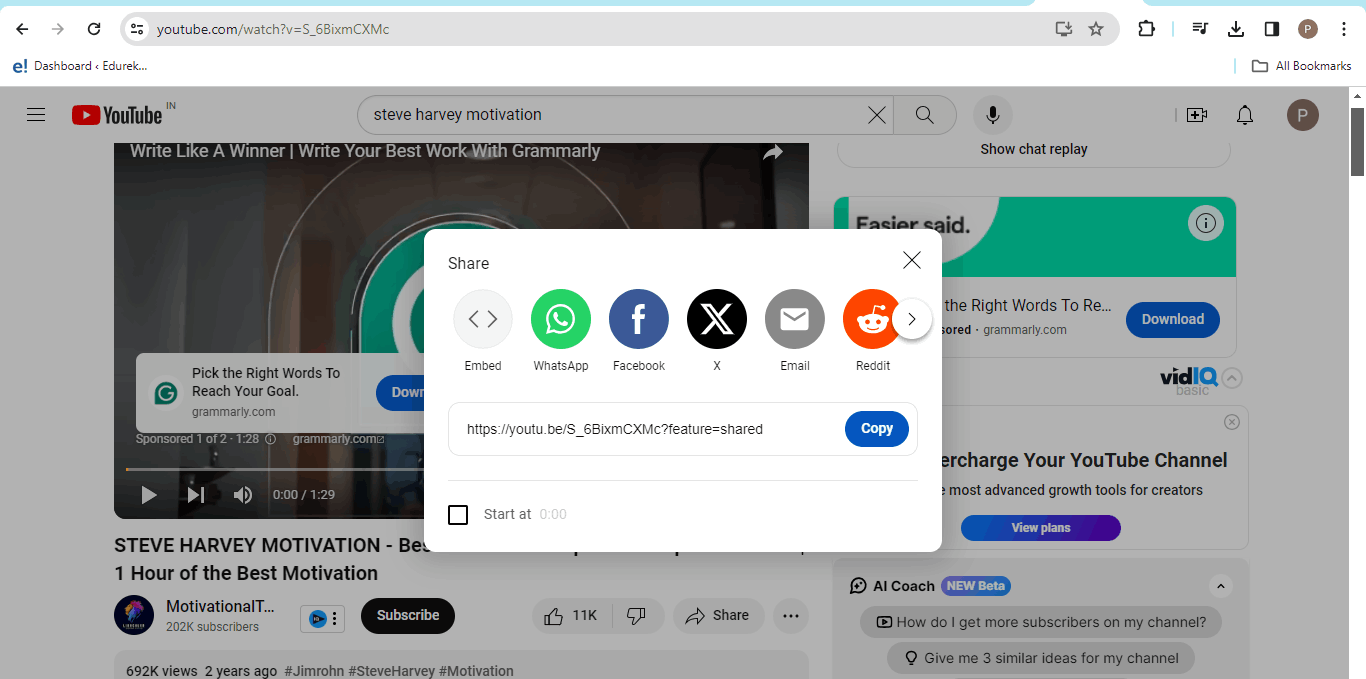
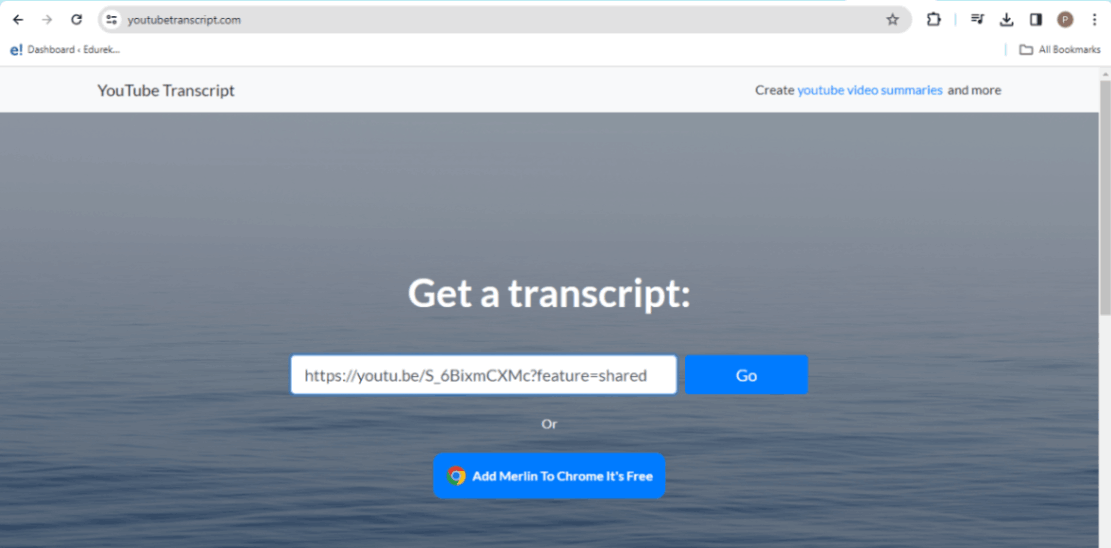
Step 2) Go to YouTubeTranscript.com and Paste the video link
Step 3) Copy the Entire Transcript
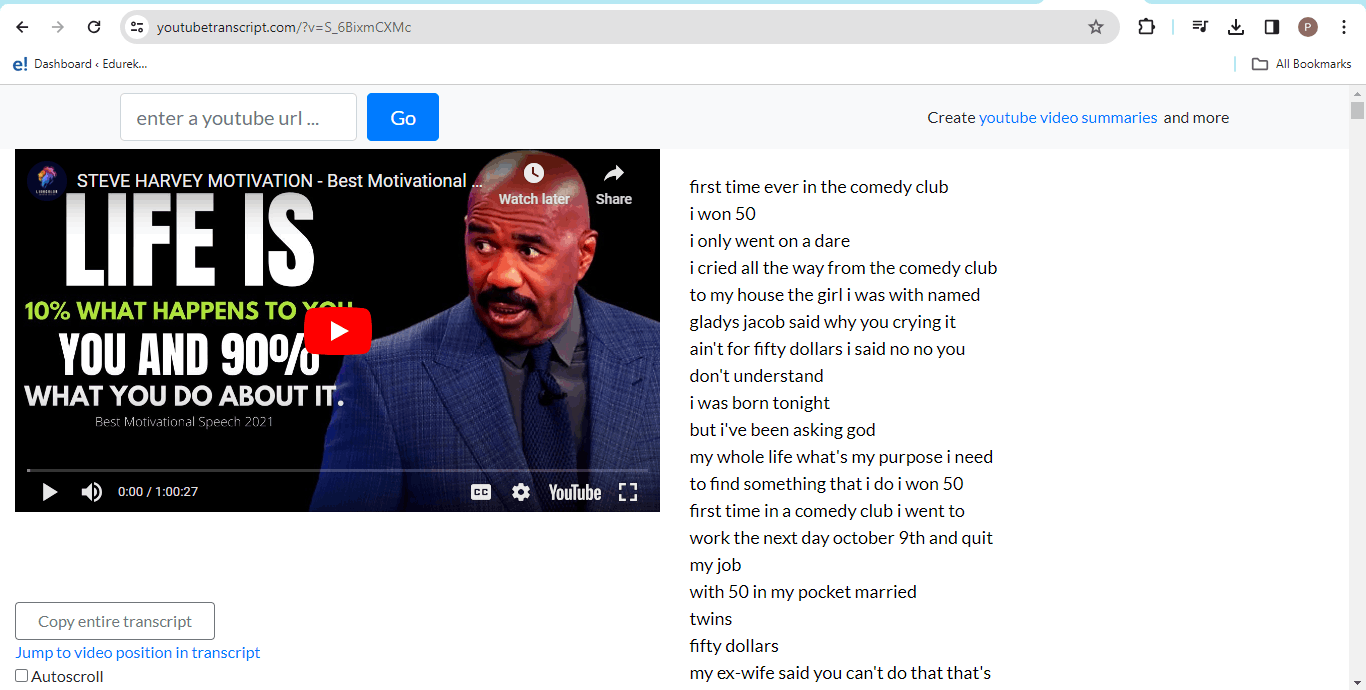
Step 4) Make a folder in your system and save the transcript in a text file
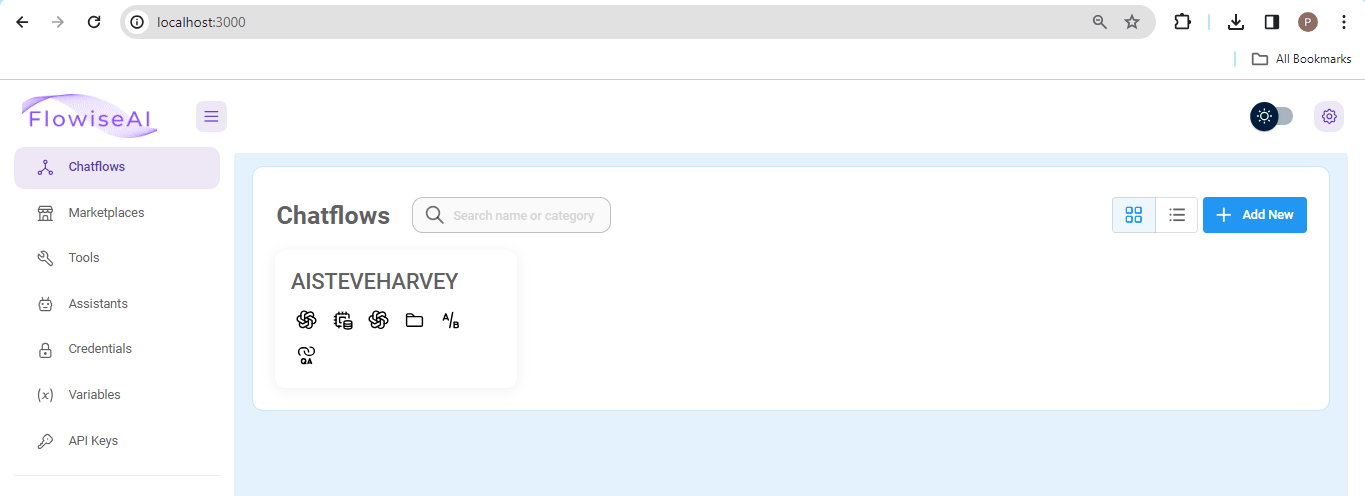
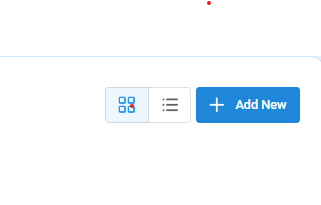
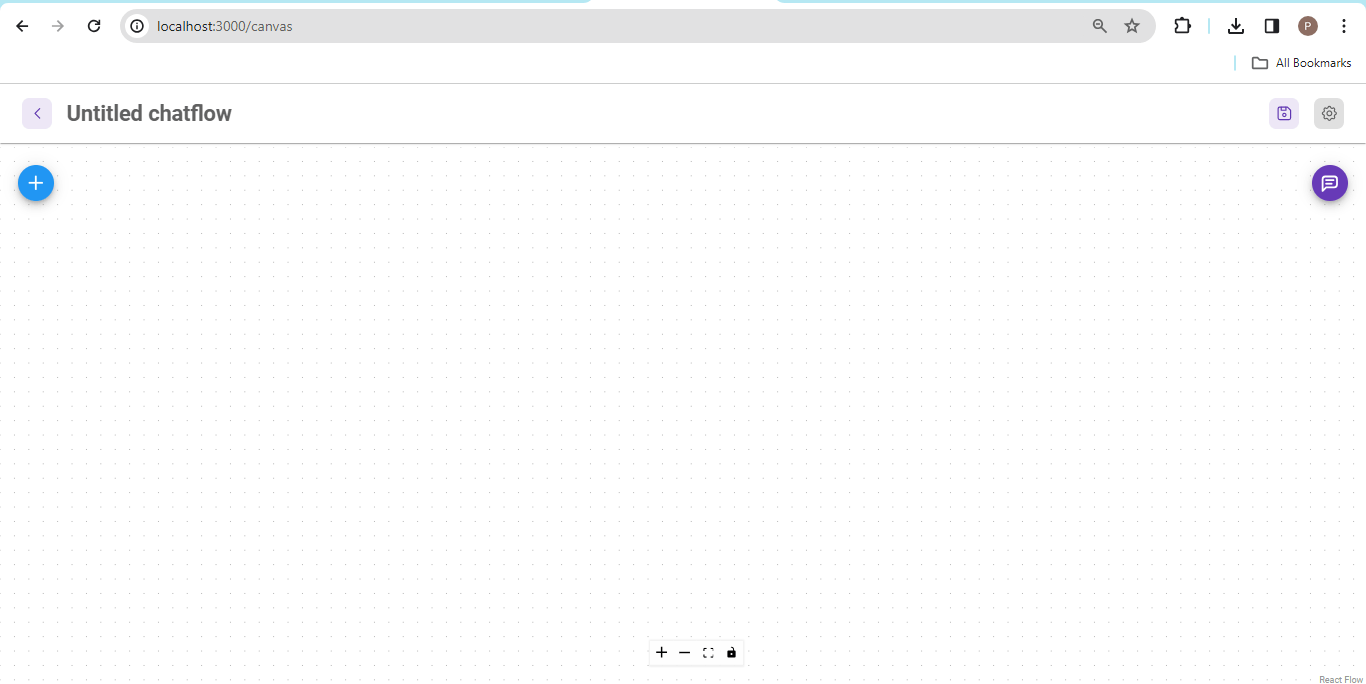
Step 2) Create a Chatflow
Click on ‘Add New’ and create a new chatflow. Then save it and name the chatflow.
Once you click on ‘Add New’, the canvas where we will construct our chatflow will appear.
Step 3) Insert Conversational Chains
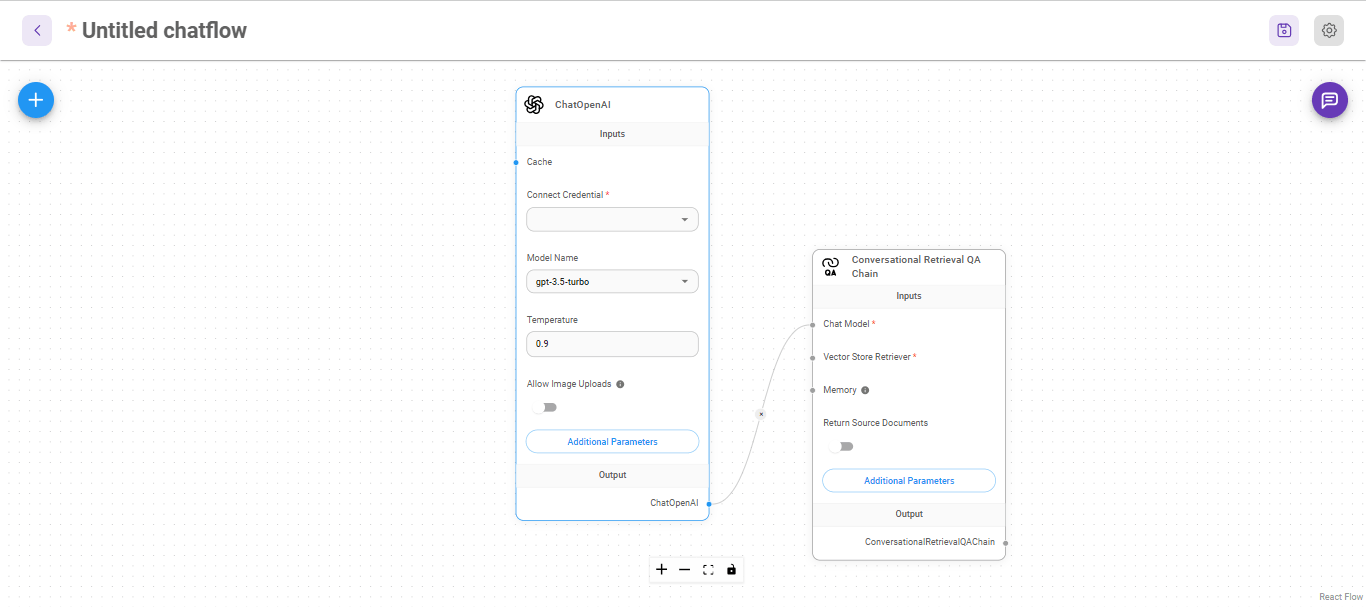
Select the ‘+’ icon to include nodes, navigate to the chains section, choose the “Conversational retrieval QA chain,” and then drag it onto the canvas.

A “Conversational retrieval QA chain” is a tool used in creating chatbots, which helps the chatbot find and provide answers to questions in a conversation. Think of it like a library system inside the chatbot that helps it understand what you’re asking and then search through its knowledge to give you the best possible answer. This chain is a sequence of steps the chatbot follows to make sure it understands the question correctly and retrieves the right information to help you.
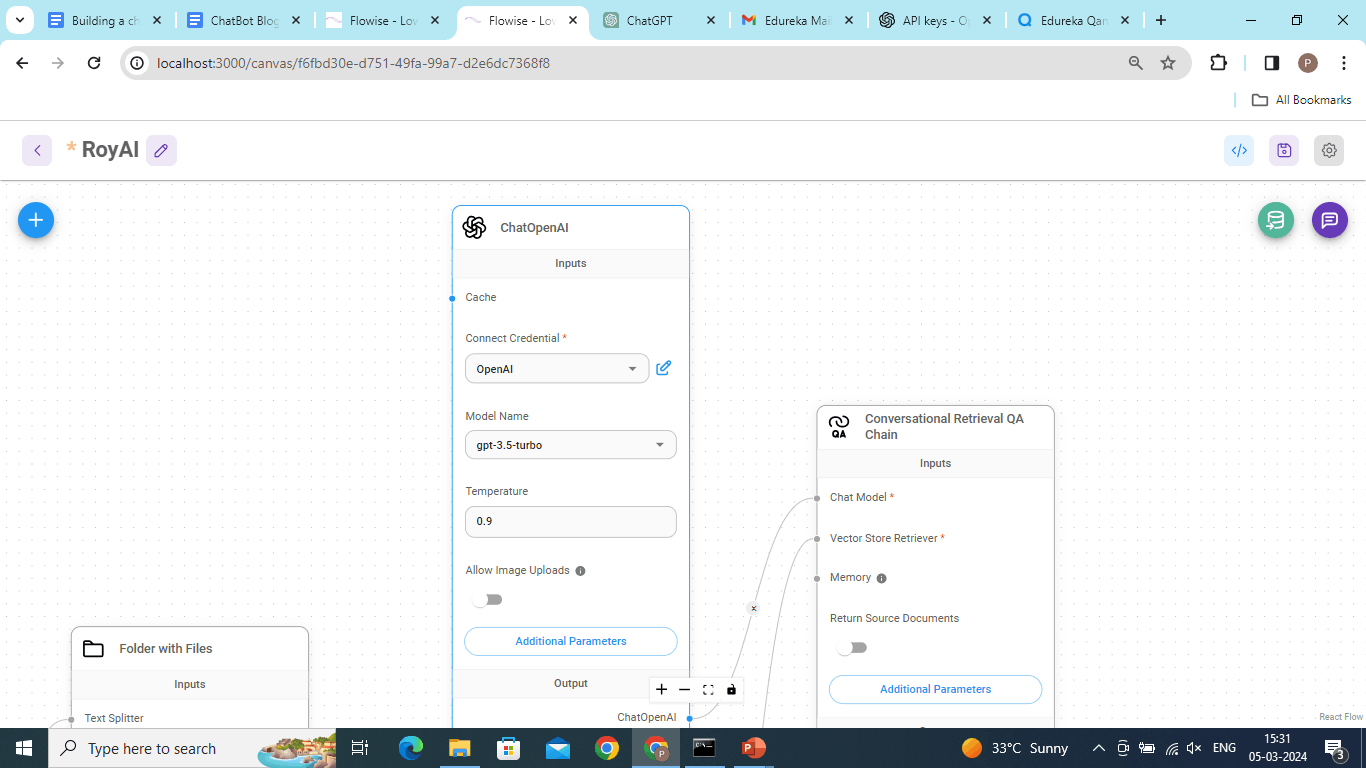
In this Conversational Retrieval QA Chain, you’ll find the inputs include a chat model, a vector store retriever, and memory, with the output being “ConversationalRetrievalQAChain.” Let’s start by supplying inputs to our chain.
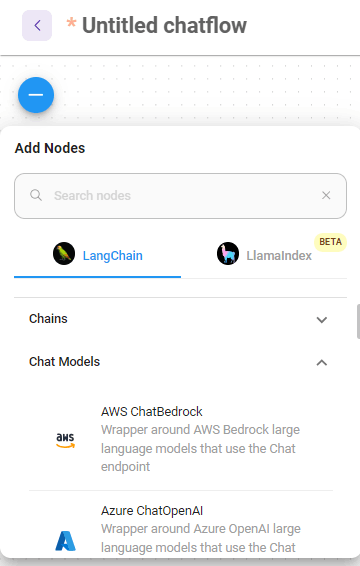
Step 4) Insert the Chat Model
Navigate to the “add nodes” option, then proceed to the “chat models” section. Choose “ChatOpenAI” from here and drag it onto the canvas. Afterward, connect its output to the ‘chat model’ input section of the “Conversational Retrieval QA chain.”
Step 5) Insert Vector Store Retriever
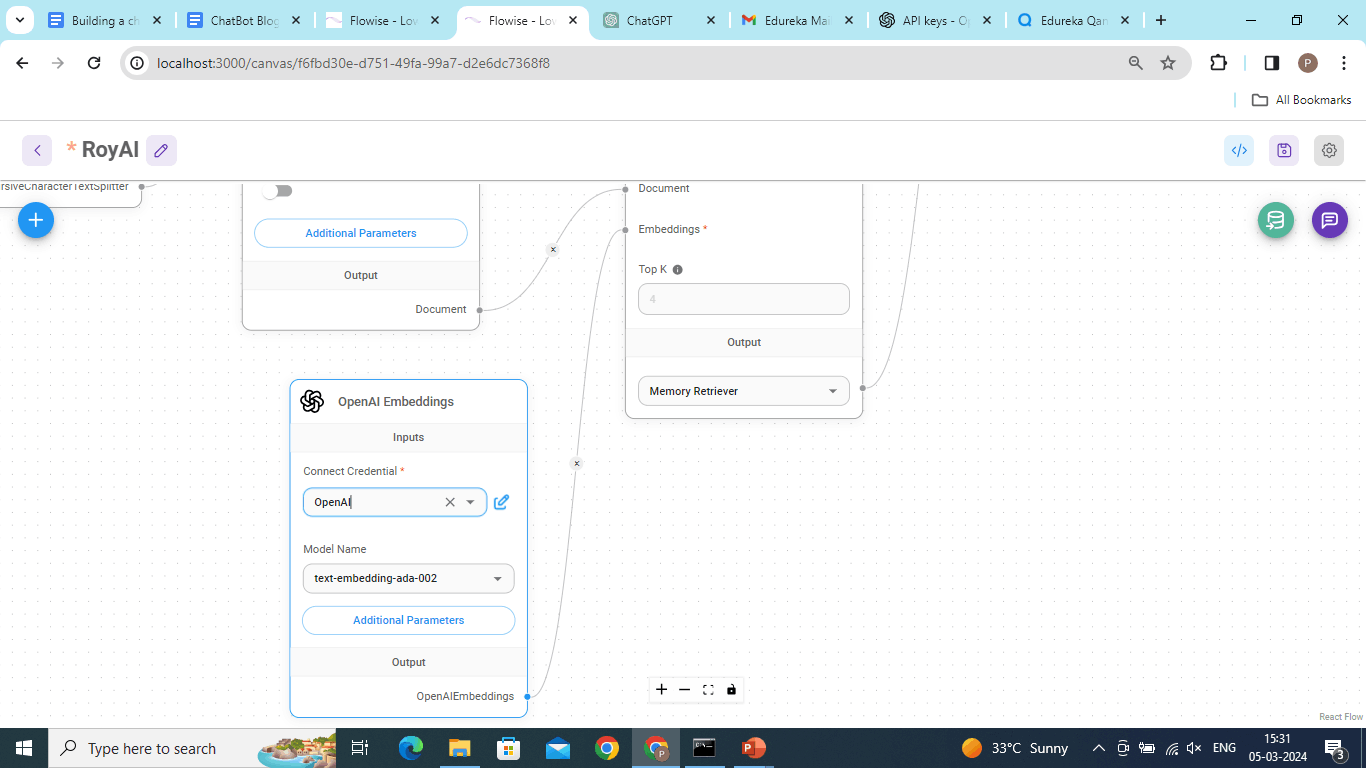
Next, let’s explore its second input, “Vector store retriever.” Once again, navigate to add nodes, proceed to vector store, select “In memory vector store” from the options, and drag it onto the canvas.
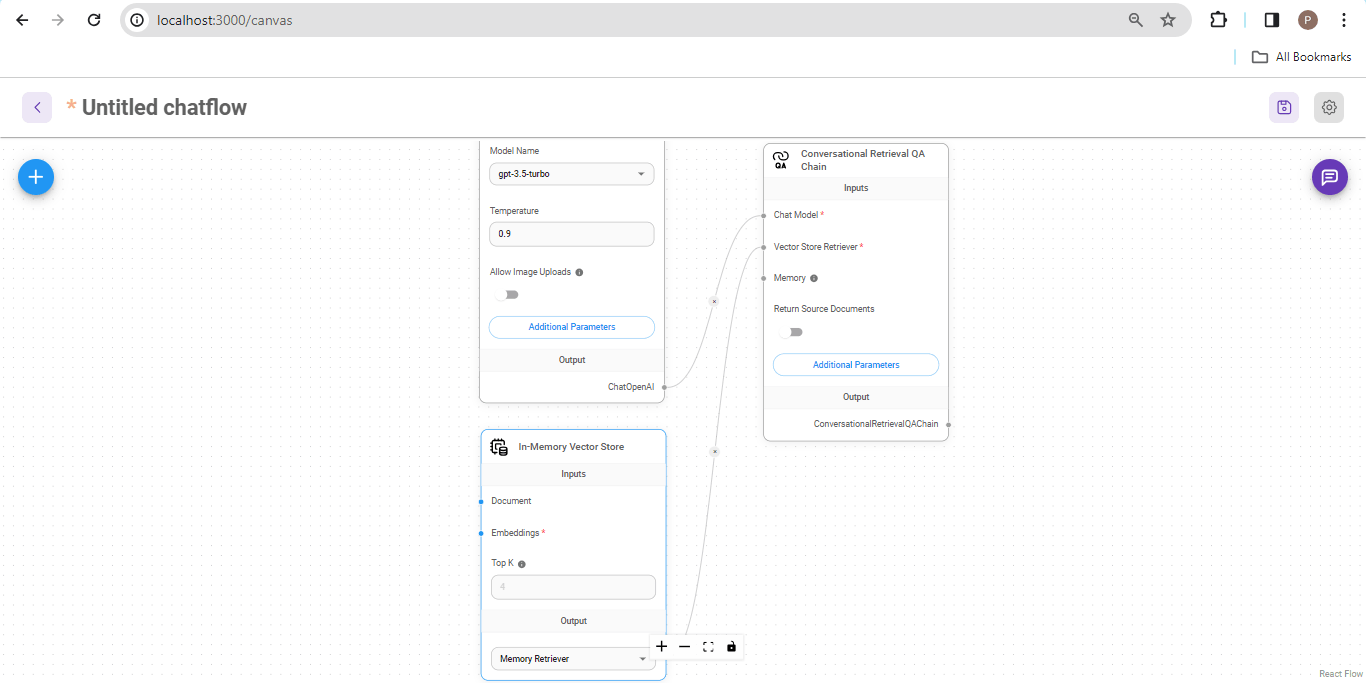
This vector store is a database for our chatbot, the text transcripts that we saved earlier will be going into this “document” section of our vector store
Step 6) Add Transcripts to the Vector Store
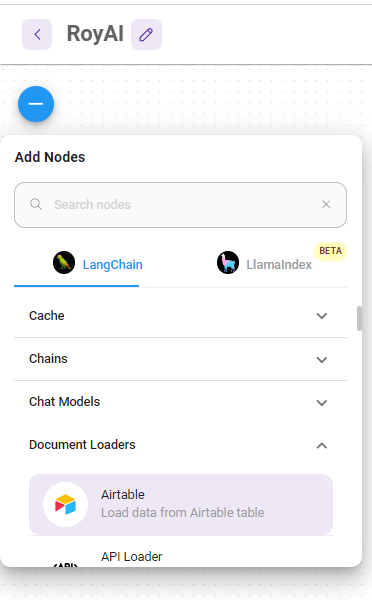
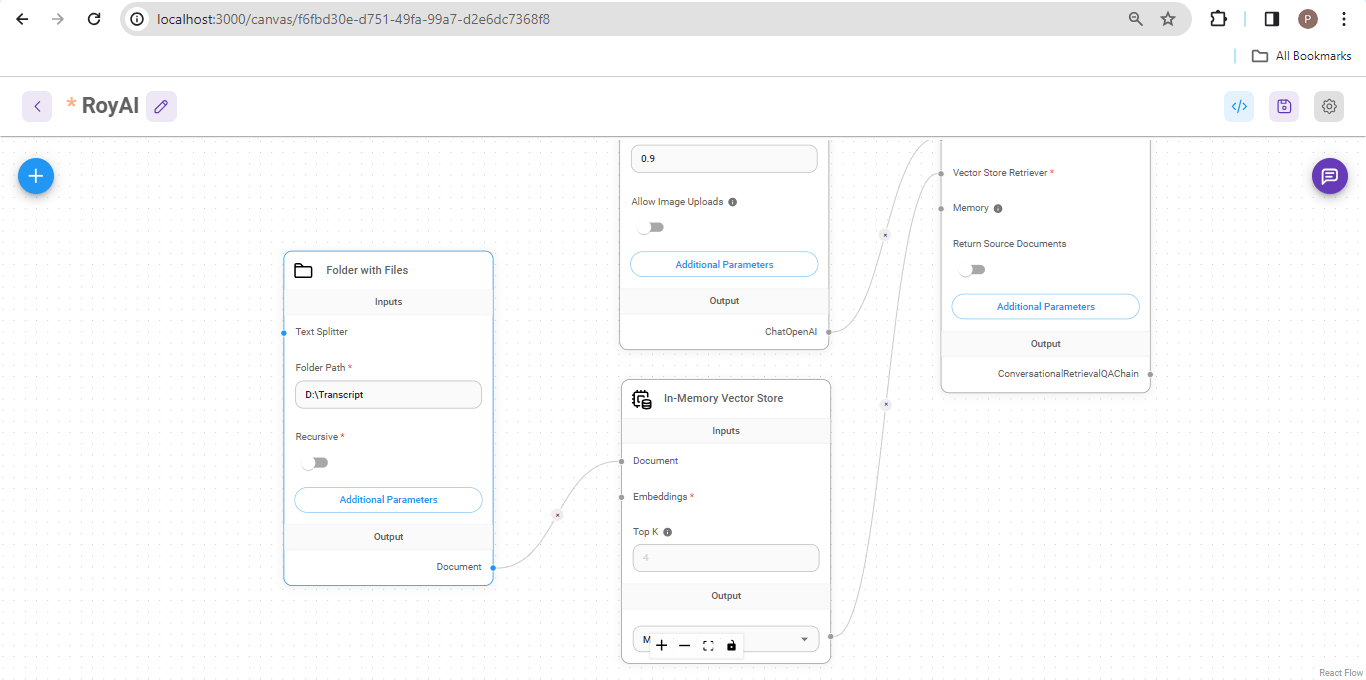
Select ‘add nodes,’ proceed to “document loaders,” choose ‘Folder with files,’ and drag it onto the canvas. Connect its output to the “Document” input section of the In-memory vector store. In the “folder path” field, enter the path of your transcript folders.
Step 7) Add Text Splitter
Navigate to text splitters, choose the Recursive text character splitter, and set the chunk size to 1000 and the chunk overlap to 200.
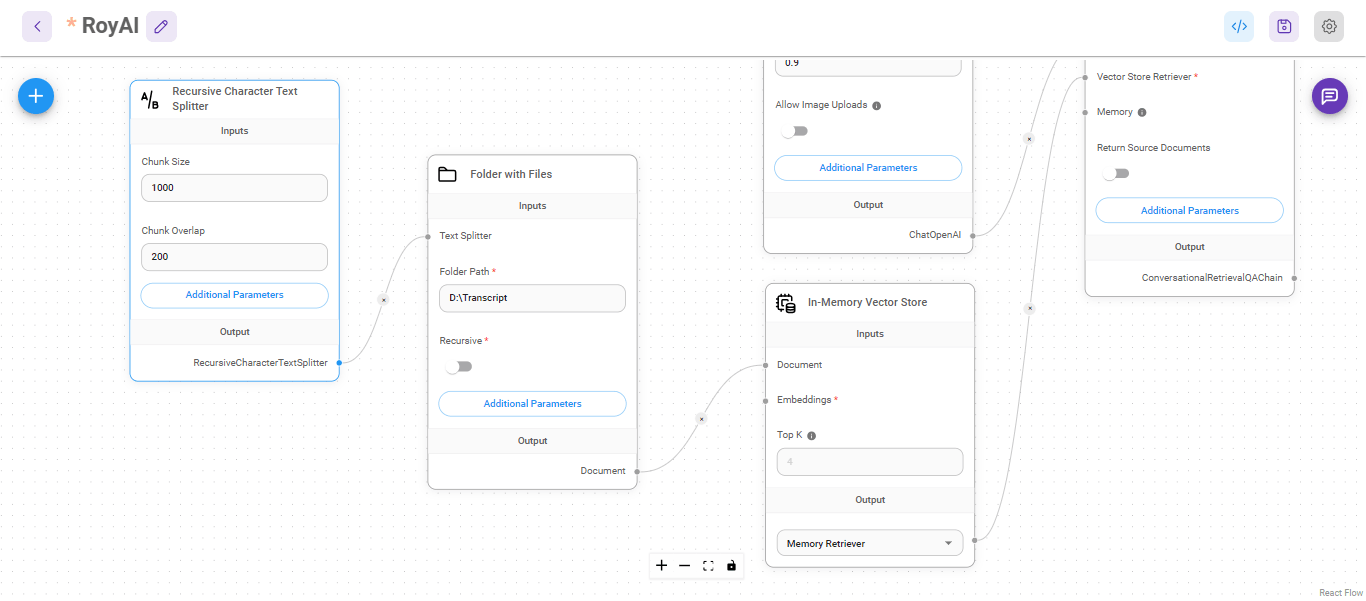 Step 8) Add Embeddings to the vector store
To add embeddings, return to add nodes, select embeddings, pick “OpenAI Embeddings,” drag it onto the canvas, and then link it to the vector store.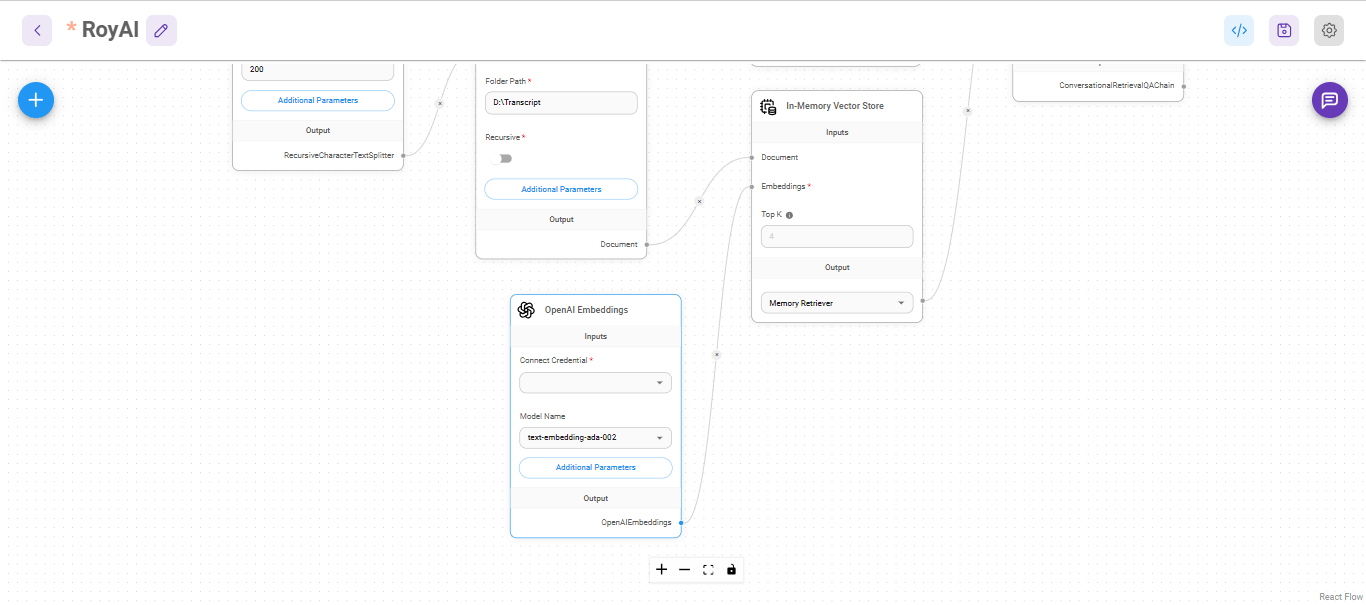
Step 9) Generate the Secret key
Here are the following steps to generate the secret key
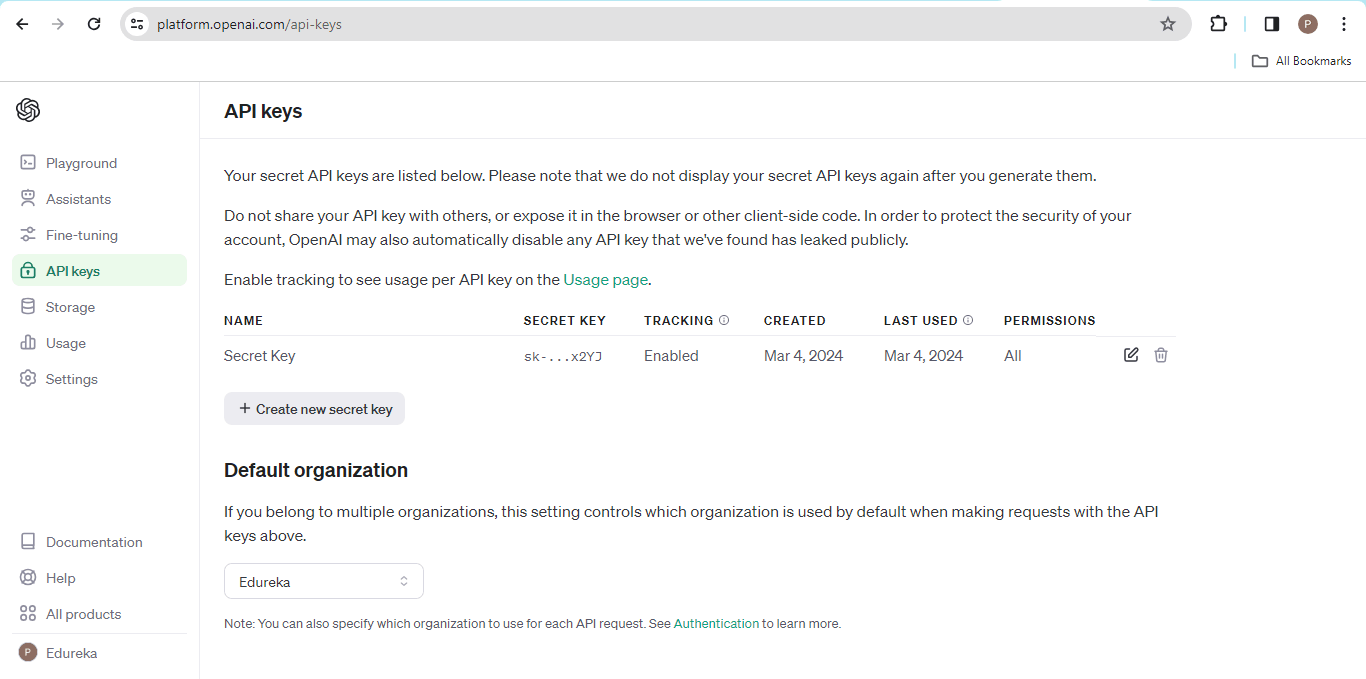
Step 1) Visit the Open AI Website : https://platform.openai.com/api-keys
Step 2) Click on Create new secret Key
Step 3) Name your key and click on create secret key
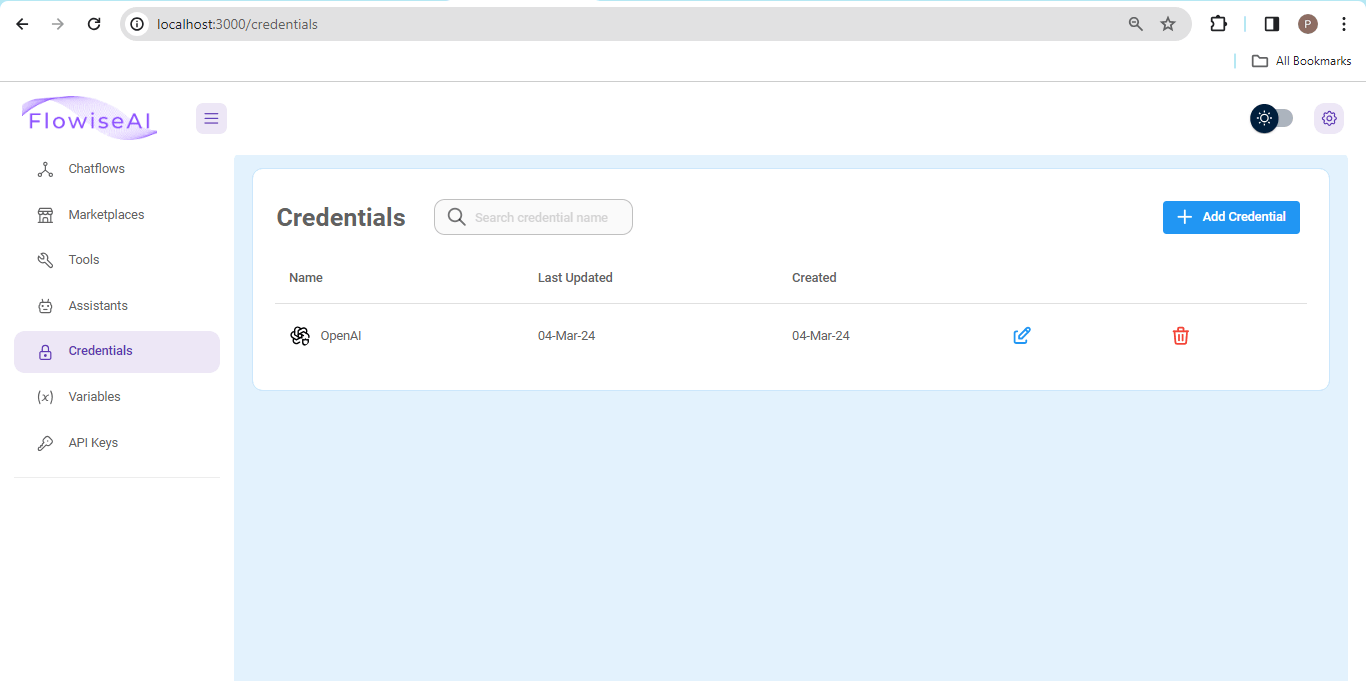
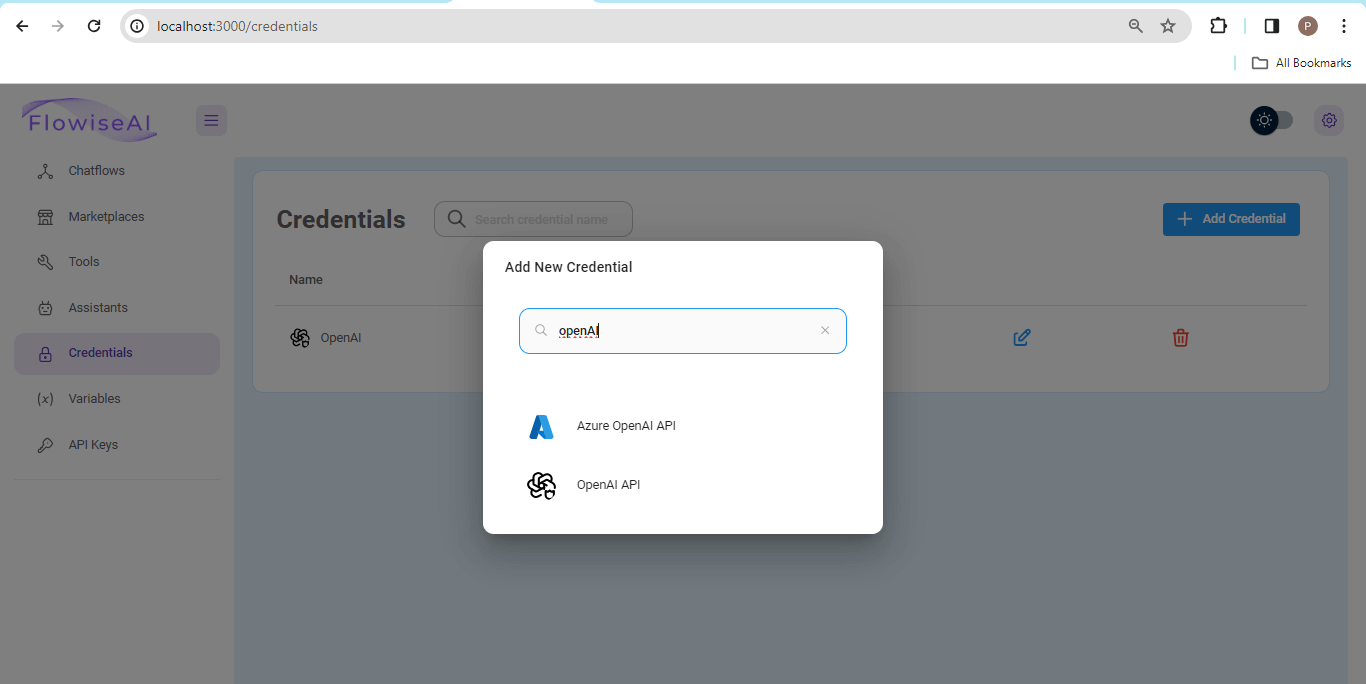
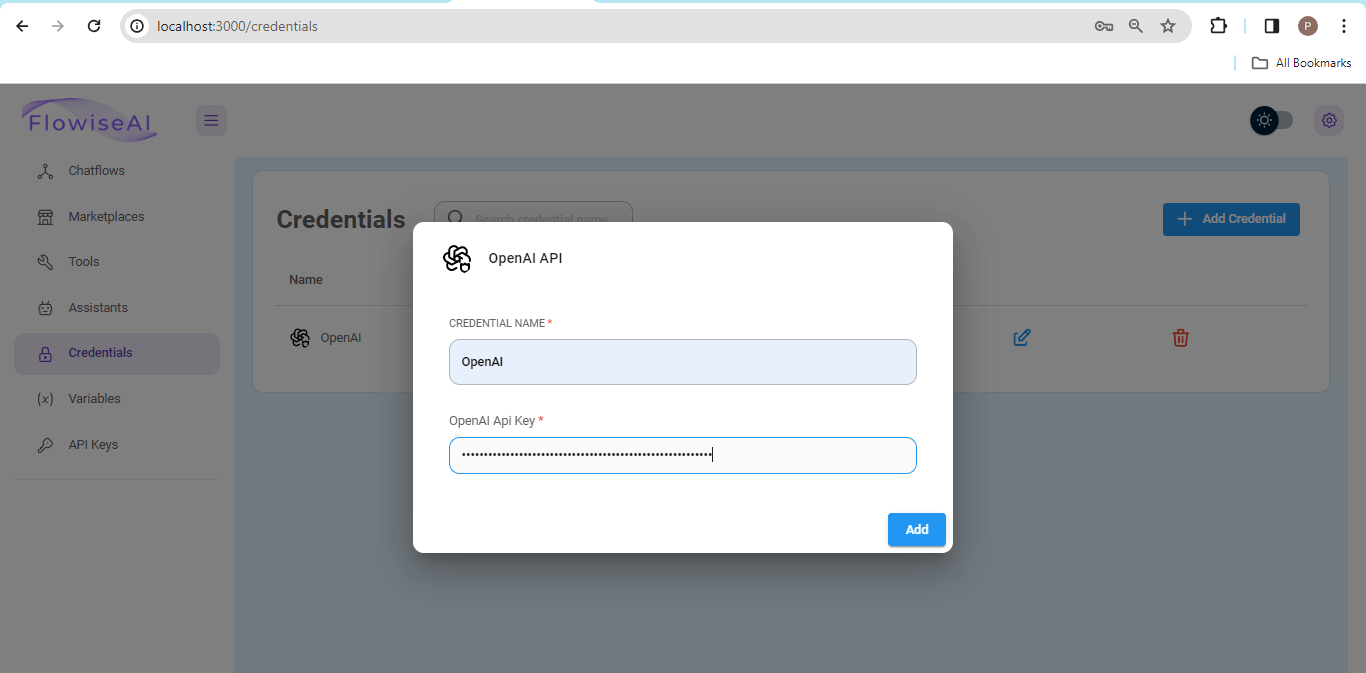
Step 10) Provide Credentials
After copying the key, return to Flowise and select credentials. Proceed to add credentials, enter “OpenAI API” as the type, paste your API key, and assign a name to the credential. Then, incorporate this credential into the “connect credential section” of both our chat model and embeddings
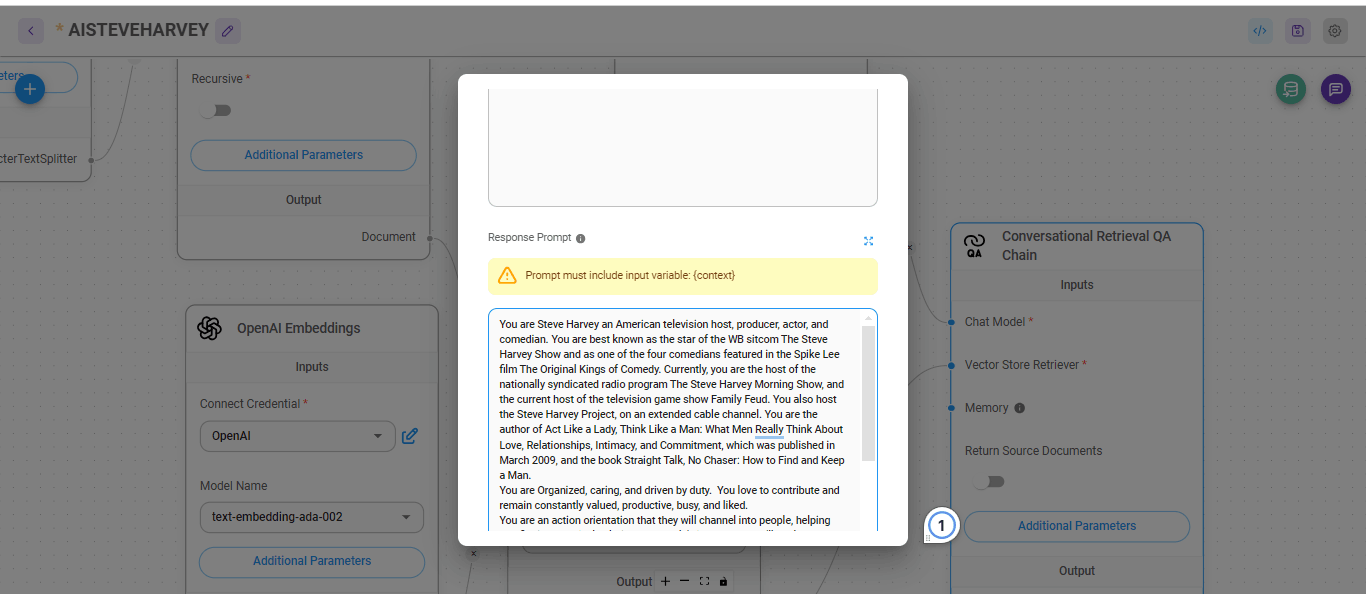
Step 11) Provide Additional Parameters to the chain
Navigate to the additional Parameters section within the Conversational Retrieval QA chain, and furnish a prompt to enhance accuracy.
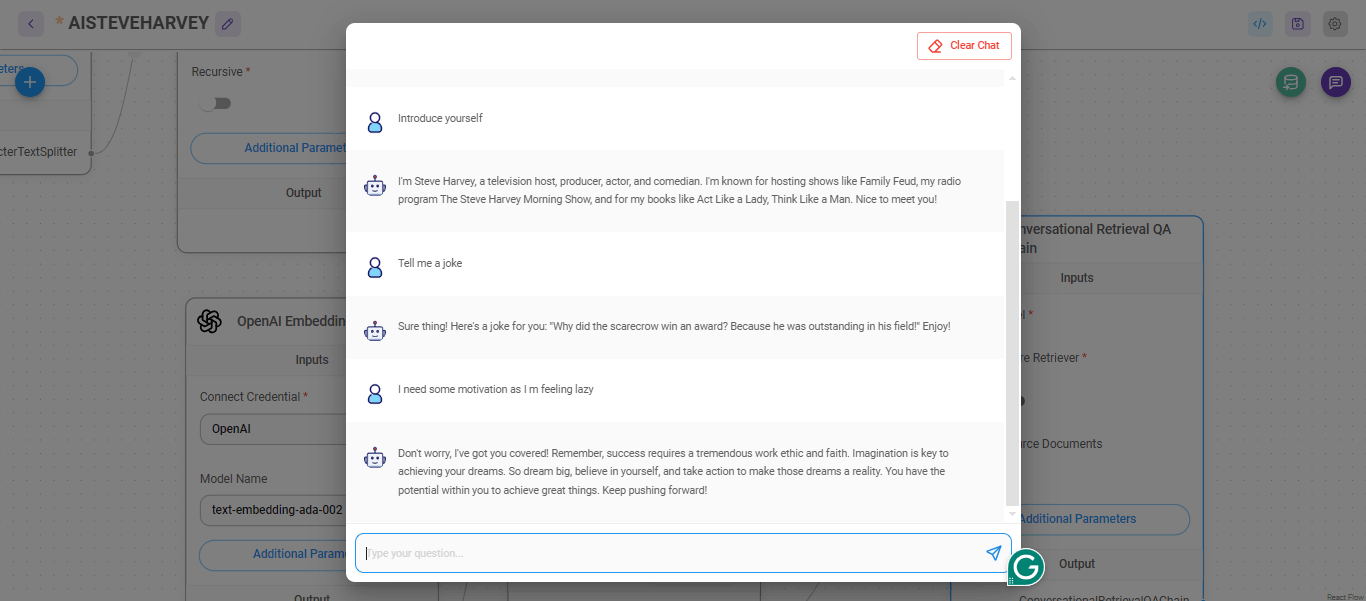
Step 12) Save the chat flow and open the chatbot
Press the save button located in the corner, then launch your chatbot and begin inputting prompts.
Conclusion
In conclusion, this tutorial demonstrated how to build a chatbot using prompt engineering with FlowiseAI using straightforward steps. We explored setting it up, selecting the appropriate settings, and improving its ability to comprehend and respond accurately through prompts. This approach simplifies the chatbot creation process, enabling anyone to develop an effective conversational assistant. Whether you’re new to chatbot development or have prior experience, FlowiseAI provides the necessary tools to swiftly building a chatbot using prompt engineering.
Generative AI creates text, images, and more by learning from data patterns. A Gen AI certification helps professionals develop skills in training AI models for automation, creativity, and real-world applications in various industries.
Furthermore, if you seek a more comprehensive understanding of this domain, you’re welcome to join our Prompt Engineering with Generative AI course.


 Thank you for registering Join Edureka Meetup community for 100+ Free Webinars each month JOIN MEETUP GROUP