Blue Prism is one of the most popular RPA tools, used by organizations to automate tasks. It is easy to use, easy to install and is one of the first steps when you start your journey to become an RPA Developer. Blue Prism has recently launched a free edition to help the users get a hands-on experience on the tool. In this article on Blue Prism installation, we will see how to install, configure and activate Blue Prism step-by-step.
So, the following are the steps you need to follow for Blue Prism installation on your system:
Pre-Requisites
So, you shall have to consider a few things before starting the installation:
Make sure you have a good internet connection to download and activate
You need administration access to install and run Blue Prism
Make sure you have a minimum 10GB free disk space
You will require either Windows 8.1 or 10 (64-BIT versions only) OR 6 virtual machines required to run on cloud.
Now that you know the pre-requisites to install Blue Prism, let us move forward with Blue Prism installation.
User Registration
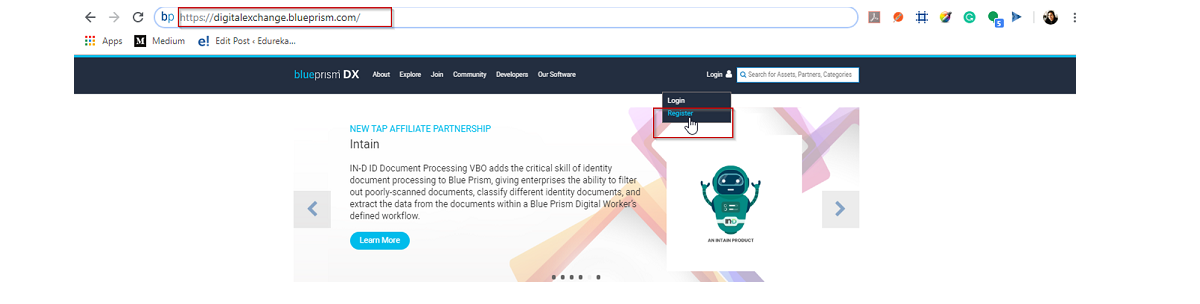
Step 1: Go to https://digitalexchange.blueprism.com/ and then click on the Login option. Here, if you have already registered then skip to Step no: 7, else choose the Register option as below.
 Step 2: Then, you will be redirected to the following page, where you have to choose the Sign-up here option.

Step 3: Once you click, you will be redirected to the page you see below. Here, you have to mention your email address, username, timezone and click on Create New Account.
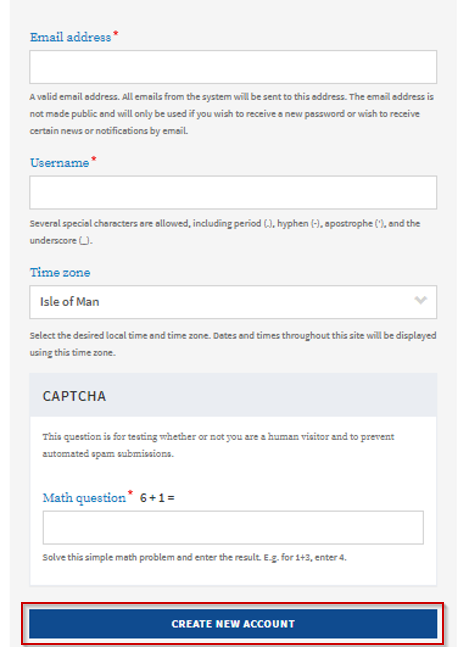
After you create a new account, you will see the following screen.

Step 4: By now, you must have received an email from Blue Prism, regarding the account details for the user you have created at Blue Prism Portal. In this email, you will see a link through which you can login. Open that link.

Step 5: Now, mention the details such as password, organization name, first name, and other details. Then click on Save.

Step 6: Next, you have to mention the user information and click on Save. Refer below.

Step 7: Once user registration is done, you have to do company registration by mentioning a few details related to the company, and then click on Create.

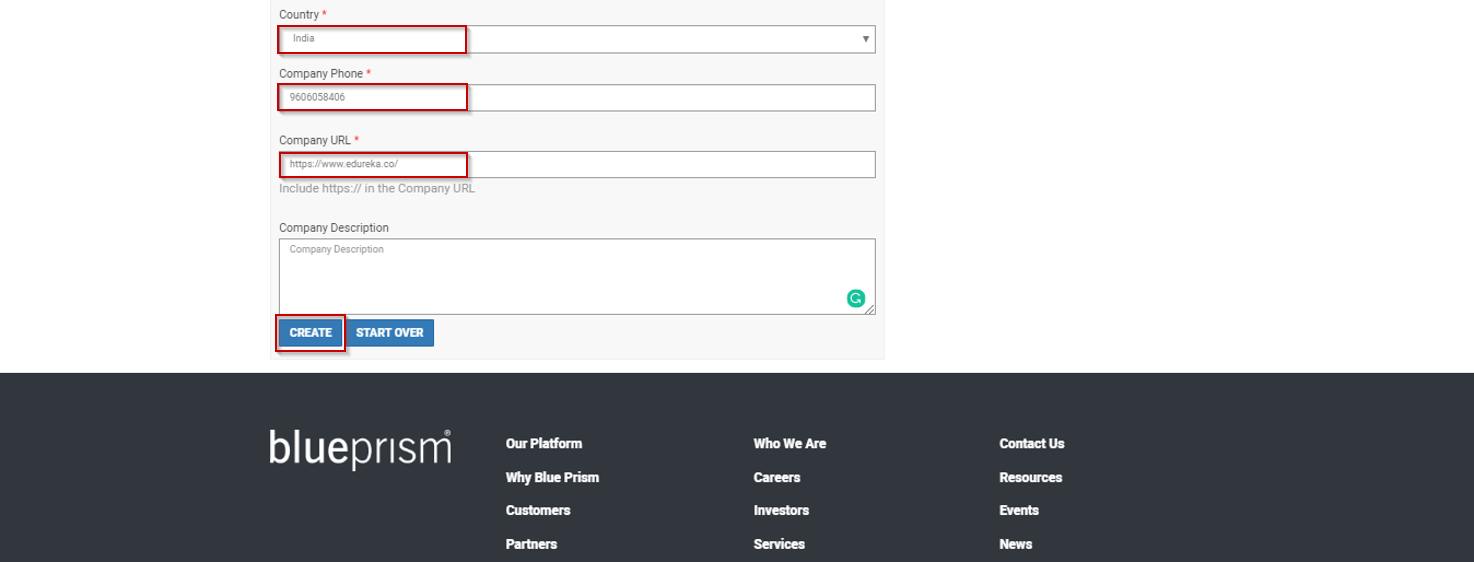
With this step, your registration will complete. Now, you can go forward and login into the Blue Prism portal.
Login to Blue Prism portal
To login to the Blue Prism portal, go to the link https://portal.blueprism.com/user/login and then mention the user and password details, you just created above. After that click on Login.

Blue Prism Installation
Step 1: Once you login to the portal, you will see the following page which shows various options such as [24]7.ai AIVA Platform, IN-D ID Document Processing VBO, Blue Prism Free On-Prem Trial and many others. Click on the Blue Prism Free On-Prem Trial option. Refer below.

Step 2: Then, you will be redirected to the following page, where you have to choose the option of Get Free Trial.

Step 3: Once you click on Get Free Trial, you will be redirected to the following page, wherein you have to mention details such as your name, phone number, company phone number, address, state, city and then click on Submit.


Once, you click on submit, you will be redirected to the following page.

Apart from the above, an email will be sent to you by Digital Worker. This email will consist of the License Key, which will be required later in the installation. You will also see that the link: https://portal.blueprism.com/products/trial will be sent in the email.

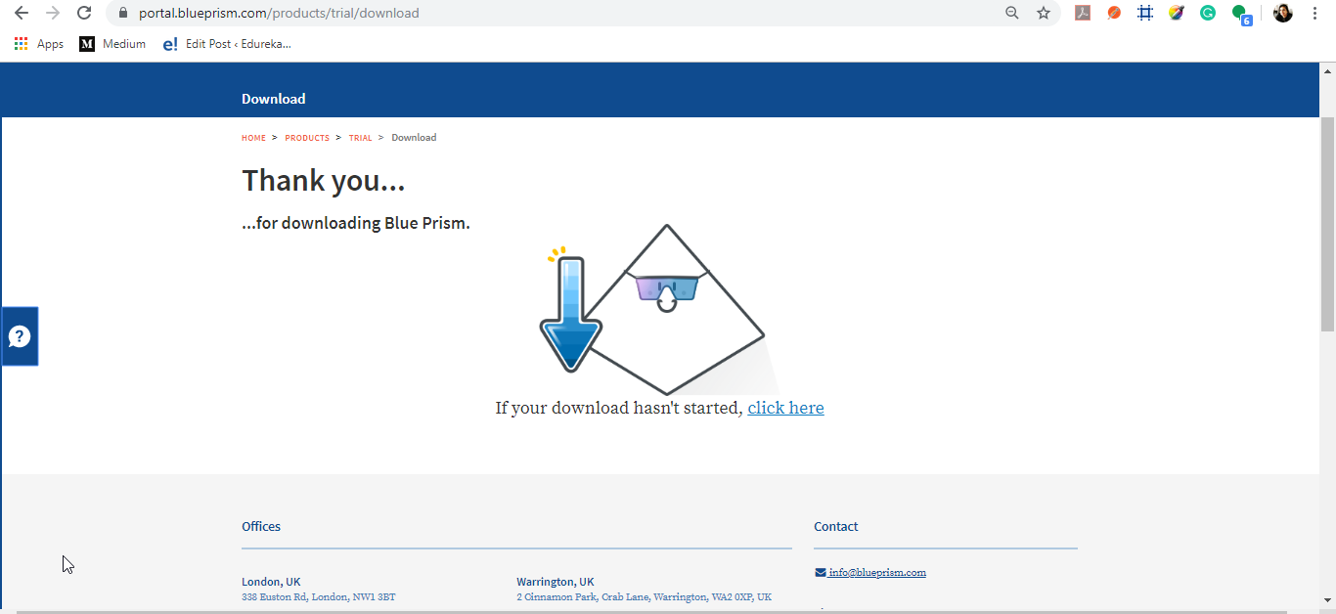
Step 4: Go to the above link, click on the Download 64 Bit option. Refer below.

Once you click this option, you will see that Blue Prism is getting downloaded.
Next in this Blue Prism installation let us see how to configure Blue Prism.
Configure Blue Prism
Step 1: After Blue Prism gets downloaded, the following wizard opens up. Click on Next.

Step 2: Then, read the license agreements and check-in the radio button to accept the license agreement. After that, click on Next.

Step 3: Next, choose the destination folder to install Blue Prism and click on Next.

Step 4: In the next wizard, check the features which are getting installed and then click on Next.

Step 5: Finally, in the last wizard click on Install. Refer below.

Step 6: Once the installation completes, you will see the following screen, in which click on Finish.

With this, the installation and configuration Blue Prism completes. Next in this Blue Prism installation, let us see how to activate Blue Prism.
Activate Blue Prism
Step 1: Now, open Blue Prism App from the Windows search bar and you will see the following screen. Here, click on Next.

You will see that the database is being installed and built for Blue Prism to work. Refer below.

Step 2: Once the database is installed, you will see the following screen. Here, click on Next.

Step 3: After that, you have to login using the username and password, and then click on Next.
Step 4: Next, you have to activate Blue Prism, by uploading the License File, which you must have got in your email [Refer to step 3 of Blue Prism Installation]. Then, click on Next.

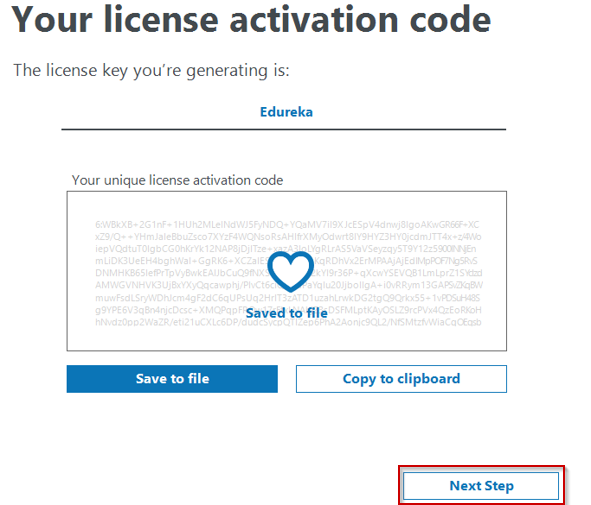
Step 5: In the next wizard that opens, click on Generate new activation code, and mention the license key.

Step 6: Copy the license code and paste it in the action to activate the license.
Step 7: Then, you will be redirected to the following page, where you have to click on the Customer Portal option.

Step 8: Here, mention the License key and then click on Submit License Activation. Refer below.

Step 9: Once, you click on Submit License Activation, you will get a validation code as below. Copy this code.

Step 10: Then mention this validation code in the Blue Prism wizard.

Step 11: After you mention the license, you will see the following screen. Click on Next. Refer below.

Step 12: In the next wizard which opens, click on Finish.

With this, you will finish installing and setting up Blue Prism. Now, you can open Blue Prism and start using it. I hope you found this article informative. If you wish to give a jump start, to your career as an RPA Developer, then starting learning RPA and it’s various tools.
We at edureka, offer courses on UiPath and Automation Anywhere. Edureka is a trusted online learning company with a network of more than 250,000 satisfied learners spread across the globe. This training will help you gain deep knowledge in Robotic Process Automation and hands-on experience in UiPath.
Got a question for us? Please mention it in the comments section of thisBlue Prism Installation article and we will get back to you.